Adobe Photoshop has long been the go-to software for graphic designers, photographers, and digital artists. One powerful yet often intimidating tool within the program is the Pen Tool. Mastering it will unlock a world of opportunities for detailed and precise work in your designs. In this article, we will walk through the steps to draw in Photoshop using the Pen Tool.
Introduction to the Pen Tool
Before we delve into the specifics, let's briefly touch on what the Pen Tool is and its significance. The Pen Tool is a versatile function that allows users to create complex and precise shapes, selections, and paths. It's an essential tool for any designer or illustrator using Photoshop.
Tools Associated with the Pen Tool
The Pen Tool comes with a subset of tools. Each serves a unique purpose and enhances the functionality of the Pen Tool.
- Pen Tool (P): The primary tool for drawing paths and shapes.
- Freeform Pen Tool: Lets you draw paths as if you're drawing freehand.
- Add Anchor Point Tool (+): Allows you to add more anchor points to a path.
- Delete Anchor Point Tool (-): Allows you to remove anchor points from a path.
- Convert Point Tool: Lets you adjust the angle and length of direction lines, changing the shape of the curve.
Setting up Photoshop for Drawing
Before you start drawing, you need to set up your workspace.
- Open Photoshop: Start by opening the Adobe Photoshop application.
- Create a New Document: Click "File" > "New". Then set your preferred width and height for your canvas.
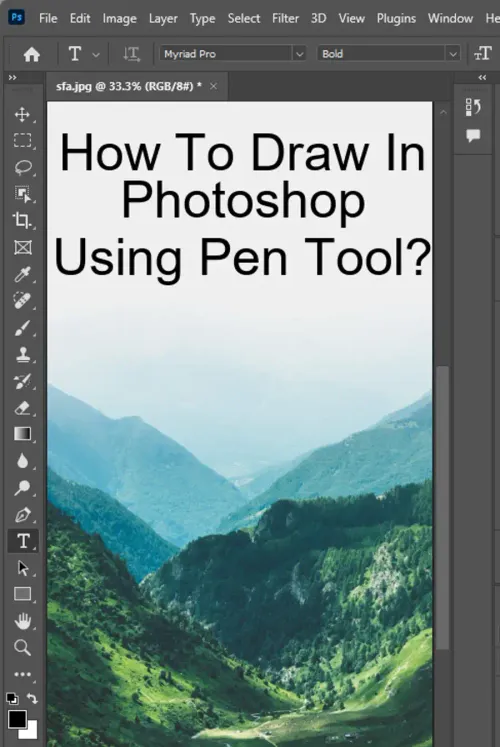
- Access the Pen Tool: On the left toolbar, find the Pen Tool. If you don't see it, it could be hidden under one of the other shape tools, like the Rectangle or Ellipse Tools. You can identify the Pen Tool by its icon, which looks like a classic, nibbed ink pen.
Drawing a Straight Line
- Click on the Canvas: With the Pen Tool selected, click anywhere on your canvas to create your first anchor point.
- Create the Next Anchor Point: Move your cursor to where you want your line to end, then click again to create another anchor point. Photoshop will automatically connect these two points with a straight line.
Drawing a Curved Line

- Click on the Canvas: Create your first anchor point by clicking on the canvas.
- Create a Direction Point: Click where you want your curve to end, but don't release your mouse. Drag instead. This creates direction points, which determine the curve's direction and length.
- Release the Mouse: Once you've adjusted the curve to your liking, you can release your mouse.
Drawing a Complex Path
- Create Your First Anchor Point: Like before, start by clicking on your canvas to create the first anchor point.
- Add More Anchor Points: Continue adding more anchor points, adjusting the direction and length of the curve as needed by clicking and dragging.
- Close the Path: To close your path, simply click on the first anchor point you made. You'll know it's selected when a small circle appears next to the Pen Tool cursor.
Modifying Your Path
- Add an Anchor Point: Select the "Add Anchor Point Tool (+)" from the toolbar and click on your path to add a new point.
- Delete an Anchor Point: Select the "Delete Anchor Point Tool (-)" and click on an anchor point to remove it.
- Convert an Anchor Point: Select the "Convert Point Tool" and click and drag an anchor point to adjust the curve.
Conclusion
Drawing in Photoshop using the Pen Tool might feel overwhelming at first, but practice makes perfect. The Pen Tool is a powerful feature that provides precision and control over your design. It's a valuable tool in your Photoshop arsenal, worth mastering for more sophisticated graphic design projects. Remember to keep experimenting with different curves and shapes, and soon you'll find yourself navigating the Pen Tool with ease.
How do I start drawing in Photoshop?
To start drawing in Photoshop, first open up the program. Then, create a new document by clicking on "File" > "New" and adjust the settings to your desired size and resolution. Finally, select the brush tool from the toolbar on the left-hand side of the screen and start drawing!
What tool is used to draw in Photoshop?
The main tool used to draw in Photoshop is the brush tool. This tool can be customized with different brush sizes, styles, and textures to achieve a variety of effects. Other tools that can be used for drawing include the pencil tool, pen tool, and shape tools.
How to draw a shape in Photoshop?
To draw a shape in Photoshop, select the shape tool from the toolbar on the left-hand side of the screen. Choose the shape you want to draw, such as a rectangle or circle. Then, click and drag on the canvas to create your shape. You can also adjust the color and other properties of the shape using the options in the top menu bar.
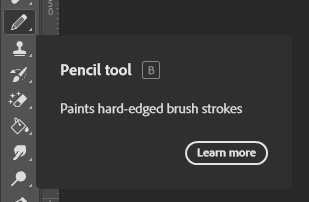
How do you draw with a pencil in Photoshop?
To draw with a pencil in Photoshop, select the pencil tool from the toolbar on the left-hand side of the screen. Adjust the size and opacity of the brush as needed. Then, simply click and drag on the canvas to draw with the pencil. This tool can be used to create sketch-like drawings or more refined illustrations, depending on the settings used.