Photoshop is a fantastic tool that offers a wide array of features to enhance and transform your photos into stunning pieces of art. One such feature is the ability to add a glow effect to your images. Whether you're designing a dreamy portrait or adding a touch of fantasy to your graphics, the glow effect can add a unique touch to your creations.
In this article, we'll walk you through the steps to add a beautiful glow effect in Photoshop.

Preparing your Workspace
Before you start editing, make sure your Photoshop workspace is set up correctly.
- Open Photoshop: Open the Adobe Photoshop application on your computer. If you haven't installed Photoshop, you can download it from the Adobe Creative Cloud website.
- Open your Image: Go to the "File" menu in the top-left corner and click "Open." Find the image you want to work on from your files and click "Open" again.
How to Add a Basic Glow Effect
Step 1: Duplicate the Layer
After opening your image, the first thing you want to do is duplicate the layer. To do this, right-click on the "Background" layer in the Layers panel and select "Duplicate Layer."
Step 2: Apply the Gaussian Blur Effect
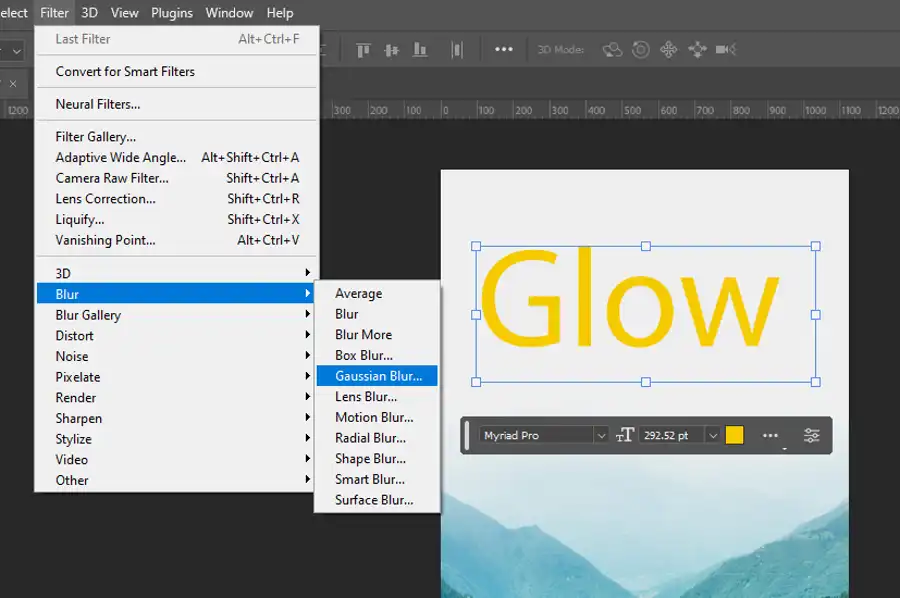
Now, we will apply the Gaussian Blur effect to the duplicated layer. Go to "Filter" in the top menu, select "Blur," and then choose "Gaussian Blur." In the dialogue box that opens, you can adjust the radius to determine the strength of the glow effect. A larger radius will make a more pronounced glow, whereas a smaller radius will create a more subtle effect.
Step 3: Change the Blend Mode
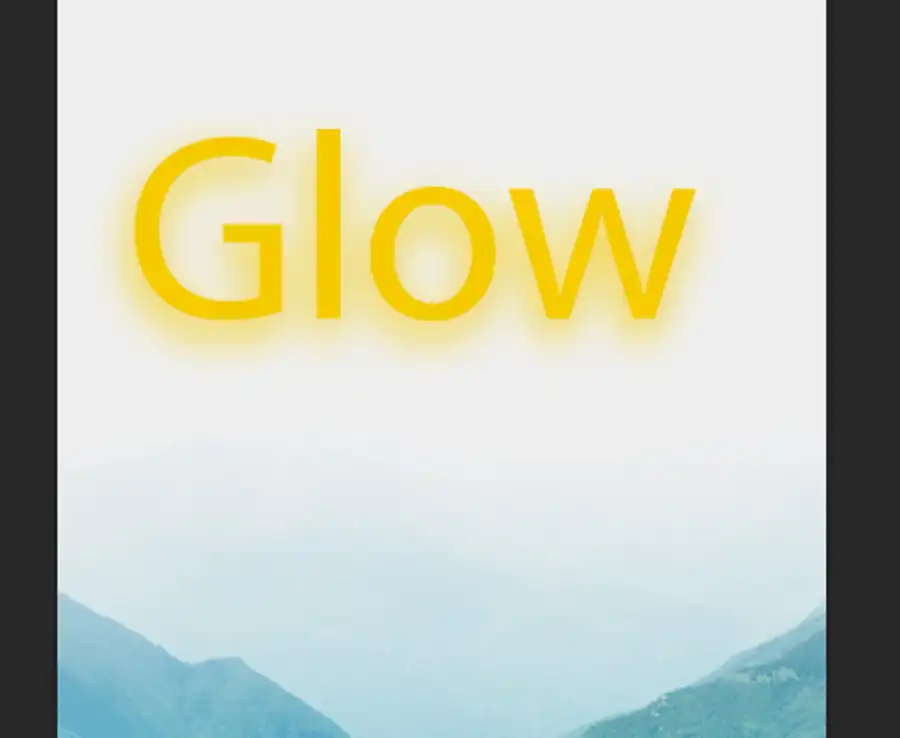
To make the glow effect come to life, we need to change the blend mode of the blurred layer. In the Layers panel, find the "Blend Mode" dropdown menu (it usually says "Normal") and select "Screen" or "Lighten." Both will give a nice glow, but you can experiment to see which one you prefer.
Adding an Outer Glow
An outer glow can help make your object stand out more and give it a halo-like effect.
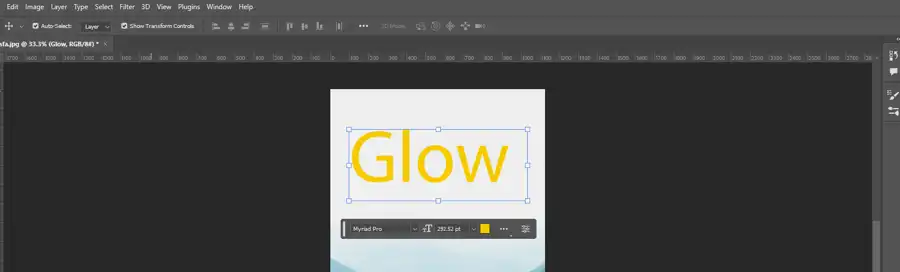
Step 1: Select the Object
Firstly, we need to isolate the object that we want to glow. To do this, you can use various selection tools such as the Lasso Tool, Quick Selection Tool, or the Magic Wand Tool.
Step 2: Create a New Layer
After making the selection, create a new layer by clicking on the "Create a new layer" icon at the bottom of the Layers panel.
Step 3: Apply the Outer Glow
With the new layer selected, go to the "Layer" menu in the top menu bar, navigate to "Layer Style," and then choose "Outer Glow." In the Outer Glow settings, you can adjust the blend mode, opacity, color, and size to customize the glow to your liking.
Final Thoughts
Adding a glow effect to your images can make a dramatic impact and bring a magical touch to your designs. Photoshop makes it relatively simple to achieve this effect. Remember, practice makes perfect, so don't hesitate to experiment with different settings and techniques to find what works best for your images.
We hope this tutorial was helpful. Now it's time for you to start creating your glowing masterpieces in Photoshop. Happy editing!
Questions you might be asking
How do you add a glow effect to a brush in Photoshop?
Adding a glow effect to a brush in Photoshop is easy. First, select the brush tool and choose the style you want to add a glow effect to. Then, create a new layer and apply the brush to the layer. Next, go to Layer Styles> Outer Glow and choose a color and size for the glow effect. Adjust the settings until you get the desired result.
How do you make a shining effect in Photoshop?
You can make a shining effect in Photoshop using the Gradient tool and blending modes. First, open the image you want to apply the shining effect to. Then, select the Gradient tool and choose a gradient with the colors you want to use. Next, apply the gradient to a new layer and change the blending mode to 'Soft Light' or 'Overlay'. Adjust the opacity until you get the desired result.
How do you add a glow mask in Photoshop?
Adding a glow mask in Photoshop is simple. First, create a new layer and apply the image or object you want to add a glow to. Next, go to Layer Styles> Outer Glow and choose a color and size for the glow effect. Then, hold down the Alt key and click on the layer mask button to create a mask for the glow effect. Paint over the areas you want to hide with black or reveal with white.
How do you add neon glow in Photoshop?
Adding a neon glow effect in Photoshop can be achieved through layer styles and blending modes. First, create a new layer and add the shape you want to apply the neon glow effect to. Next, go to Layer Styles> Outer Glow and choose a bright color for the glow effect. Adjust the size and opacity until you get the desired result. Then, change the blending mode to 'Screen' to make the glow effect more vibrant.