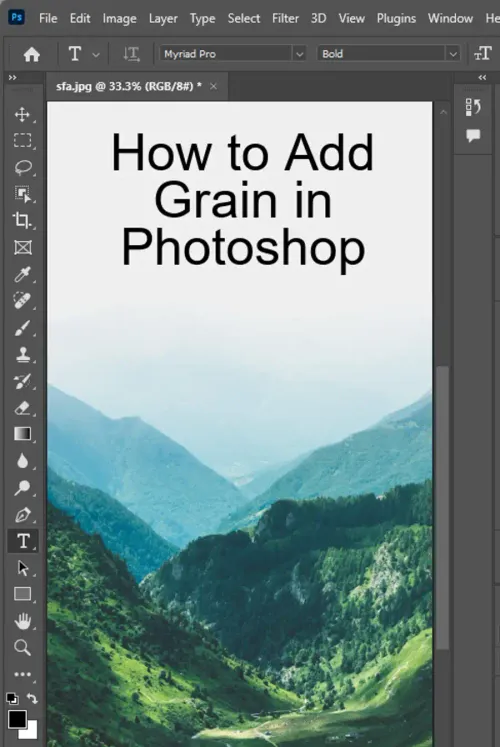
Are you tired of your digital images appearing sterile without any life or character? Adding film grain in your photos can give them the unique and timeless look that you've been seeking. In this tutorial, we'll show you how to create a film grain effect in Photoshop that will alter your photography and bring it to life.

What You'll Learn in This Photoshop Tutorial
In this tutorial, we will help you to create a nostalgic, grainy look on your digital photographs. We will walk you through each step, which includes:
- How to prepare the film grain layer in Photoshop
- How to convert a layer into a smart object
- How to create the film grain overlay Photoshop layer
- How to add grain to the image using Photoshop noise filters
- How to edit the film grain effect in Photoshop
- Top 5 Grain/Noise Effects
With this guide, you'll be able to add a unique and timeless film grain effect to your digital photos in no time.
What is Film Grain?
Before we get into the details of how to add grain to a photo in Photoshop, let's take a moment to explain what film grain is and its importance.
Before digital cameras, photographers used film to capture images. Film grains are tiny specks of metallic silver found in a film negative that has developed chemically. The silver creates this unique texture that gives an analog photo its characteristic look. A low ISO number film has smaller grain, while high ISO numbers produce more noticeable grain.
Differences between Film Grain and Noise
Film grain differs from digital noise, which occurs when the camera's sensor doesn't have enough information to fill certain areas, resulting in a blocky, pixelated look. Digital cameras often suffer from noise at high ISO values, especially in darker areas. Grain is visually different from noise as it adds texture and depth to an image without breaking it up.
Why Add Film Grain to a Digital Image?
Adding film grain to your digital photos can give them the same nostalgic and timeless look that you learned to love when looking at old analog images. If you want to create a vintage look, adding grain should be one of your staple tricks in Adobe Photoshop.
Film grain also recreates the look of shooting on an analog camera. It adds a visible texture that looks more natural and more visually appealing than flat and sterile digital images. It helps you bring back the analog feeling of a developed film photo.
How to Add Film Grain in Photoshop
Step 1: Preparing the Film Grain Layer in Photoshop
To start, open your desired image in Photoshop. Then, make a background copy and rename it "film grain" so that we can work in separate layers without interfering with the original one.
Step 2: Converting the Layer Into a Smart Object
To ensure your film grain effect is fully editable, convert your film grain layer into a smart object by right-clicking the layer and selecting "Convert to Smart Object." Smart Objects keep your non-destructive edits safe while allowing you to work with a flexible and non-permanent layer.
Step 3: Creating the Film Grain Overlay Photoshop Layer
Then, convert the "film grain" layer blend mode to Overlay. This blend mode allows the “grain” layer to be placed on top of the image without completely hiding the original image underneath. Now you will be able to see the original image along with the new film grain layer.
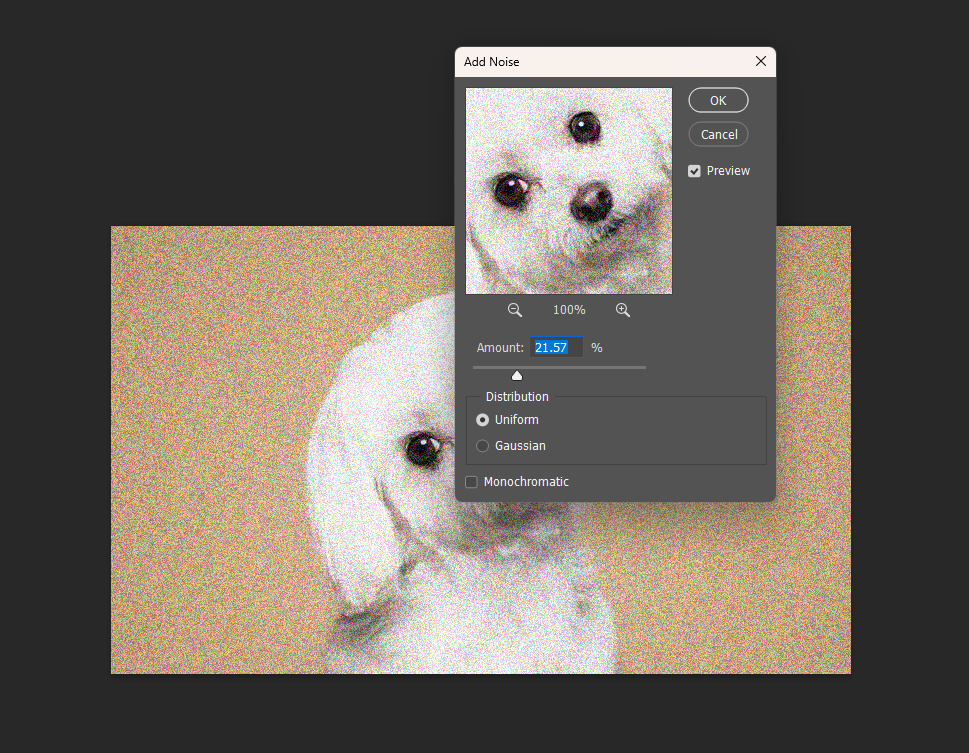
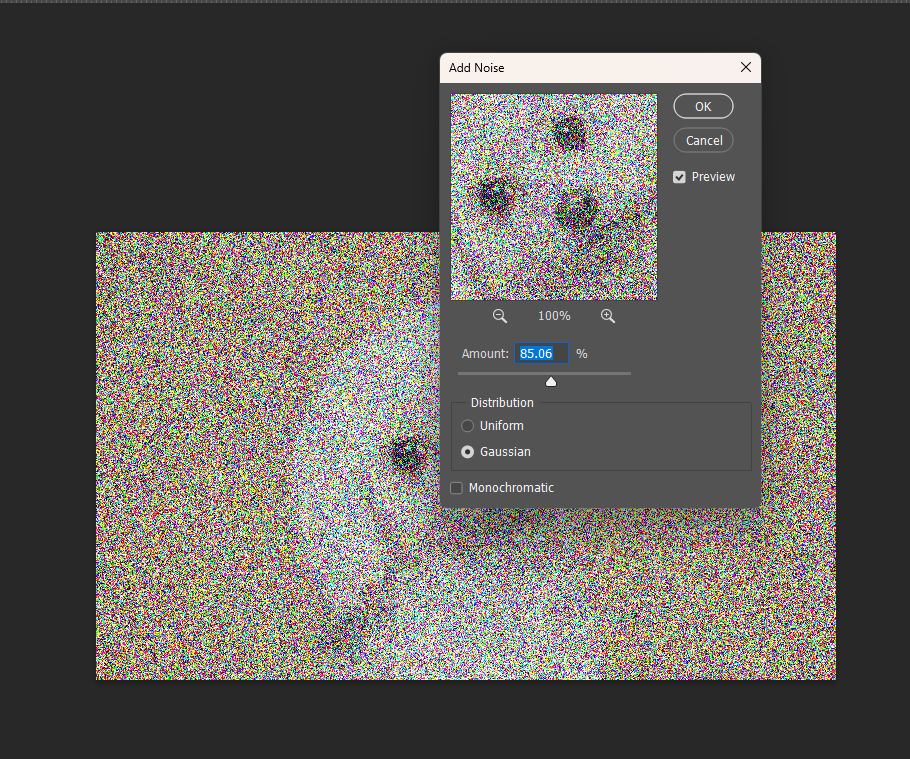
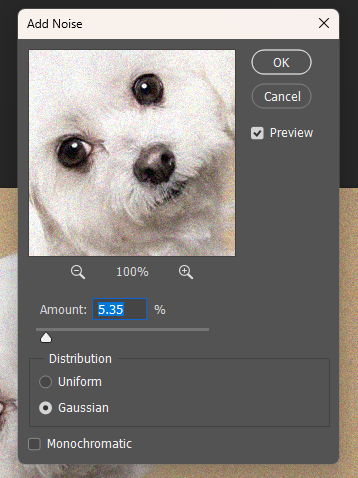
Step 4: Adding Grain to the Image Using Photoshop Noise Filters
With our "film grain" layer prepared, it's time to add some grain. Go to Filter>Noise>Add Noise. In the dialog box, select Gaussian as the noise type, set the amount and distribution to your preferred setting, and hit "OK." This filter allows you to add a controlled amount of grain to the image.
To reduce the effect of your grain, use the layer adjustments in the smart filter layer section on the right side of the layer. It gives you more control over the strength of the effect, and you can also change the opacity to suit your preference. Repeat the process until you're happy with the result.
Step 5: Editing the Film Grain Effect in Photoshop
Now that you've added some grain to your photo, it's time to refine it. Gaussian blur will smoothen the textures of the grain, allowing it to blend nicely with the image. Go to Filter > Blur > Gaussian Blur. Adjust the Gaussian Blur settings until the grain blends correctly with the image. After that, adjust the layer's opacity and blend mode and the image's brightness and contrast to achieve the desired effect.
Awesome! You've Finished!
Congratulations, you've successfully added a film grain effect in Photoshop! Adding grain creates a unique and timeless look to your digital photos. Let's take a look at different grain effects that can inspire your creativity.
Top 5 Grain/Noise Effects:
- Sharp Film Grain
- Dust and Scratches
- Faded Grain
- Fine Film Grain
- Grunge, Noise, & Grain
Conclusion
Adding film grain to a digital photo is the perfect way to achieve a timeless and nostalgic look that can bring out some beautiful vintage vibes to your image. It recreates the unique characteristics of having shot on an analog camera and makes your photos look more natural and visually appealing. With our guide, you now have everything you need to add a film grain effect to your digital photos.
Questions you might be asking
How do you add a grain effect?
To add a grain effect to an image, you can use the "Add Noise" filter in Photoshop. Go to "Filter" > "Noise" > "Add Noise". From there, adjust the amount and distribution of the noise to achieve the desired grain effect.
How do you add grains to a picture?
Adding grains to a picture involves applying a layer of noise to the image to give it a textured appearance. In Photoshop, create a new layer and fill it with a solid color. Then, go to "Filter" > "Noise" > "Add Noise" and adjust the amount and distribution of the noise to your liking. Change the blending mode of the layer to "Overlay" or "Soft Light" to blend the noise layer with the original image.
How do you add a grain overlay?
To add a grain overlay, you can use a pre-made texture or create your own. In Photoshop, open the texture image and copy and paste it as a new layer over your original image. Change the blending mode of the texture layer to "Overlay" or "Soft Light" to blend it with the original image. Adjust the opacity and scale of the texture layer to your liking.
How do I add grain to a mask in Photoshop?
Adding grain to a mask in Photoshop involves applying a noise layer to the mask layer. Select the mask layer and create a new layer above it. Fill the new layer with a solid color and go to "Filter" > "Noise" > "Add Noise". Adjust the amount and distribution of the noise to your liking. Then, change the blending mode of the noise layer to "Overlay" or "Soft Light" to blend it with the mask layer.