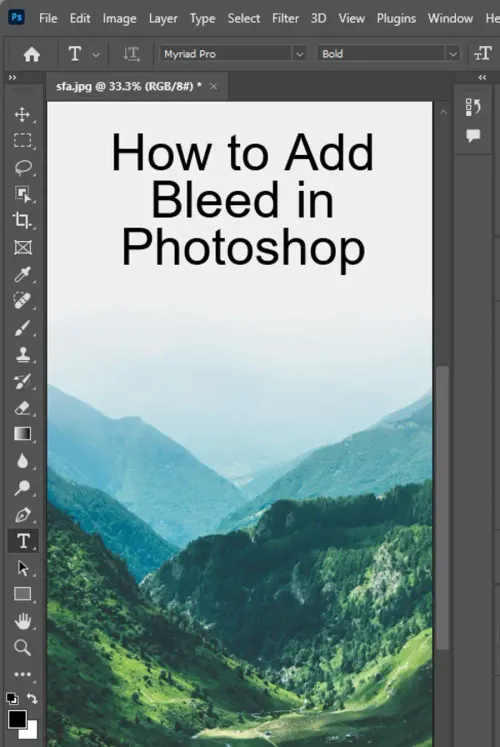
If you're designing a print project, achieving a proper bleed is crucial. In this tutorial, readers will learn how to add bleed and crop marks in Photoshop, one of the most widely used photo editing tools.

What Is a Bleed?
Before adding bleed to your project, it's essential to determine the required print size and the printer's technical specifications. A bleed is the extension of the printed design beyond the edge of the document where it will be trimmed. In other words, bleed is the background image of the printout that exceeds the designated margin. A standard print bleed area is .125 inches on each side. Designers extend the images beyond the edge of the final document to ensure that no part of the image is cut off.
How to Add a Bleed in Photoshop
- To add bleed in Photoshop, start by adding guides to the photograph by enabling rulers with the shortcut Ctrl+R.
- Then, go to View > Snap To > Document Bounds, and drag the guide down to the edge of the image. Add a bleed by going to Image > Canvas Size and adding 3mm of bleed by increasing the existing Width and Height values by 6mm. Your image is now ready for printing.
How to Add Bleed Marks in Photoshop
If you want to add bleed marks to your document, you can do so by using Microsoft Print to PDF. First, save your Photoshop file as a PDF. Open the PDF in a browser and print it using the Microsoft Print to PDF setting. Then select the Corner Crop Marks option under Printing Marks. This will add cross-shaped marks to the corners of your image, outlining where the final printout will be trimmed.
What About Trim Marks?
A trim mark or crop mark is a thin line that shows where the paper will be trimmed to the final size. These marks tell the printer where they must cut, thus avoiding cutting into the bleed area or the actual print area. Adding crop marks in Photoshop is a simple process. Start by creating guidelines that show where the final edges of the image should be. Then, using a brush, draw a line over each guide line, ensuring that they extend slightly beyond the edge of the background. The crop mark is now in place.
Final Words
In summary, adding bleed to your Photoshop-designed project is an essential step for achieving the desired final output. The process entails enabling rulers to add guidelines, adding the bleed in Image > Canvas Size, and finally, building the project. Adding bleed marks and trim marks, on the other hand, ensures that the printer will not cut into the bleed area or over the image's important parts. Photoshop's versatility and flexibility make it the ideal tool for designing print projects.
Questions you might be asking
How do I add a 0.125 bleed in Photoshop?
To add a 0.125 bleed in Photoshop, follow these steps:
- Open your document and go to Image > Canvas Size.
- In the Canvas Size dialog box, make sure that the Relative checkbox is selected.
- Enter 0.125 for both the width and height of the Canvas Size.
- From the Anchor menu, select the center square.
- Click OK.
How do you add bleeds?
To add bleeds to your document, follow these steps:
- Determine the size of the bleed needed for your project.
- Open your document in your design software, such as Photoshop or InDesign.
- Go to the document setup or document properties.
- Enter the size of the bleed you need — this will typically be 0.125 inches or 3mm.
- Ensure that any images or backgrounds that bleed off the edge of the page extend at least to the bleed line.
- Export your document or send it to be printed.
How do I add bleed to a5 in Photoshop?
To add bleed to an A5 document in Photoshop, follow these steps:
- Open your A5 document and go to Image > Canvas Size.
- Make sure that the Relative checkbox is selected.
- In the Width and Height fields, enter the size of your final document including the bleed. For example, if your A5 document is 148 x 210mm, and you want 3mm of bleed on all sides, you would enter 154 x 216mm.
- Select the center square from the Anchor menu.
- Click OK.
How do you add bleed and crop marks?
To add bleed and crop marks to your document, follow these steps:
- Determine the size of the bleed needed for your project.
- Open your document in your design software, such as Photoshop or InDesign.
- Go to the document setup or document properties.
- Enter the size of the bleed you need — this will typically be 0.125 inches or 3mm.
- Ensure that any images or backgrounds that bleed off the edge of the page extend at least to the bleed line.
- Add crop marks to your document by going to the Marks and Bleeds settings and select "crop marks".
- Export your document or send it to be printed.