Adobe Photoshop offers numerous features that assist designers in creating stunning and professional pieces. One such feature, known as "Alpha Lock," is a powerful tool that allows artists to work on individual layers without affecting the transparency of the pixel. This guide will show you how to utilize the Alpha Lock feature in Photoshop effectively.

Understanding Alpha Lock
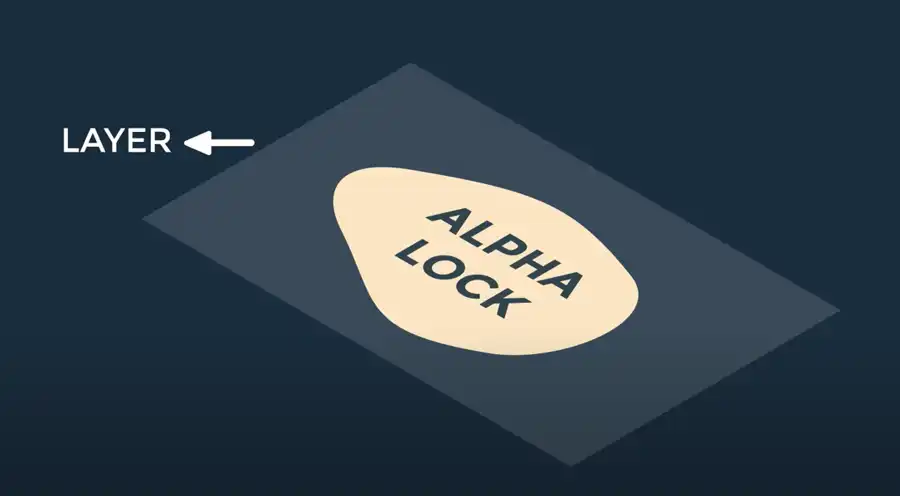
Before we dive into the steps, let's clarify what Alpha Lock is. In essence, Alpha Lock allows you to lock the transparency of a layer. This means you can freely paint or draw on the layer without affecting its transparent areas, allowing for non-destructive editing and granting greater control over your artwork.
How to Use Alpha Lock in Photoshop: Step-by-Step Guide
The equivalent of Alpha Lock in Photoshop is known as the "Lock Transparent Pixels" option. Here's how you can use it:
Step 1: Open Your Document in Photoshop
Begin by opening your Photoshop document or create a new one. You can do this by clicking "File" on the top menu, then selecting "Open" for an existing document or "New" for a fresh one.
Step 2: Create or Select a Layer
Next, create a new layer or select an existing one on which you want to apply the Alpha Lock. You can do this in the Layers panel, which is typically found on the right side of your workspace.
Step 3: Apply Lock Transparent Pixels
Once you have your layer selected, look at the top of the Layers panel. Here, you'll find several lock icons. The first icon from the left, which looks like a checkerboard square, is the "Lock Transparent Pixels" option.
Click on this icon to activate it. When the feature is turned on, the icon will appear darker.
Step 4: Start Editing Your Layer
With the "Lock Transparent Pixels" option enabled, you can start editing your layer. Any changes you make will only apply to the opaque parts of the layer. The transparent areas will remain untouched, giving you the freedom to manipulate your layer without worrying about affecting the transparency.
Step 5: Unlock the Layer
Once you've finished editing, you can turn off the "Lock Transparent Pixels" feature by simply clicking the checkerboard square icon again. The icon will lighten, indicating that the lock is disabled. You can now edit the layer normally, including its transparent parts.
Conclusion
The Alpha Lock feature (or "Lock Transparent Pixels" in Photoshop) offers an effective way of maintaining control over your design while making changes. It's a powerful tool for non-destructive editing, a concept that emphasizes preserving original image data. By mastering this tool, you can take your Photoshop skills to a new level. Happy editing!
Questions you might be asking
How do you do alpha lock?
Alpha lock is a feature in Photoshop that allows you to lock the alpha channel of a layer. To use alpha lock, simply select the layer you want to lock and click on the "Lock transparent pixels" button in the Layers palette. This will prevent any changes from being made to the transparent areas of the layer while still allowing you to edit the visible portions.
How do you use alpha mask in Photoshop?
An alpha mask is a grayscale channel that can be used to control the transparency of an image. To use an alpha mask in Photoshop, first create a new layer mask by clicking on the "Add layer mask" button in the Layers palette. Then, select the layer mask and use the Brush tool to paint with black or white to control the opacity of the layer. Black areas of the mask will hide parts of the layer, while white areas will reveal them.
How do you set alpha channel in Photoshop?
To set an alpha channel in Photoshop, first select the layer you want to add an alpha channel to. Then, click on the "Add layer mask" button in the Layers palette and select "Add layer mask with options". In the dialog box that appears, select "Grayscale" under the Color Model dropdown menu and click OK. This will create a new alpha channel for the layer that you can use to control transparency.
What is lock transparency in Photoshop?
Lock transparency is a feature in Photoshop that allows you to lock the transparency of a layer. When you lock the transparency of a layer, you can only make changes to the opaque areas of the layer and not the transparent areas. This can be useful when you want to make sure you don't accidentally edit parts of the layer that should remain transparent. You can turn on lock transparency by clicking on the "Lock transparent pixels" button in the Layers palette.