Brightening a dark photo can be the difference between a good image and a great one. Luckily, Adobe Photoshop offers a variety of tools and techniques to help even novice users bring out the best in their photos. In this article, we’ll cover eight different ways to brighten photos in Adobe Photoshop, including steps to follow and pros and cons of each method.

Method 1: Adjust Brightness and Contrast Using Adjustment Layers
Panel Adjustment layers are a non-destructive way to modify the exposure of a photo. Begin by adding a Levels adjustment layer from the Layers panel. In the Properties panel, drag the white slider to the left to set the lightest tones to white and the gray slider to the right to brighten the mid-tones. Finally, slightly move the black slider to the right to set the darkest tones to black, increase contrast.
Pros: Beginner-friendly, easy to use.
Cons: Limited control over individual tones.
Method 2: Use Exposure Setting
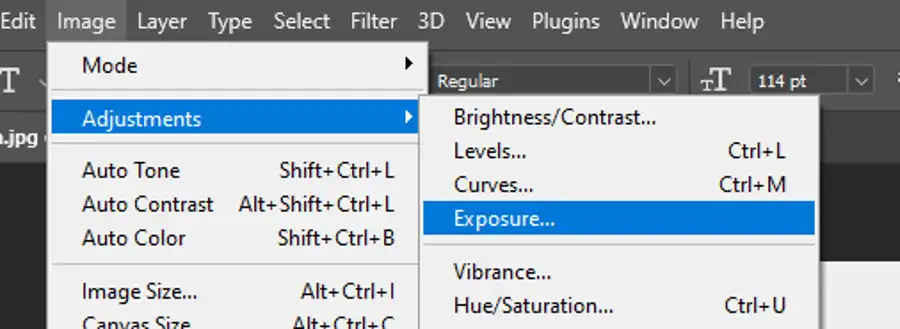
Another method for brightening a photo is to adjust the overall brightness using the Exposure setting. This method increases the brightness of the image by uniformly adjusting all levels of brightness in the photo.
Pros: Simple and straightforward.
Cons: Limited control of individual tones.
Method 3: Use Levels Adjustment Layer

For a little more granular control, use the Levels adjustment layer to modify the brightness of individual tones. In the Properties panel, adjust the highlights, mid-tones, and shadows using the sliders.
Pros: Add more detail to certain areas of the photo.
Cons: Can increase contrast too much, making the photo look unnatural.
Method 4: Use Curves Adjustment Layer
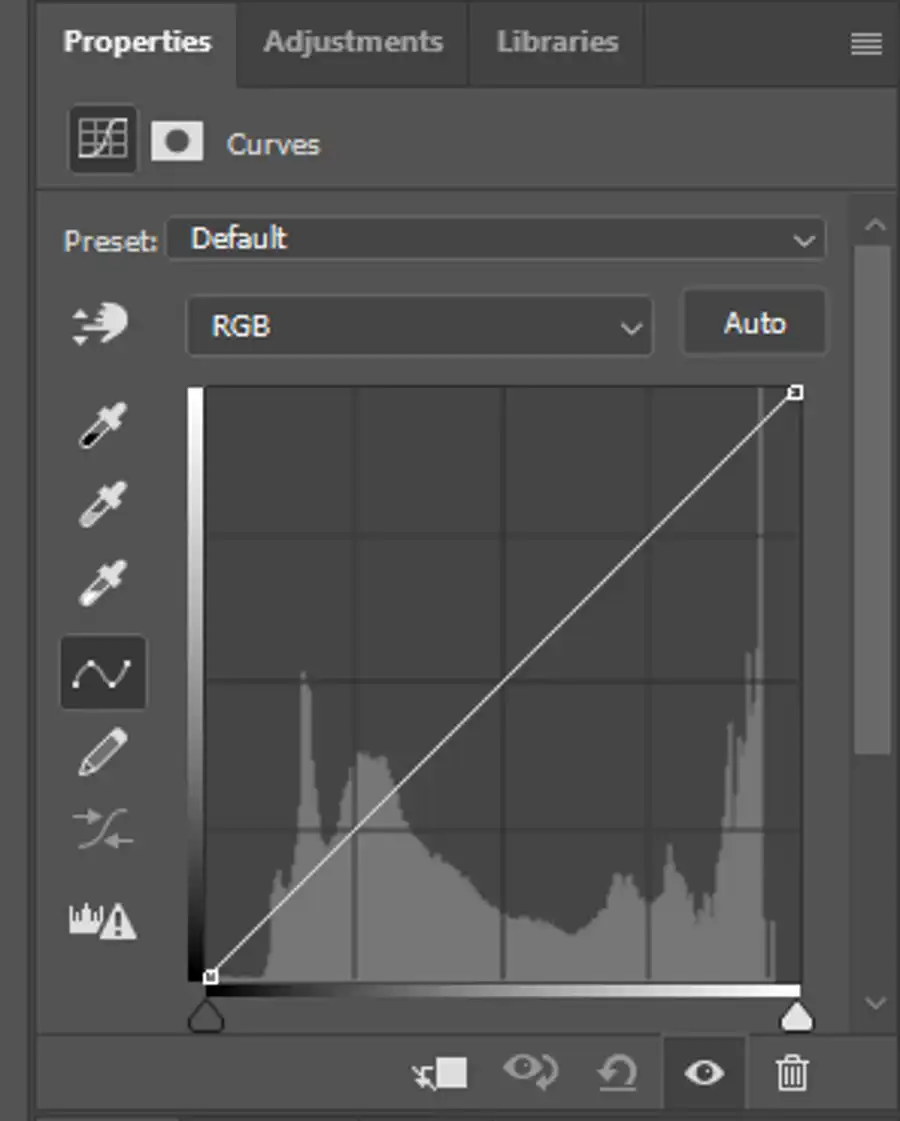
Using a Curves adjustment layer is similar to Levels but adds even more control. Select the Curves adjustment layer from the Layers panel and use the curve to modify the lightness of each individual pixel.
Pros: Can adjust individual tones more finely.
Cons: May require more expertise in Photoshop.
Method 5: Use Camera Raw Filter
Using the Camera Raw Filter is helpful for photos with unevenly lit areas, such as portraits. The Camera Raw Filter uses Lightroom’s powerful controls to add more integrated shading adjustments to photos.
Pros: Top-notch image quality.
Cons: Noisy shadow areas without much detail may look too artificial.
Method 6: Use Dodge and Burn Technique
The Dodge and Burn technique is a technique that’s used to manually brighten or darken areas of the photo using the Brush tool. Choose the Brush tool and select a soft brush at 50% opacity. Paint over the areas to brighten or darken and adjust the opacity to control the effect.
Pros: Fine control over the brightness and contrast.
Cons: time-consuming.
Method 7: Use Layer Blending Technique
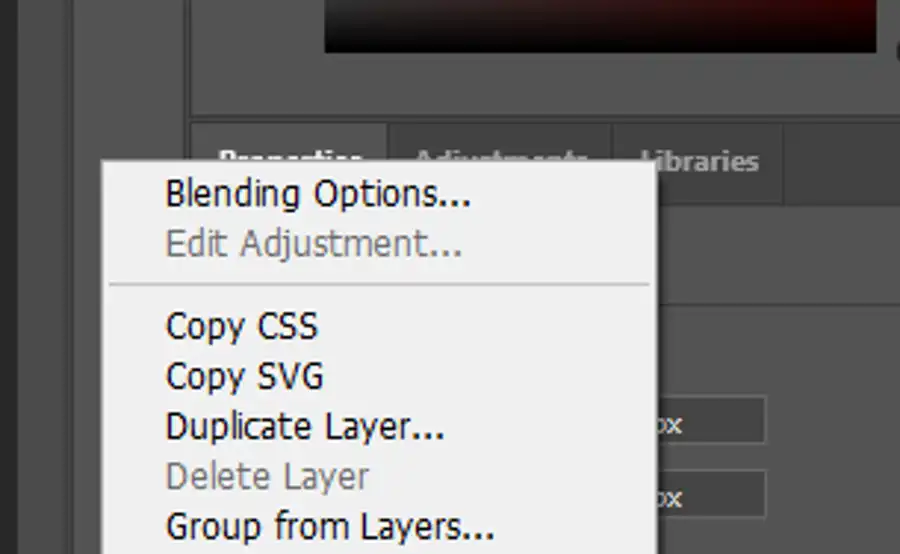
The Layer Blending technique involves creating a duplicate layer of the original image and then blurs it. Use the Screen blending mode to boost the brightness of the image.
Pros: Easy and beginner-friendly.
Cons: Can create a flat and unexciting image.
Method 8: Use Multi-Plate Stamp Clone Technique
The Multi-Plate Stamp Clone technique is a complex method that should only be attempted by skilled Photoshop users. Here's how:
- Work on a duplicate layer of the original photo.
- Apply the effects you want to this duplicate image.
- Use the Clone tool to clone the effect of the duplicate image onto the original image. This will create a brightened version of the original photo without losing the original photo quality.
Pros: Absolute control over the brightness and contrast.
Cons: The method involves multi-layering, leading to a sharp learning curve.
Final Thoughts
Adobe Photoshop is a versatile tool for photo editing, and with these eight methods to brighten up your dark photos, you can bring out the hidden details and enhance the lighting conditions in your images. Try each of the methods detailed above and decide which works best for you. With persistence and practice, you can become an expert at brightening photos in Photoshop!
Questions you might be asking
How do I make an image brighter in Photoshop?
There are several ways to make an image brighter in Photoshop. One way is to use the Levels adjustment tool, which allows you to adjust the brightness, contrast, and tonal range of an image. To use the Levels adjustment tool, go to Image > Adjustments > Levels. Then move the middle slider to the right to increase the brightness of the mid-tones.
How do I fix a picture that is too dark in Photoshop?
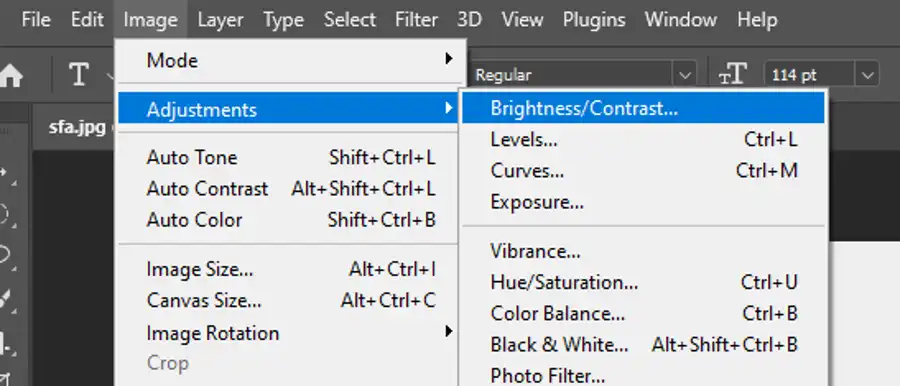
To fix a picture that is too dark in Photoshop, you can use the Brightness/Contrast adjustment tool. Go to Image > Adjustments > Brightness/Contrast. Then move the Brightness slider to the right to increase the brightness of the image. You can also use the Shadows and Highlights adjustment tool to brighten the dark areas of the image while preserving the highlights.
How to make a picture brighter?
To make a picture brighter in Photoshop, you can use various adjustment tools such as Levels, Curves, Brightness/Contrast, and Exposure. Each tool has different options and settings to increase the brightness of an image. You can try each tool and see which one works best for your image.
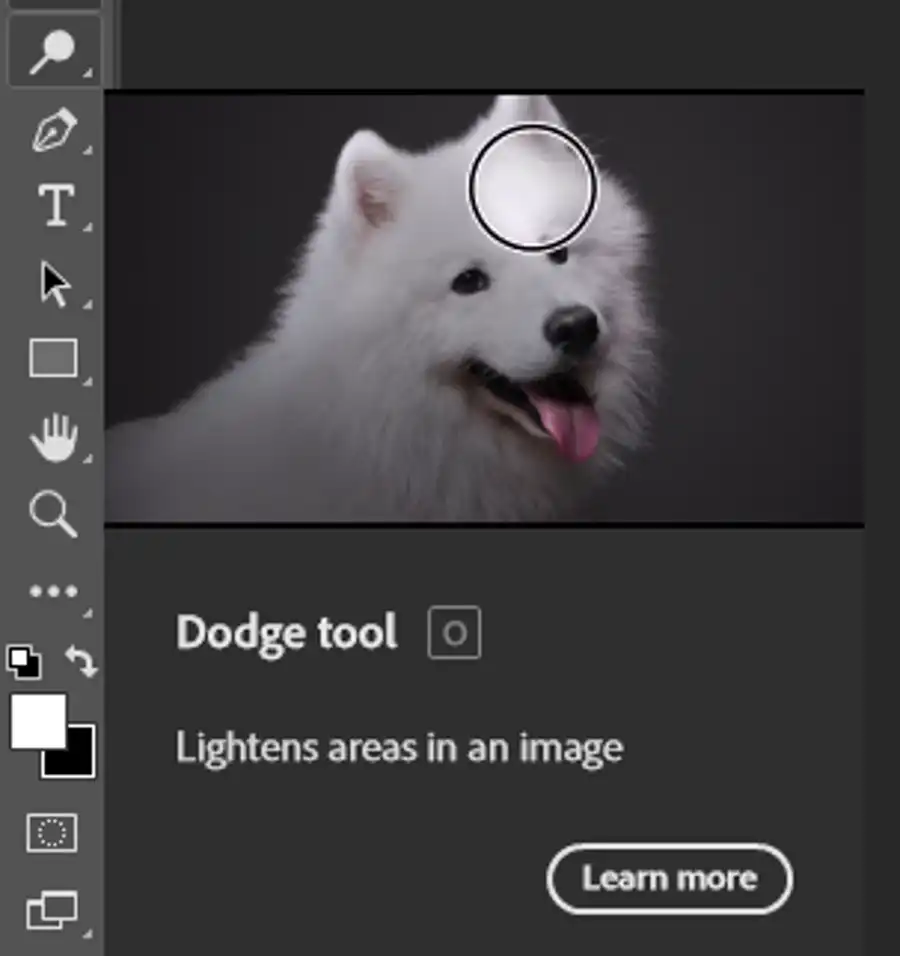
How to increase the brightness of a specific part of an image Photoshop?
To increase the brightness of a specific part of an image in Photoshop, you can use the Dodge tool or the Adjustment Brush tool. The Dodge tool allows you to lighten specific areas of the image by painting over them with a brush. The Adjustment Brush tool allows you to increase the brightness of a specific part of the image by creating a mask and adjusting the exposure or brightness setting. You can also use the Levels or Curves adjustment tools to selectively adjust the brightness of specific parts of the image.