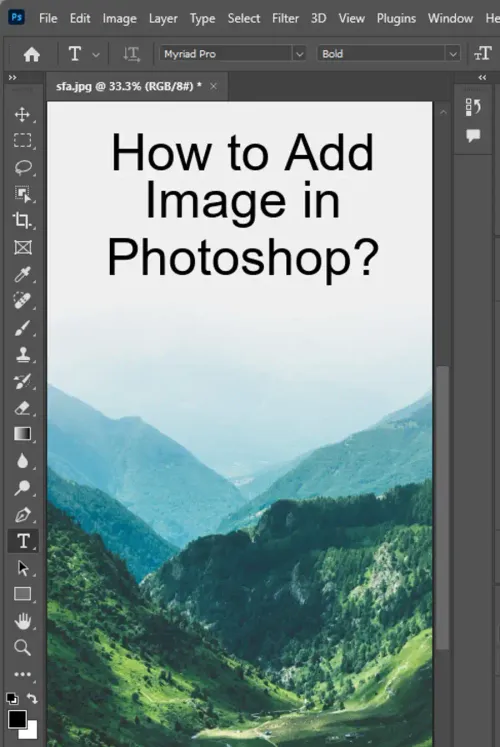
Adobe Photoshop is a powerful photo editing tool that allows users to create and manipulate images like never before. As one of the flagship products offered in the Adobe Creative Cloud, it can be daunting knowing where to start when you want to add images to your projects. Fear not! In this guide, we’ll cover everything you need to know to add an image to your Photoshop project.

Adding an Image to a Photoshop Project
Once you have Photoshop open and ready to go, adding an image is easy. There are two ways to go about it: creating a new document with an image set as the background or adding an image as a separate, individual layer.
For those wanting the image as the background, follow these simple steps:
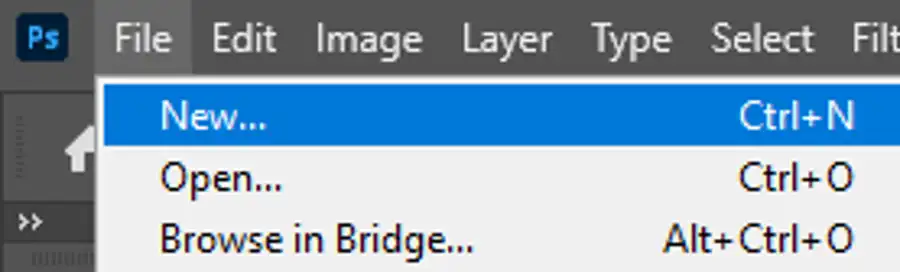
- Click on “File” and select “New” (or use the keyboard shortcut “Ctrl + N”)
- Set the dimensions of your document in the dialogue box, making sure you have a transparent background
- Once the new document is created, click on “Layer” in the menu bar and select “New Fill Layer,” then “Solid Color”
- In the “New Layer” dialogue box, choose the color you want your background to be and click “OK”
- Drag your image onto the new document. It will automatically be set as the background.
If you’d prefer to have the image as a separate layer, follow these steps:
- Click on “File” and select “Open” (or use the keyboard shortcut “Ctrl + O”)
- Navigate to the image you want to add and select it
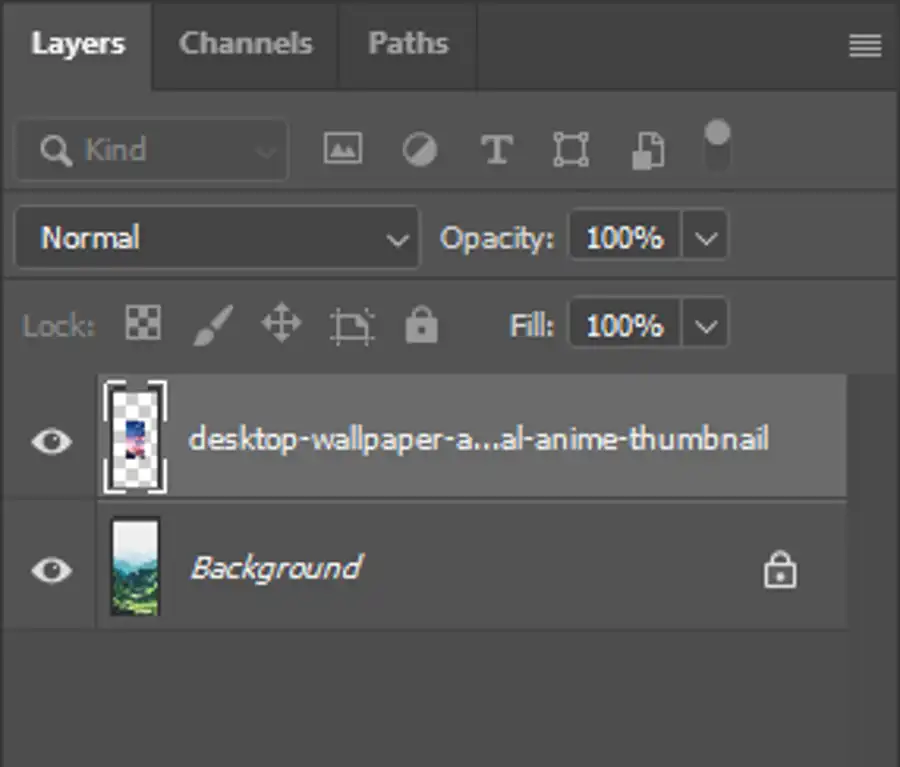
- Click on the “Move Tool” (the cross arrow in the toolbar on the left) and drag the image onto the Photoshop canvas. It will appear as a new layer.
Editing and Transforming Images in Photoshop
Now that you have your image added to your project, you can start editing and transforming it to your heart’s content. There are a multitude of tools and methods to use, so this overview will only scratch the surface.
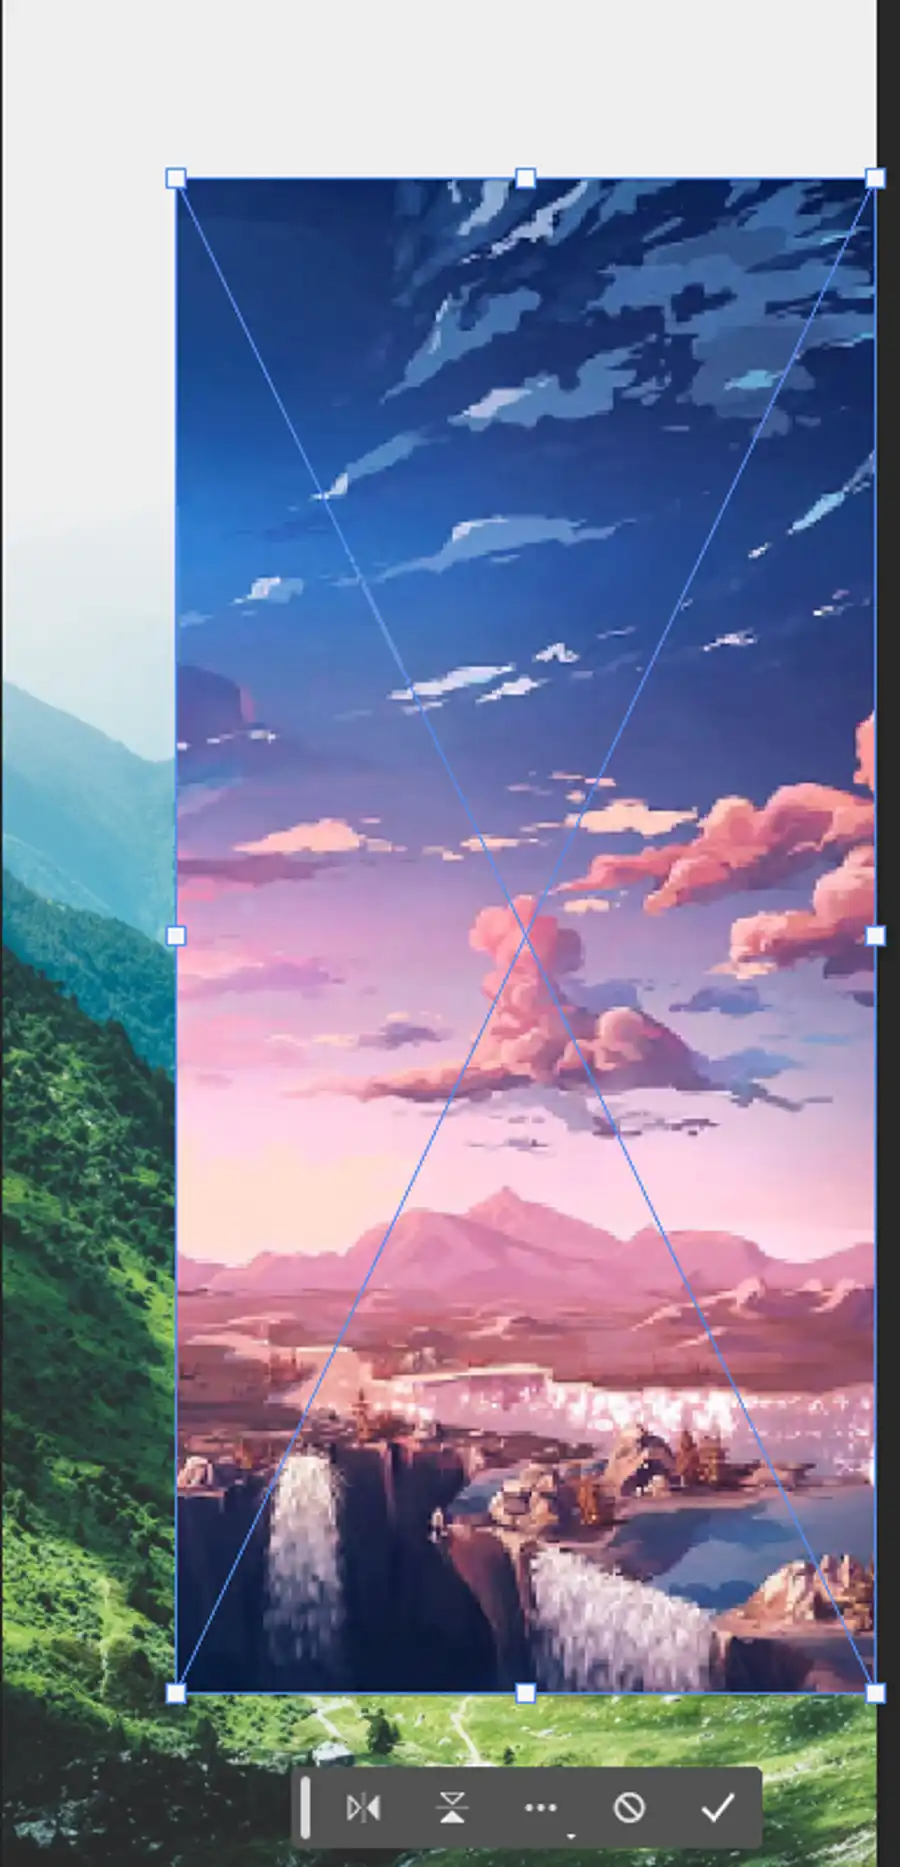
The “Free Transform” tool is a great way to adjust the size and shape of your image.
- Select the layer containing the image you want to transform
- Click on “Edit” in the menu bar and select “Free Transform” (or use the keyboard shortcut “Ctrl + T”)
- A frame will appear around your image with handles. Drag these handles to resize your image, or right-click on the image to access more complex transformation options.
“Layer Masks” are another tool worth knowing about. They allow you to hide parts of your image without permanently deleting them.
- Select the layer containing the image you want to mask
- Click on the “Layer Mask” button at the bottom of the Layers panel (it looks like a square with a circle in it)
- Select the brush tool from the toolbar on the left and paint over the areas you want to hide. You can always paint over it again to reveal the hidden areas.
Using “Smart Objects” is also a great way to prevent irreversible damage to your original image. Think of them as a container for your image and its transformations.
- Select the layer containing the image you want to transform
- Right-click on the layer and select “Convert to Smart Object”
- Now, any edits you make to the layer will be stored in the smart object, meaning you can adjust the edits later without losing resolution or quality.
Resizing Images in Photoshop
Finally, we recommend resizing images is to avoid hogging unnecessary file space. The “Crop” tool is a great way to not only resize images but also expand the canvas size of the project.
- Select the layer containing the image you want to crop
- Click on the “Crop” tool in the toolbar on the left
- Drag the handles to adjust the cropping
- Once you’re happy with the cropping, click on the checkmark in the menu bar to apply the crop.
Questions you might be asking
How do I add an image to an existing layer in Photoshop?
Adding an image to an existing layer in Photoshop is an easy process. Follow these steps:
- Open the image you want to add to the existing layer.
- Press Ctrl+A (Command+A on Mac) to select the entire image.
- Press Ctrl+C (Command+C on Mac) to copy the selection.
- Go to the layer you want to add the image to and click on it to select it.
- Press Ctrl+V (Command+V on Mac) to paste the copied image into the layer. Alternatively, you can simply drag and drop the image onto the selected layer.
How do I put an image in a selected area in Photoshop?
Placing an image in a selected area in Photoshop is known as "Clipping Mask". Here are the steps to do it:
- Open the image and select the area where you want to insert the image using any selection tool.
- Go to the layer where you want to add the image and press Ctrl+Alt+G (Command+Option+G on Mac) to create a clipping mask.
- The selected area will now be linked to the layer you want to add the image to.
- Now, paste the image onto the layer (as explained in the previous question) and it will automatically be inserted into the selected clipping mask area.