Looping audio is a technique frequently used in audio production, enabling a segment of sound to be played repeatedly. Whether it's a catchy drum beat, a backing track, or a sound effect, looping can give your track a consistent rhythm and feel. Adobe Audition, Adobe's professional-grade audio editing software, provides several straightforward methods to create a seamless loop. This in-depth guide will take you through the step-by-step process.

Understanding Audio Looping
Before we get into the steps of creating a loop, it's crucial to understand what an audio loop is. In the simplest terms, a loop is a small section of sound that's designed to be played repeatedly in a sequence or "loop". These loops can be instrumental, rhythmic, melodic, or even consist of sound effects, and are commonly used in music, sound design, and podcasting.
Launch Adobe Audition and Import Your Audio
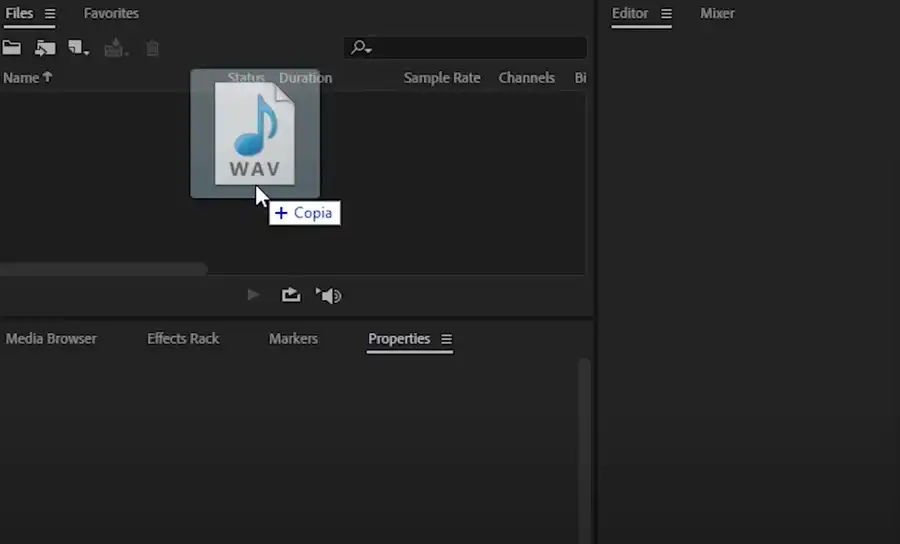
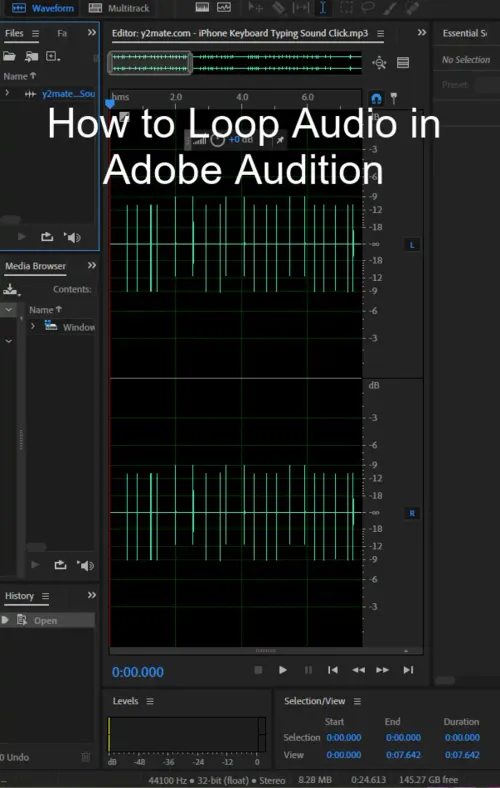
To start creating your loop, open Adobe Audition and import your audio file by navigating to File > Open or by dragging the audio file into Adobe Audition's workspace.
Step 1: Choose Your Loop Segment
The first step to creating a good loop is selecting the right segment. It can be as short as a single drum beat or as long as a complete musical phrase. This segment should be something that sounds natural when repeated.
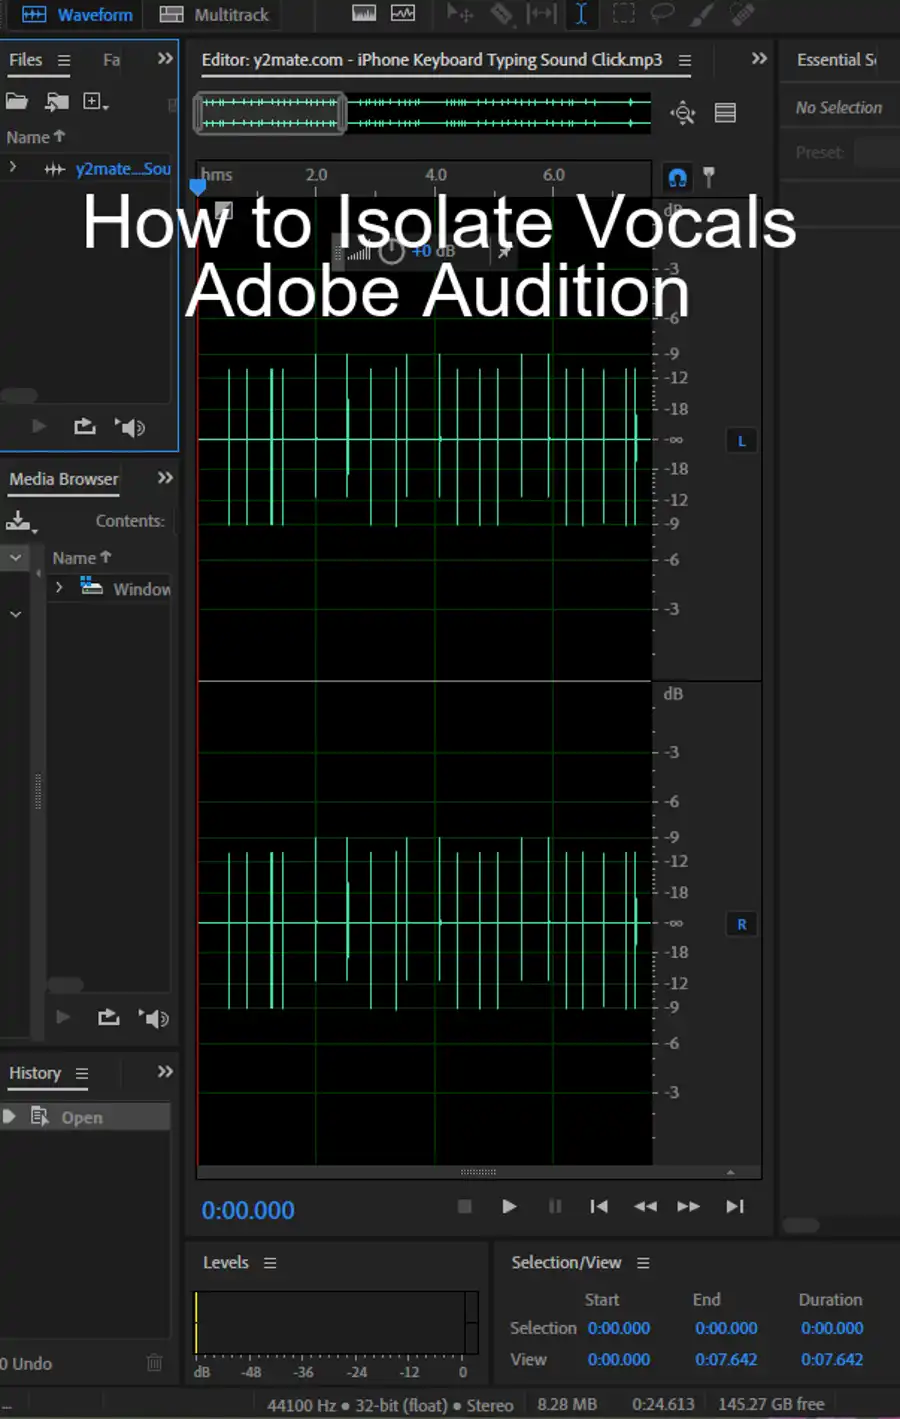
To select a segment, click and drag over the waveform in the Editor panel. You can adjust the start and end of your selection by hovering over the selection boundary until the cursor changes to a bracket, then click and drag.
Step 2: Refine Your Loop Segment
A good loop should start and end at zero-crossings points to avoid audible clicks or pops when the loop repeats. Zero-crossings are points where the waveform intersects the center line in the Editor panel.
Zoom in on the start and end of your selection and adjust the boundaries to align with the nearest zero-crossings. You can zoom in by using the zoom slider in the bottom right of the Editor panel or by pressing Ctrl + + (Windows) or Cmd + + (Mac).
Step 3: Copy and Paste Your Loop Segment
Once you're happy with your selection, copy it by pressing Ctrl + C (Windows) or Cmd + C (Mac). Then, position the playhead where you want the loop to start repeating and paste your selection by pressing Ctrl + V (Windows) or Cmd + V (Mac). Repeat this process as many times as you want the loop to repeat.
Step 4: Create a Seamless Loop with Crossfades
To ensure your loop sounds seamless, you can apply a crossfade between the end of one repetition and the start of the next. A crossfade gradually decreases the volume of the end of one clip while simultaneously increasing the volume of the start of the next clip.
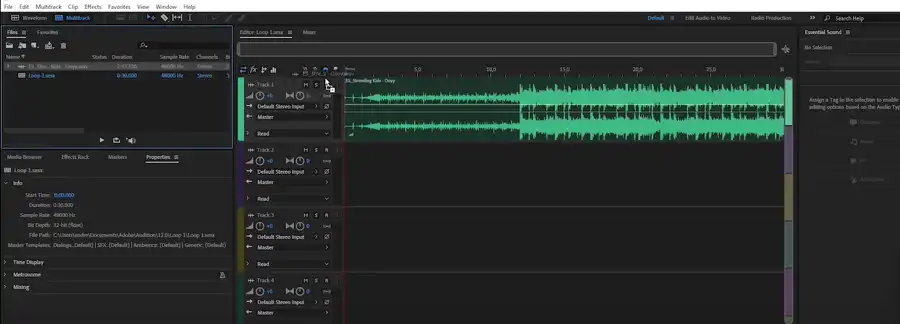
To create a crossfade, move the clips you want to crossfade onto separate tracks in a multitrack session. Then, overlap the end of one clip with the start of the next clip. Adobe Audition will automatically create a crossfade.
You can adjust the crossfade by clicking and dragging the crossfade handles, and you can change the crossfade curve by right-clicking the crossfade and choosing a curve type.
Step 5: Test Your Loop
Now that you've created your loop, it's important to test it to make sure it sounds natural and seamless. Play back your loop and listen for any clicks, pops, or discontinuities at the loop boundaries. If you hear any, adjust your selection boundaries, crossfades, or volume levels as necessary.
Step 6: Export Your Loop
Once you're happy with your loop, you can export it as a new audio file by selecting File > Export > File. Choose your desired file format, name your file, select a location to save it, and click OK.
Conclusion
Creating a seamless loop in Adobe Audition can be a simple yet powerful tool in your audio editing skillset. Whether you're producing music, creating sound effects, or editing a podcast, looping can help you create consistent, rhythmic soundscapes. With careful selection, precise editing, and thoughtful crossfading, you can create natural-sounding loops that enhance your audio projects. Happy looping!
Questions you might be asking
How do I loop an audio file?
In Adobe Audition, there are several ways to loop an audio file. The easiest way is to select the portion of the audio you want to loop and then copy it to a new track. Then, you can simply drag the end of the track to extend it for as long as you want the loop to play. Another option is to use the "Loopology" feature, which allows you to search for and download pre-made loops to use in your project.
Does Audition have loops?
Yes, Adobe Audition has a built-in Loopology feature that includes a wide variety of pre-made loops that you can easily incorporate into your project. Additionally, you can create your own custom loops by selecting a portion of an audio track and then using the loop feature to repeat it as many times as you want.
How do you repeat a beat in Audition?
To repeat a beat in Adobe Audition, first select the portion of the audio track you want to repeat. Then, use the "Loop" feature to repeat the selection as many times as you want. You can also use the "Duplicate" feature to create multiple copies of the selection and arrange them as needed to create the desired length.
How do I extend audio in Adobe Audition?
To extend an audio track in Adobe Audition, simply select the end of the track and drag it to the desired length. Alternatively, you can use the "Time Stretch" feature to adjust the length of the track without changing its pitch. This feature can be especially useful when trying to fit audio to a specific time frame or tempo.