Are you tired of simply showcasing your design work on a flat screen? Do you want to give potential clients a better idea of what your designs could look like in the real world? Creating a product mockup may be just what you need to elevate your portfolio to the next level. And the best part is, it is incredibly easy to learn!
In this article, we will be giving you a step-by-step guide on how to create a simple product mockup in Adobe Photoshop, and an advanced product mockup with impressive lighting effects. We'll also share some great tips and tricks that will help you create your own curved mockups easily. So, let's dive into it!

How to create a simple product mockup in Adobe Photoshop:
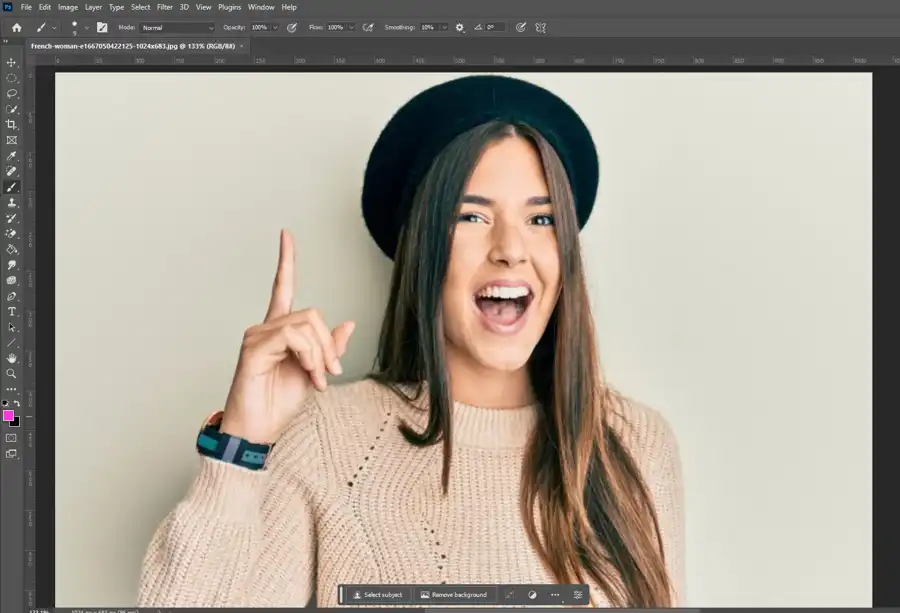
Step One: Download your background stock image and open it in Adobe Photoshop.
The first step is pretty straightforward. You need to pick out a background image and import it into Photoshop. You can browse through stock image websites such as Adobe Stock or Mockupworld, or you can use your own. Make sure that the background you pick is simple and black as it will make it easier to work with.
Step Two: Draw your shape
The next step is to draw the shape that your design will sit on. You can do this using the shape tools or even Illustrator if you'd like. Make sure that the shape you draw is the correct size and shape for your design.
Step Three: Convert your shape to a Smart Object
Once you've drawn the shape, you need to convert it to a Smart Object. Converting it to a Smart Object will make the shape editable even after it has been added to the mockup.
Step Four: Adjust the perspective
You need to adjust the perspective of the shape to make it look like it belongs in the photograph. You can use the Transform tool to adjust the shape's perspective to fit it into the photograph.
Step Five: Drop in your image
Now you can add your actual product image to the mockup. The easiest way to do this is to drag the image into the Photoshop document and then place it behind the shape layer.
Step Six: Voila
Your simple product mockup is ready! You can showcase your work on it and impress your clients with the clean and professional look. But, if you want to add some lighting effects and give it a more realistic look, read on for the advanced product mockup.
Questions you might be asking
How to make a mock-up in Photoshop?
Follow these steps to make a mock-up in Photoshop:
- Choose the product or app you want to showcase.
- Find high-quality images of the product and its packaging (if applicable).
- Open a new document in Photoshop.
- Use the Rectangle Tool to create the shape of your product.
- Add texture and details to the shape using Layer Styles and Filters.
- Drag and drop the product and packaging images into the document.
- Arrange and scale the images to fit the shape you created.
- Use Shadows and Highlights to create depth and realism.
- Save the mock-up as a PSD or JPEG file.
How to make your own mockup?
Here are the steps to create your own mockup:
- Choose the product or app you want to showcase.
- Determine the size and dimensions of the mockup.
- Sketch your design ideas on paper or using a digital drawing software.
- Create the basic shape of the product or app using Vector Shapes in Photoshop or other design software.
- Add details and texture using Layer Styles and Filters.
- Import images of the product or app into the mockup document.
- Arrange and scale them according to your design.
- Use Shadows and Highlights to create depth and realism.
- Save the mockup as a PSD or JPEG file.
How do you make a 3D mockup in Photoshop?
Follow these steps to make a 3D mockup in Photoshop:
- Open a new document in Photoshop and select "3D" from the workspace options.
- Choose the 3D object you want to create and adjust the settings for its size, shape, and texture.
- Import any images or logos you want to incorporate into the 3D object.
- Adjust the lighting and shading settings to create a realistic 3D effect.
- Use the Camera tools to adjust the perspective and angle of the 3D object.
- Save the 3D mockup as a PSD or other compatible file format.
How do I make a UI mockup in Photoshop?
Follow these steps to create a UI mockup in Photoshop:
- Determine the size and dimensions of the mockup based on the device or platform you are designing for.
- Use shapes and lines to create a basic wireframe of your UI design.
- Import any images, icons, or logos that you want to use in the mockup.
- Add color and texture to the wireframe using Layer Styles and Filters.
- Use type tools to add labels, instructions, and other text to the UI design.
- Preview the mockup to ensure that it is visually appealing and functional.
- Save the UI mockup as a PSD or other compatible file format.