Photoshop is a powerful tool that allows users to create stunning visual designs. One popular feature of this software is the ability to create 3D text effects. Creating 3D text in Photoshop can be done without using the 3D workspace and is a great way to add depth to your designs. In this tutorial, we'll walk you through the step-by-step process to create 3D text in Photoshop.

Step 1: Create a New Document
To start, open Photoshop and create a new document. Choose the dimensions and resolution according to your preference.
Step 2: Select The Type Tool From Photoshop's Tools Palette
Next, select the type tool from the tools palette. You can use any font you like for your text.
Step 3: Choose A Font From The Options Bar
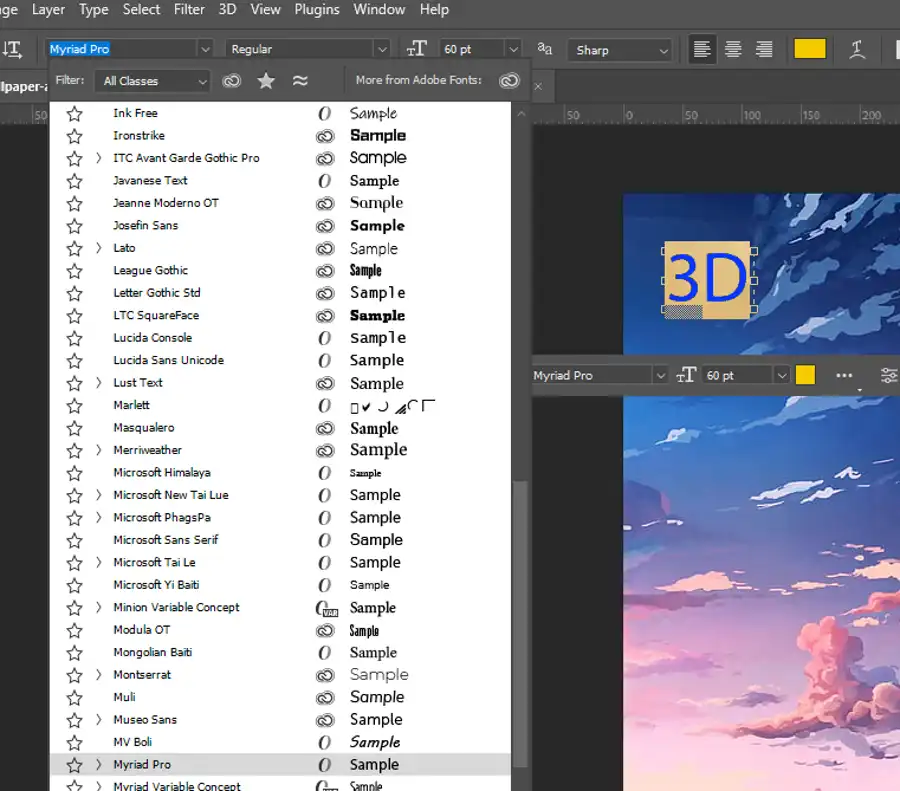
Choose a font from the options bar. Make sure it's a font that looks good and is clear to read.
Step 4: Choose A Color For Your Text

Now, choose a color for your text. Select a color that complements or contrasts with your background.
Step 5: Add Your Text To The Document
Drag and drop the text box to the canvas to insert your text into the document.
Step 6: Resize The Type If Needed
If necessary, resize the text to fit your document.
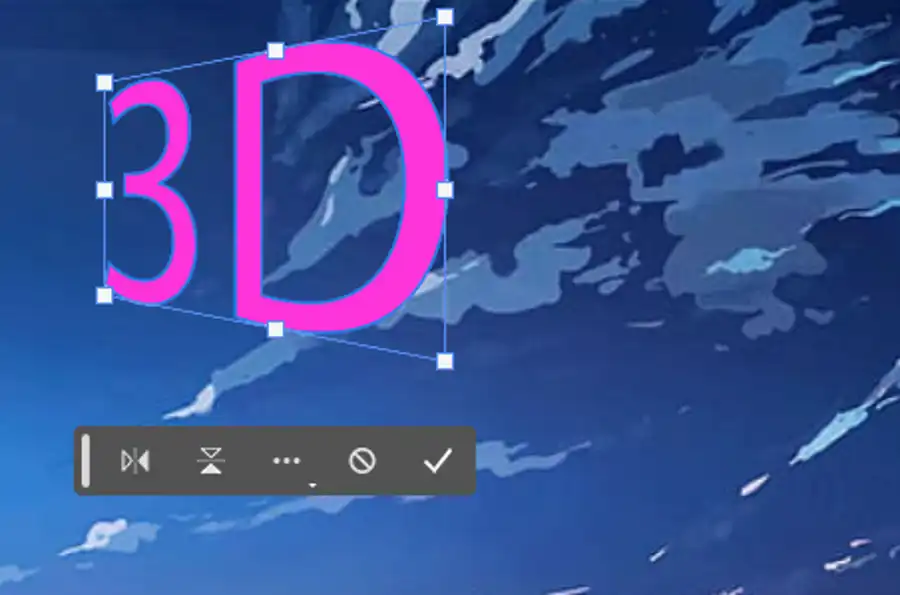
Step 7: Convert The Text To A Shape

Right-click on the text layer and select "Convert to Shape". This will convert the text to a shape layer.
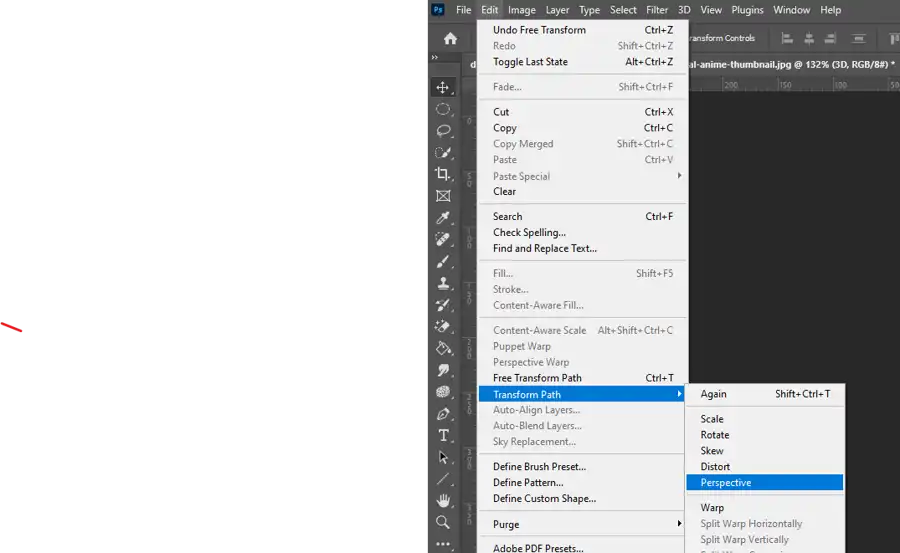
Step 8: Change The Perspective
Select the shape layer and go to Edit > Transform Path > Perspective. Use the handles to transform the shape layer's perspective.
Step 9: Create Multiple Copies Of The Shape Layer
Duplicate the shape layer by pressing Ctrl+J on Windows or Command+J on Mac. Each duplicate should be moved slightly further to the right.
Step 10: Move The Original Shape Layer To The Top Of The Layer Stack
Move the original shape layer to the top of the layer stack in the layers palette.
Step 11: Merge All The Copies Together
Select all the shape layers except the original one, right-click and choose "Merge Layers". This will merge all the 3D effect layers together.
Step 12: Add A Black-To-White Gradient To The Merged Layer
Add a black-to-white gradient to the merged layer by going to Layer Styles > Gradient Overlay. You can adjust the gradient settings to suit your design.
Step 13: Add a Background Layer
Finally, add a background layer to complete the 3D text effect. You can use solid colors, gradients, or images as the background.
In conclusion, creating 3D text in Photoshop is a fun and exciting way to add depth to your designs. By following these simple steps, you can create stunning 3D text effects without using the 3D workspace. With practice, you'll be able to create even more complex 3D designs to take your visual graphics to the next level. Remember to experiment with different fonts, colors, and gradient settings to find the perfect look for your 3D text.
Questions you might be asking
How do I make text 3D in Photoshop?
To make text 3D in Photoshop, you need to start by creating a new Photoshop document. Then, create a new layer and use the Text tool to type out your text. Once you have your text in place, go to the 3D menu and select "New 3D Extrusion from Selected Layer". This will turn your text into a 3D object that you can manipulate using the 3D tools in Photoshop.
How to make 3D in Photoshop?
Making 3D objects in Photoshop is a multi-step process that involves creating a 3D object and then manipulating it using the 3D tools in Photoshop. To get started, create a new document in Photoshop and create a new layer. Then, use the 3D menu to create a new 3D layer from your selected layer. This will create a 3D object that you can manipulate, using the 3D tools in Photoshop. Once you're happy with your 3D object, you can apply textures, lighting, and other effects to create a stunning 3D image.
How do you make 3D bubble text in Photoshop?
To make 3D bubble text in Photoshop, you need to start by creating a new Photoshop document. Then, create a new layer and use the Text tool to type out your text. Once you have your text in place, go to the 3D menu and select "New 3D Extrusion from Selected Layer". This will turn your text into a 3D object that you can manipulate using the 3D tools in Photoshop. Next, you can use the 3D tools to warp and shape your text into a bubble shape, using the Perspective and Mesh Warp tools. Finally, to give your bubble text a depth effect, you can add highlights and shadows using the Lighting and Environment effects.
How do you make golden 3D text in Photoshop?
Making golden 3D text in Photoshop is relatively easy, and it involves using a combination of textures, gradients, and lighting effects. To get started, create a new Photoshop document and create a new layer. Use the Text tool to type out your text, and then go to the 3D menu and select "New 3D Extrusion from Selected Layer". This will turn your text into a 3D object that you can manipulate using the 3D tools in Photoshop. Next, apply a gradient texture to your 3D object, using a golden color scheme. You can then adjust the lighting and environment settings to give your text a shiny, metallic look. Finally, you can finish off by adding some shadows and highlights to enhance the 3D effect.