Photoshop, Adobe's flagship graphics editing tool, provides vast capabilities to users ranging from novices to seasoned professionals. One such capability is manipulating lighting in an image. Light plays a vital role in photography; it adds depth, emotion, and can change the entire tone of a picture. This article will guide you through the process of adding light in Photoshop in an in-depth manner.

Understanding Photoshop Basics
Before you dive into the details of adding light, it is crucial to familiarize yourself with some Photoshop basics.
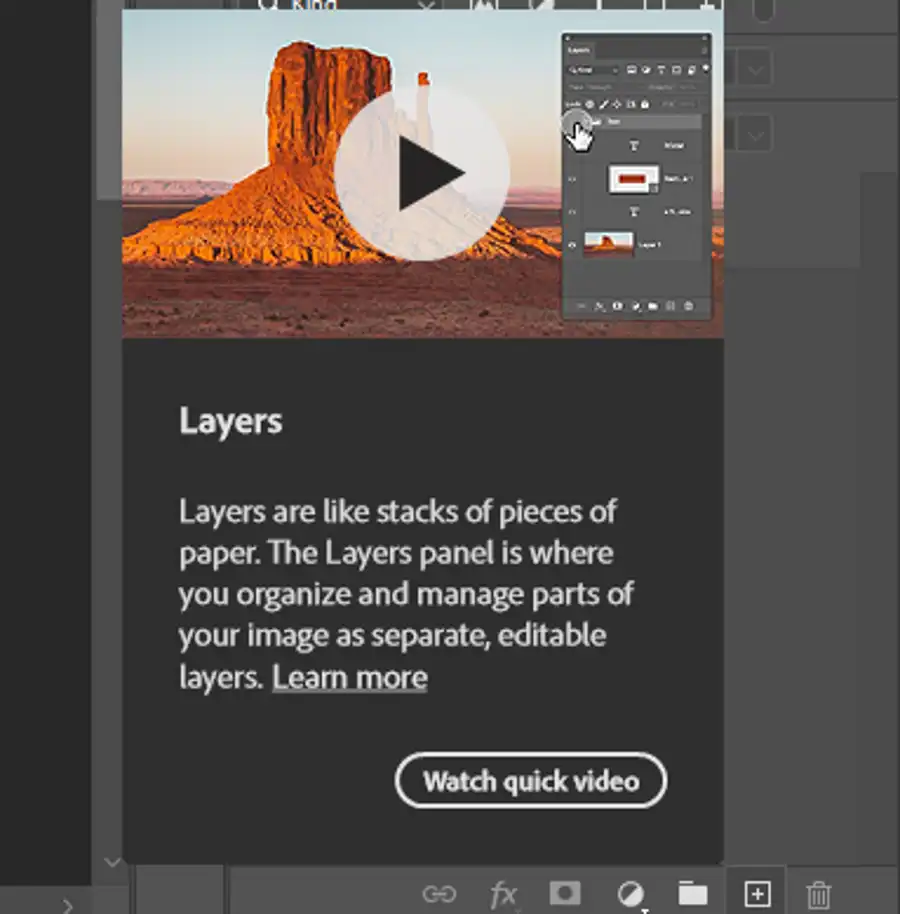
Layers
Layers work like transparent slides stacked on top of each other, each containing different parts of the image. They allow you to work on one part of the image without affecting others.
Adjustment Layers
These are special types of layers that apply color and tonal adjustments to your image without permanently changing pixel values.
Layer Mask
This tool allows you to selectively modify the opacity (visibility) of the layer they belong to.
Adding Light in Photoshop
Now that we're clear on the basics, let's delve into adding light in Photoshop.
Step 1: Open Your Image
Open the image you want to edit in Photoshop. You can do this by clicking File > Open and then selecting the image file.
Step 2: Create a New Layer
Once your image is open, create a new layer by clicking Layer > New > Layer. Name it something like "Lighting effect".
Step 3: Set Your Brush Tool
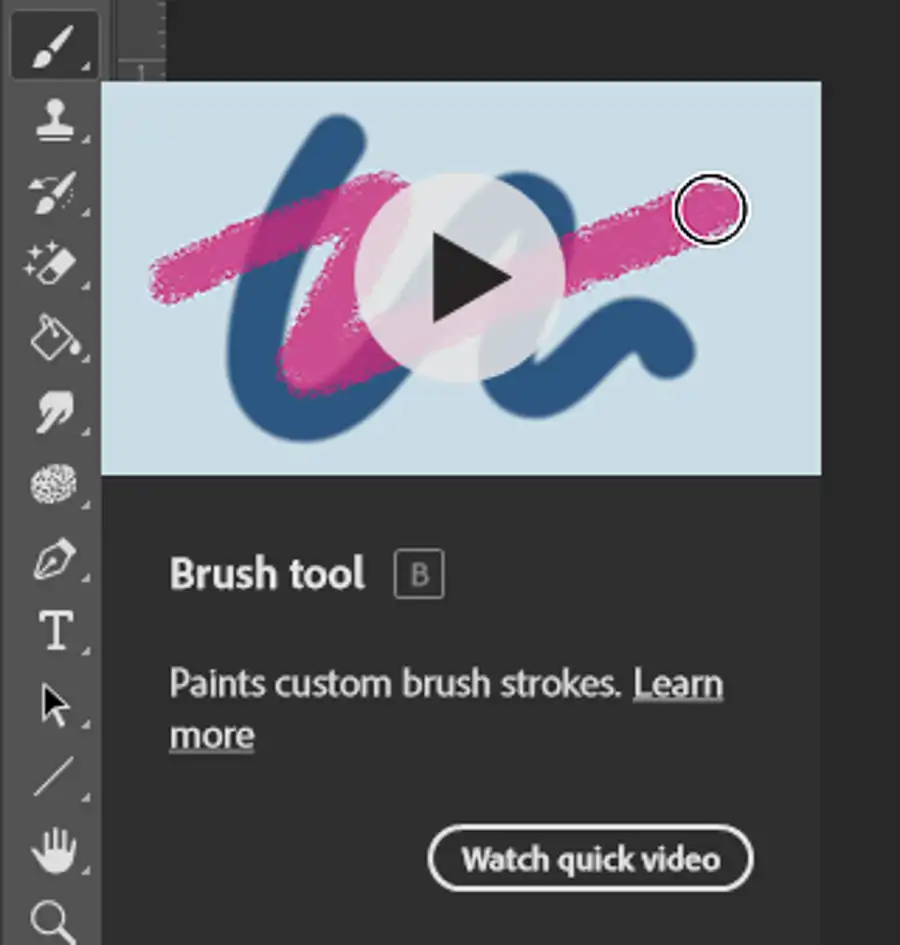
In your new layer, select the Brush tool from the toolbox, or press the B key. Set your brush color to white, because you're adding light. You can change the brush's hardness, size, and opacity according to your needs.
Step 4: Paint the Light
Click and drag your mouse to 'paint' the light onto your photo where you want it. You can adjust the opacity of the brush to ensure the light isn't too harsh or too soft. If you make a mistake, simply use the Ctrl + Z command to undo it.
Step 5: Apply the Gaussian Blur
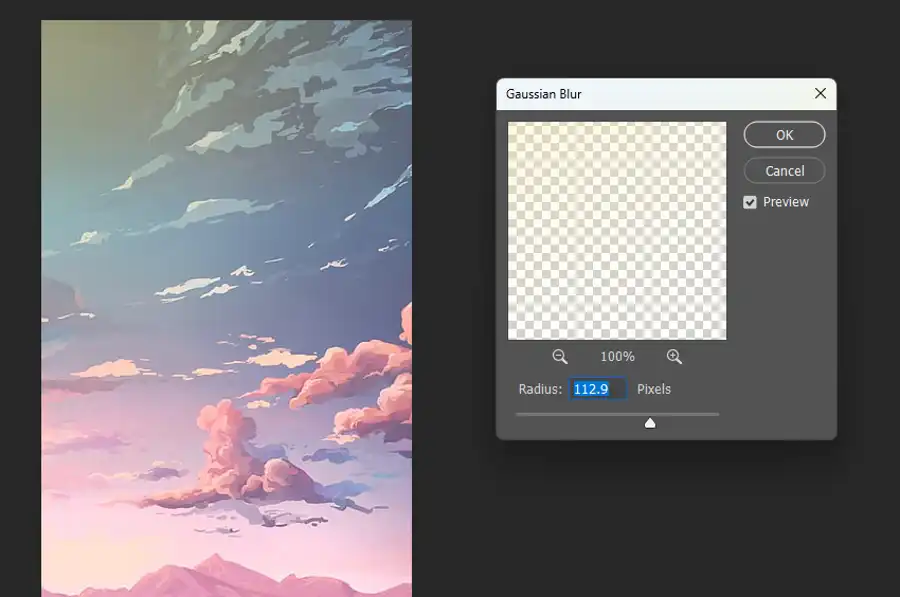
To give a more natural look to your lighting, go to Filter > Blur > Gaussian Blur. A small window will pop up where you can adjust the radius of the blur. This softens the edges of the light you've just added and blends it into the original image.
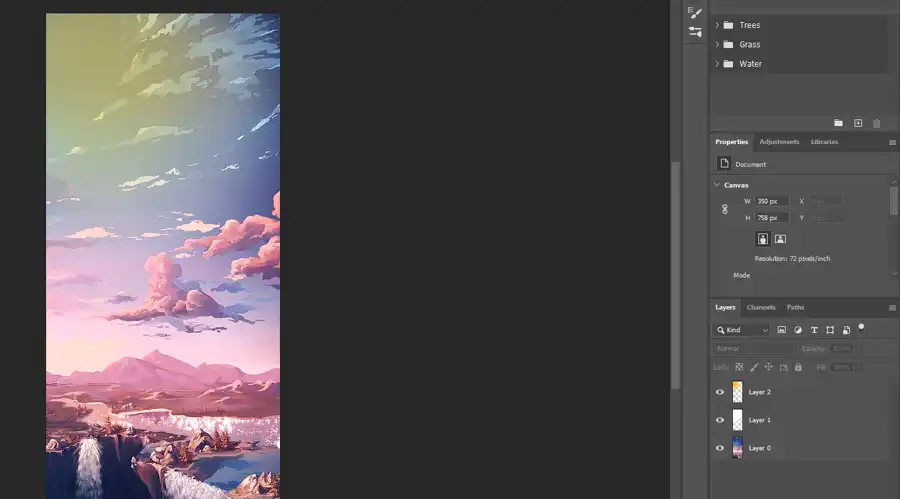
Step 6: Adjust Layer Opacity
After applying the blur, you may want to adjust the light's overall intensity. You can do this by adjusting the opacity of the layer. Lowering the opacity will reduce the intensity of the light, and increasing it will make the light stronger.
Step 7: Repeat the Process
You can repeat this process as many times as you need, each time adding a new layer of light. This technique gives you more control over the lighting effect.
Advanced Techniques: Adjustment Layers and Blend Modes
For more advanced and nuanced lighting effects, you can use adjustment layers and blend modes.
Step 1: Create an Adjustment Layer
Instead of a standard new layer, create an adjustment layer by clicking Layer > New Adjustment Layer > Curves (or whichever adjustment type suits your image best).
Step 2: Modify the Adjustment Layer
In the Curves panel, pull the line upwards to increase the brightness. You can also adjust the RGB channels individually for more control over the color of your light.
Step 3: Apply a Layer Mask
On the adjustment layer, click the Add Layer Mask button. This will allow you to paint in the light just like in the earlier steps, but with the added flexibility of the adjustment layer.
Step 4: Experiment with Blend Modes
You can change the blend mode of your adjustment layer to further control how the light interacts with your image. The Screen or Soft Light modes are often good choices for adding light.
By mastering these techniques, you can add a touch of professional lighting to any photo, enhancing its mood and impact. With the power of Photoshop, you're not limited to what you captured in the camera; you can make your images match the vision in your mind.
Questions you might be asking
How do you add effects to lights in Photoshop?
To add effects to lights in Photoshop, follow these steps:
Open your image in Photoshop.
Create a new layer above your image layer.
Select the Brush tool and set the color to white.
Adjust the brush size and opacity to your liking.
Click on the new layer and brush over the areas of the image where you want to add the effect.
Once you have added the effect, you can adjust the layer opacity to control the intensity.
How do I add light to my face in Photoshop?
To add light to your face in Photoshop, follow these steps:
- Open your image in Photoshop.
- Create a new layer above your image layer.
- Select the Brush tool and set the color to white.
- Adjust the brush size and opacity to your liking.
- Click on the new layer and brush over the areas of your face where you want to add the light.
- Once you have added the light effect, you can adjust the layer opacity to control the intensity.
- If needed, you can also use the Dodge tool to brighten specific areas.
How do I add natural light to an image in Photoshop?
To add natural light to an image in Photoshop, follow these steps:
- Open your image in Photoshop.
- Create a new layer above your image layer.
- Select the Brush tool and set the color to white.
- Choose a soft brush and adjust the brush size and opacity to your liking.
- Click on the new layer and brush over the areas of the image where you want to add the natural light.
- Once you have added the natural light effect, you can adjust the layer opacity to control the intensity.
- To make the natural light effect look more realistic, try adjusting the layer blend mode to Screen or Soft Light.