Are you looking to create circular text in Photoshop? It's a simple process but requires a few specific tools and techniques to do it efficiently. In this step-by-step tutorial, we'll guide you through the process of typing text in a circular path in Photoshop.

Step 1: Setting up the Document
Before we dive into the tutorial, let's introduce the tutorial image we'll be working on. We'll use a simple circle image and add text to it. The process is the same for creating a circle logo or text on any other shaped path.
Step 2: Drawing the Circular Shape
First, open Photoshop and create a new document. You can choose any size and resolution for your document. Next, select the Ellipse Tool from the toolbar and draw a circular shape. If you want to draw a perfect circle, hold down the Shift key while drawing the circle.
Step 3: Adding Guides
Now, let's add guides to our document. Go to View > Show > Guides to show the guides in the document. Click and drag from the rulers to create vertical and horizontal guides that meet at the center of the circular shape.
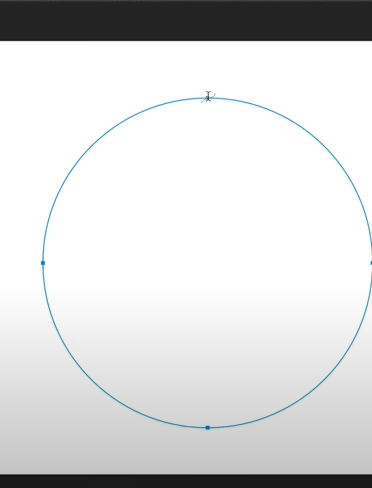
Step 4: Creating an Elliptical Path
To create an elliptical path, select the Ellipse Tool and hover your mouse over the center where the guides meet. Hold Alt (Windows) or Option (macOS) and click-and-drag to create a circle with the Ellipse tool. This elliptical path will be used to add text to the circular shape.
Step 5: Typing Text on the Circular Path

To type on a circular path, select the Horizontal Type Tool from the toolbar and hover above the path until you see a curved line appear on the cursor. Click to start typing your text. You can also create text inside the circle by clicking inside the circle instead of the perimeter. You can use any font for your circle text.
Step 6: Rotating the Text
Be careful while trying to rotate text on a circle. Don't rotate the text layer and try to transform it. Instead, press Ctrl+T (Windows) or Command+T (macOS) to transform the text layer. Move the reference point to the center of the horizontal and vertical guides, then rotate it.
Step 7: Aligning and Positioning the Text
To align and position the text, use the Path Selection tool. This tool will allow you to align and rotate the text around the circle. To type on the bottom half of the circle, first, duplicate the original text layer. Then, right-click on the new layer and select "Create Work Path." Select the Horizontal Type Tool again and click on the bottom half of the circular path to start typing. To invert the text on the circle, go to Edit > Transform > Flip Vertical.
Step 8: Adjusting Baseline Shift
Lastly, you can adjust the baseline shift to change the position of the text vertically on the path. To do this, select the text layer and go to Type > Type on a Path > Options. From here, you can adjust the baseline shift accordingly.
Conclusion
In conclusion, creating circular text in Photoshop is a simple process that requires a few specific tools and techniques. Follow our step-by-step tutorial to learn how to type text in a circle and create a circle logo in Photoshop. With these tips and tricks, you'll be able to edit text on a circular path, align and position circular text, and type on a path. Don't forget to experiment with