
Straightening a crooked photo can sometimes be annoying, but fortunately, we have Photoshop to work its magic for us. In this tutorial, we will be exploring a five-step process that will help you straighten your photos seamlessly and without much hassle. Let's dive right in!

Also read: How to clear Photoshop cache?
Step 1: Select the "Measure Tool"
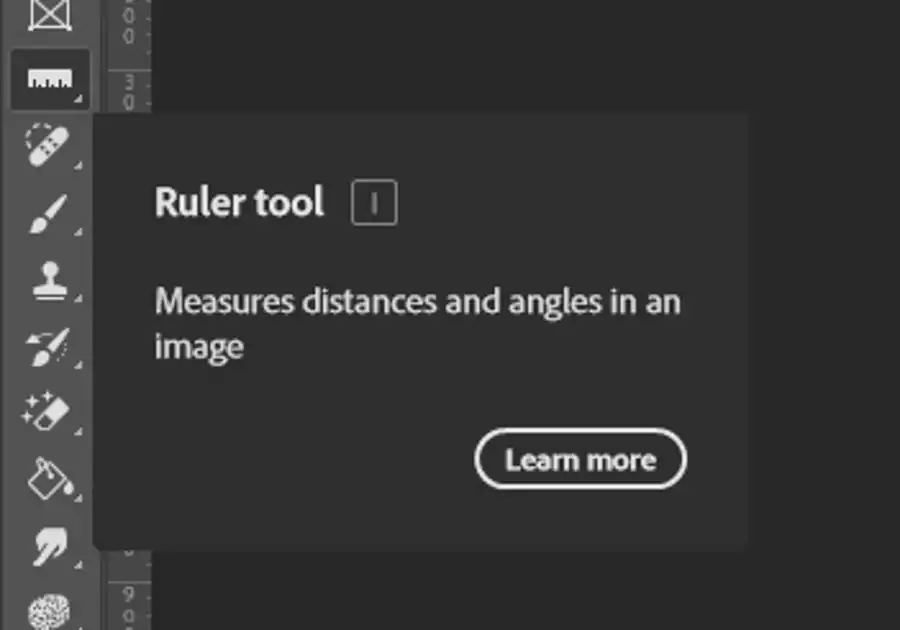
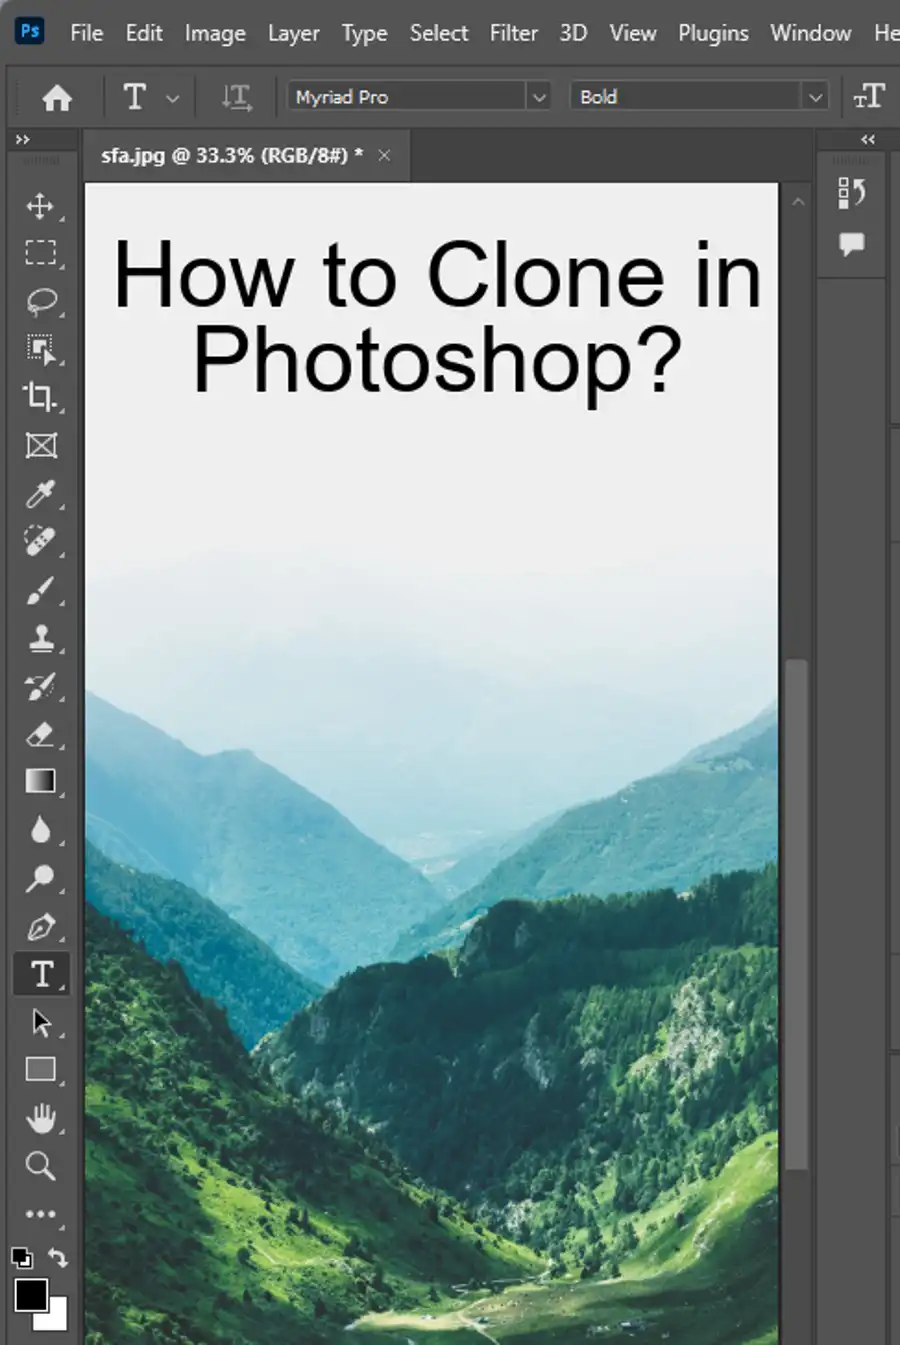
The first step is to select the "Measure Tool" in the toolbar, which is usually located straight below the Eyedropper tool. If you can't find it, you can simply hover over the Eyedropper tool to reveal hidden tools and choose it from there.
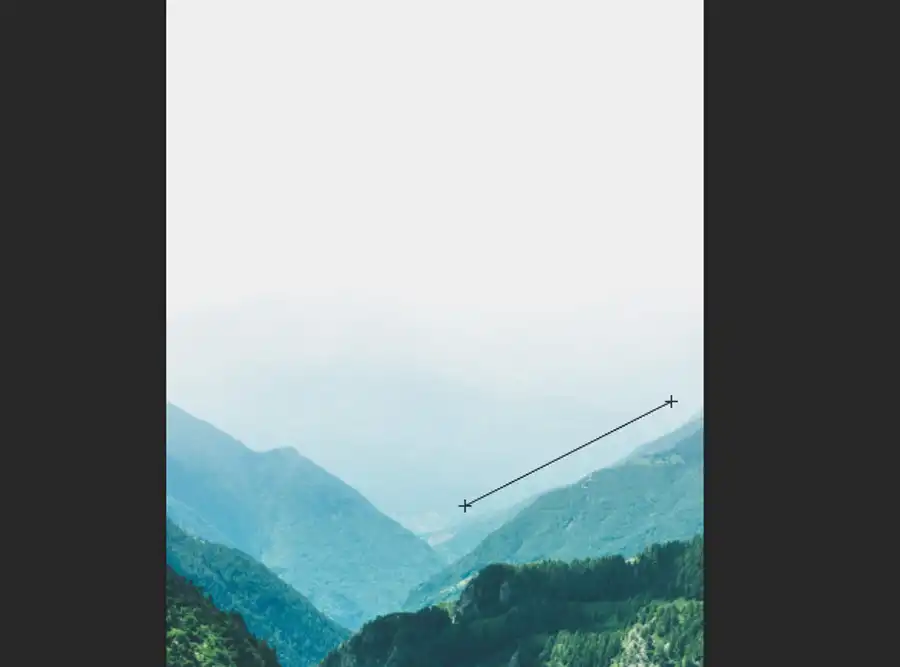
Step 2: Click and Drag Along Something That Should Be Straight
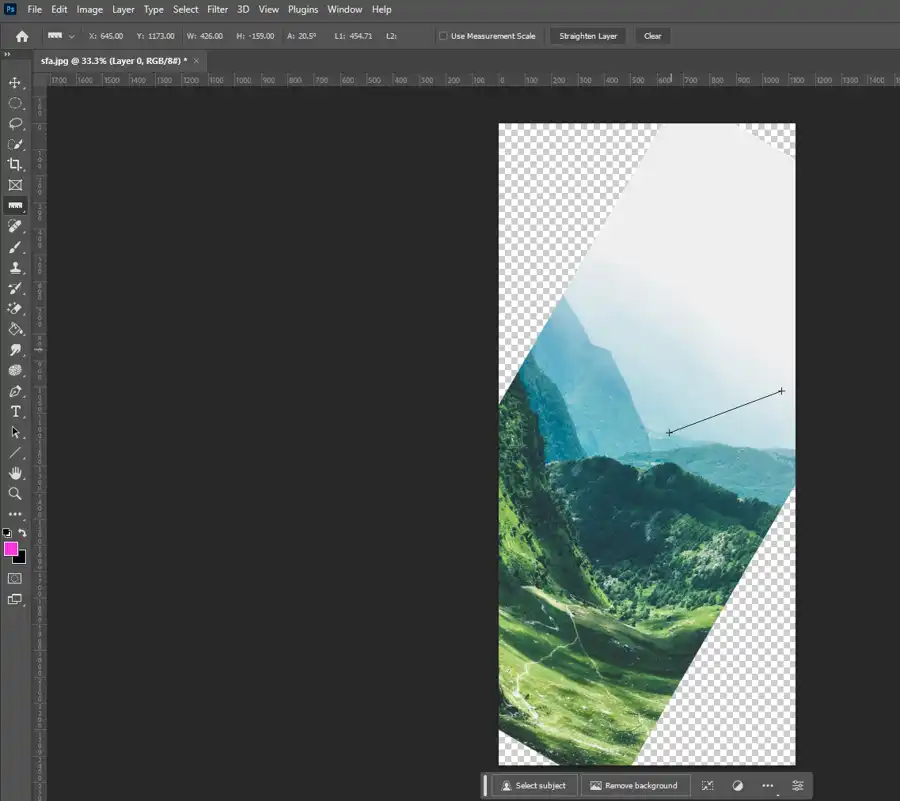
In this step, we will use the "Measure Tool" to click and drag along something that should be straight in your photo. This could be a building, a wall, or anything else that's straight and easily recognizable. Once you have selected the "Measure Tool," draw a line along this object while holding down the mouse button.
Step 3: Choose the "Rotate Canvas - Arbitrary" Command
After drawing the line in the previous step, you will be able to observe an angle appearing in the "Info Panel" at the top of the screen. The angle indicates how much your image is tilted, and we will use this information to rotate it accordingly. Go to the "Image" menu, then select "Image Rotation" and finally choose "Arbitrary." This will bring up a dialog box where you will input the angle you got from the "Info Panel."
Step 4: Click OK to Rotate and Straighten the Image
Once you have entered the angle into the dialog box, click OK to apply the rotation. You will notice that the image has now been straightened accordingly. If you're not satisfied, you could repeat steps 2 to 4 until you've achieved the perfect level of straightness.
Step 5: Crop the Image With the "Crop Tool"
After straightening your image, you might notice that there are some white canvas edges that need to be removed. The "Crop Tool" comes in handy in such cases. Simply activate it and drag around the area you want to keep. Once you're satisfied, press the "Enter" key to crop your image.
Questions you might be asking
How do I straighten an image?
To straighten an image in Photoshop, open the image and select the "Crop Tool" from the left-hand toolbar. Next, click and drag a line across the part of the image you want to straighten. Use the "Straighten" button to automatically adjust the image. Finally, hit "Enter" to apply the changes.
How do you straighten part of an image in Photoshop?
To straighten part of an image in Photoshop, select the "Lasso Tool" from the left-hand toolbar and trace the area you want to straighten. Next, go to "Edit" and select "Transform" from the dropdown menu. Click and drag the edges of the selection until it is straight. Hit "Enter" to apply the changes.
How do I rotate or straighten an image in Photoshop?
To rotate an image in Photoshop, open the image and select the "Crop Tool" from the left-hand toolbar. Click and drag a line across the part of the image you want to rotate. Use the "Rotate" button to adjust the orientation of the image. Hit "Enter" to apply the changes. To straighten an image, follow the instructions in the first question.
How do I automatically straighten in Photoshop?
To automatically straighten in Photoshop, open the image and select the "Crop Tool" from the left-hand toolbar. Click and drag a line across the part of the image you want to straighten. Use the "Straighten" button to automatically adjust the image. Hit "Enter" to apply the changes.