
Adobe Audition is a powerful audio editing software that features a comprehensive set of tools for professional audio editing and production. One of the essential tools in Adobe Audition is the marker. Markers in Adobe Audition are locations defined in a waveform that allow users to navigate within the waveform, make selections, perform edits, or playback audio with ease.


Marker Types and Preferences:
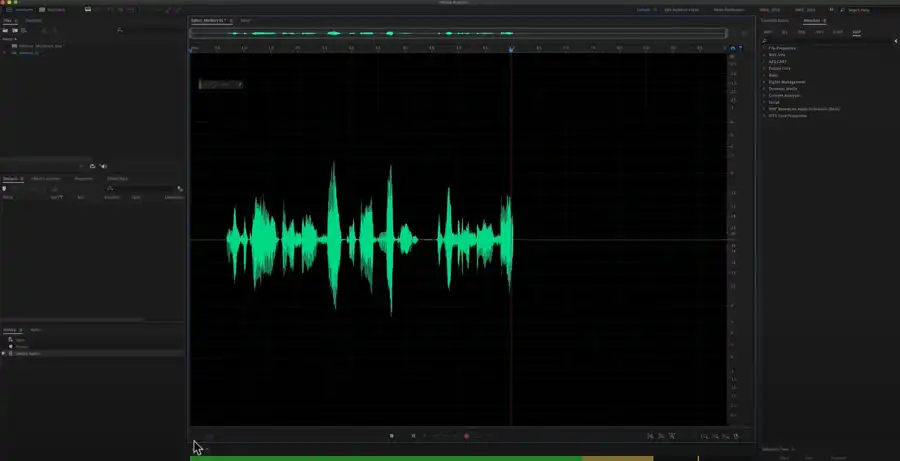
There are two main types of markers in Adobe Audition: point markers and range markers. Point markers refer to a specific time position within a waveform, while range markers have both a start and end time. This distinction helps users to more precisely define a location within a waveform. To view markers, the current time indicator (CTI) can be positioned in the waveform, and white handles will be present in the timeline on the Editor panel.
Preferences for markers can be changed to suit individual preferences. For example, markers can be preserved in a file by selecting Include Markers and Other Metadata, which can be found in the Save Options tab under Metadata preferences. This will ensure that markers are included when exporting or saving audio files.

Working with Markers
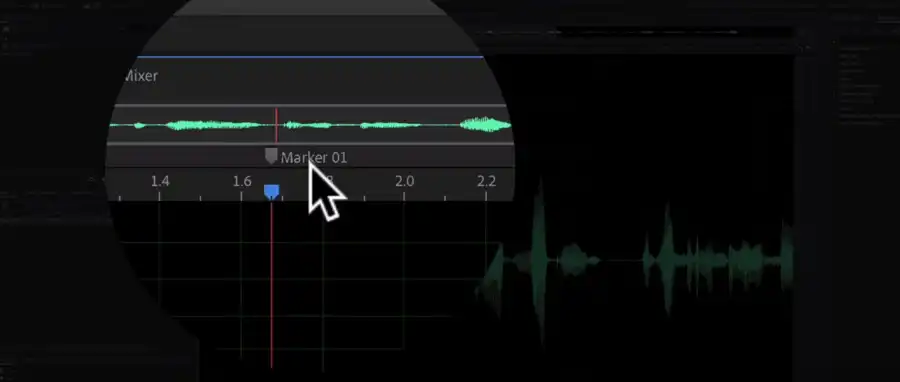
The Markers panel is the primary interface for defining and selecting markers in Adobe Audition. Markers can be added by pressing the M key or clicking the Add Marker button in the Markers panel. Marker names can be changed by clicking on the marker name and entering a new name. Markers can be moved by dragging marker handles or by changing start values for point markers or start, end, and duration values for range markers in the Markers panel.
To select a marker, click on it in the Editor panel or Markers panel. You can also double-click a marker to move the current time indicator (CTI) to that location. To select adjacent markers, click the first marker and Shift-click the last. To select nonadjacent markers, use Ctrl-click (Windows) or Command-click (Mac OS) in the Markers panel.
Point markers can be converted to range markers and vice versa by right-clicking on the marker handle and selecting Convert to Range or Convert to Point. Individual markers can be merged by selecting them and clicking the Merge button. Likewise, markers can be deleted by selecting one or more markers and clicking the Delete button or by right-clicking on a marker handle and selecting Delete Marker.
Saving Audio Between Markers to New Files
Adobe Audition makes it easy to save audio between markers to new files. The process is as follows:
- In the Waveform Editor, choose Window > Markers.
- Click the Export Audio button in the Markers panel.
- Set the desired options, such as prefix, location, format, sample type, and metadata inclusion.
- Click "Export" to save the audio to a new file.
Creating Playlists
A playlist is a list of marker ranges that users can play back in any order and loop a specified number of times. Playlists can be created by adding marker ranges to the Playlist panel. The steps to create a playlist are as follows:
- In the Playlist panel, click the Open Markers Panel button.
- In the Markers panel, select marker ranges you want to add to the playlist.
- Click the Insert Selected Range Markers Into Playlist button or drag the range markers to the Playlist panel.
- To change the order of items in a playlist, drag the item up or down.
- To play all or part of the list, select the first item you want to play and click the Play button at the top of the panel.
- To play a specific item, click the Play button to the left of the item name.
- To loop an item in a playlist, select the item and enter a number in the Loops column.
- To delete items from a playlist, select them and click the Remove button.
Questions you might be asking
How do you move markers with clips in Audition?
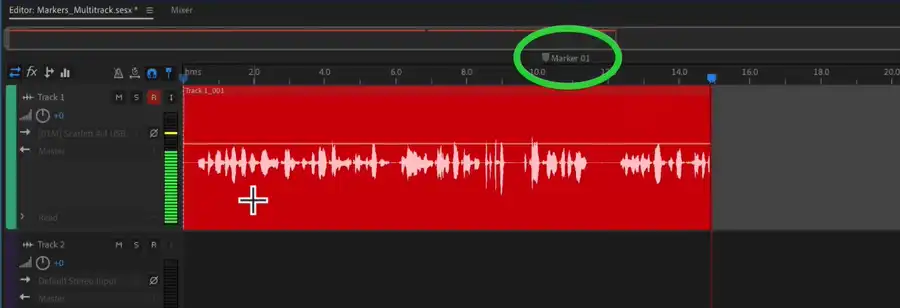
To move markers with clips in Audition, follow these steps:
- Go to the Multi-track view in Audition.
- Look for the clip or clips you want to move markers for.
- Click and hold the left mouse button on the marker you want to move.
- Drag the marker to the new location.
- Release the mouse button once the marker is in the right place.
What are the markers in a WAV file?
Markers in a WAV file are points that indicate specific times in the audio track. Markers can be used to label important events in the audio, such as the start of a new section, a key moment, or a change in tempo. Markers can be added and edited in Adobe Audition.
How do I select the range between markers in Adobe Audition?
To select the range between markers in Adobe Audition, follow these steps:
- Go to the waveform view in Audition.
- Look for the markers you want to select the range between.
- Click on the first marker to select it.
- Hold down the shift key and click on the second marker to select the range between the two markers.
- The range will be highlighted in blue.
How do you highlight in Adobe Audition?
To highlight in Adobe Audition, follow these steps:
- Go to the waveform view in Audition.
- Click and drag your mouse over the section of audio you want to highlight.
- The highlighted section will be displayed in a lighter color than the rest of the waveform.