
Audio editing can be a complex process, but Adobe Audition makes it easy with a wide range of features and tools. With this software, you can create and edit audio files to achieve high-quality sound. Using Adobe Audition's multichannel workflow, users can edit and process multiple tracks of audio simultaneously.

To install third-party plugins into Adobe Audition, you need to follow a few steps to ensure that they are scanned and recognized by the software. In this article, we will be providing a step-by-step guide on how to add third-party plugins to Adobe Audition. Whether you are using VST3, VST plug-ins, or Audio Units plug-ins on macOS, our guide has got you covered.
Step #1 – Verify plugin software is installed
The first step to adding third-party plugins to Adobe Audition is to verify that the software is installed on your computer. The location of the plugins may vary depending on the version of Waves you have installed. Follow these steps to locate the relevant plugin file:
- Locate the plugin file by searching for a file named after the plugin, in the format [PluginName].bundle
- If you cannot find the plugins you are looking for, follow the installation link provided in the article to install them.

Step #2 – Check plugin license activation
Before you can add Waves plugins to your DAW, you need to ensure that the license is activated on your computer or USB flash drive. Users need to follow these steps to activate the license:
- Check whether the relevant plugin or bundle license/s are activated on your computer.
- If the licenses aren’t activated to one of the connected devices, check if they appear in the Not Activated tab.
- If they don't appear there, check if they're in a device in the Disconnected Devices tab.
If you've installed Waves Creative Access, or you have V14 plugins installed, this step can be skipped.

Step #3 – Rescan for Plugins
After verifying that the plugin software is installed and that the license is activated, you now need to rescan for plugins. Here's how to do it:
- Launch Adobe Audition and go to the Effects menu.
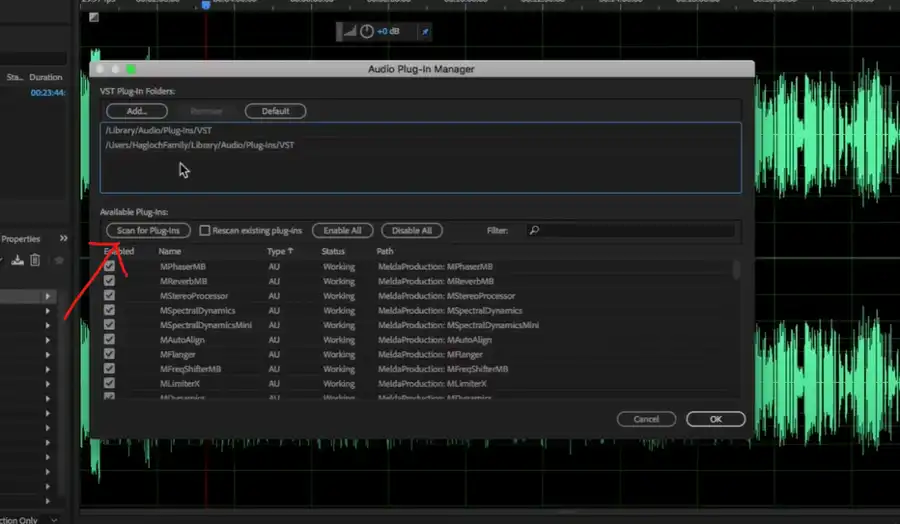
- Click on Audio Plug-in Manager.
- Click on "Scan for Plug-ins" to initiate the rescan.
- Once the scan is done, create a new session with a supported sample rate, add a track, and load your Waves plugins.
When you add Waves plugins to your Adobe Audition session, they will appear in the effects drop-down menu, along with Audition's default effects.
Questions you might be asking
How to add VST plugins to Adobe Audition?
To add VST plugins to Adobe Audition, follow these steps:
- First, make sure your VST plugins are installed on your computer.
- Open Adobe Audition and navigate to the "Effects" menu.
- Select "Audio Plug-In Manager."
- Click "Scan for Plug-Ins."
- Navigate to the folder where your VST plugins are installed and click "OK."
- Your VST plugins will now appear in the "Effects" menu and can be used in your projects.
Can I use VST plugins in Adobe Audition?
Yes, Adobe Audition supports VST plugins. You can add VST plugins to your projects to enhance your audio editing and mixing capabilities.
How do I enable VST in Adobe Audition?
To enable VST in Adobe Audition, follow these steps:
- Open Adobe Audition and navigate to the "Edit" menu.
- Select "Preferences" and click "Audio Hardware."
- Make sure the correct audio device is selected and click "ASIO Settings."
- In the ASIO settings, make sure the "VST Plug-In Custom Folder" option is enabled.
- Click "OK" to save your changes.
- Your VST plugins will now be available to use in Adobe Audition.
How do I use iZotope plugins in Adobe Audition?
To use iZotope plugins in Adobe Audition, follow these steps:
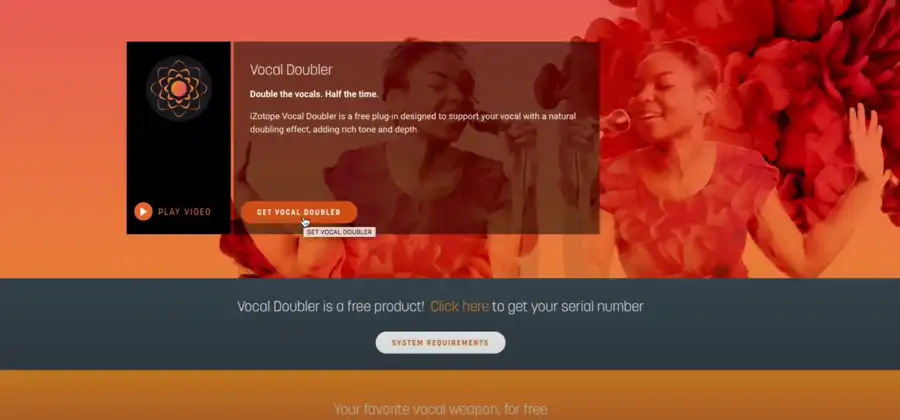
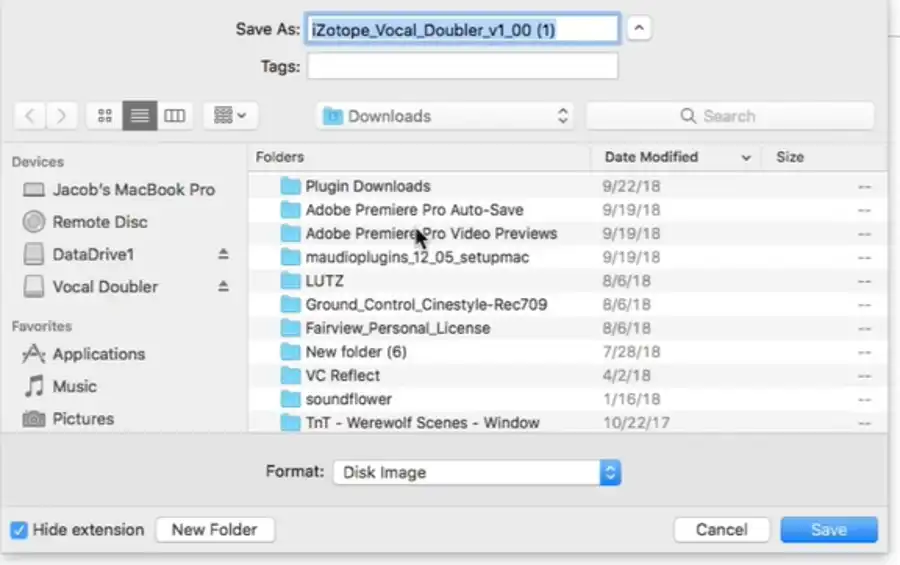
- Install the iZotope plugins on your computer.
- Open Adobe Audition and create a new audio project.
- Navigate to the "Effects" menu and select "Audio Plug-In Manager."
- Click "Scan for Plug-Ins."
- Navigate to the folder where your iZotope plugins are installed and click "OK."
- Your iZotope plugins will now appear in the "Effects" menu and can be used in your projects.
How do I import audio effects into Adobe Audition?
To import audio effects into Adobe Audition, follow these steps:
- Download the audio effects you want to use and save them to your computer.
- Open Adobe Audition and create a new audio project.
- Navigate to the "Effects" menu and select "Audio Plug-In Manager."
- Click "Scan for Plug-Ins."
- Navigate to the folder where your audio effects are saved and click "OK."
- Your audio effects will now appear in the "Effects" menu and can be used in your projects.