
Adobe Audition is an industry-leading audio editing software that offers a host of advanced tools for recording, mixing, and editing audio. While Adobe Audition's powerful features make it a popular choice among audio professionals, users occasionally encounter issues such as latency during the recording or playback process. Latency, or the delay between the input into the system (like speaking into a microphone) and its output (hearing the sound from your speakers or headphones), can disrupt your workflow and affect the quality of your audio projects. In this blog post, we'll provide an in-depth guide on how to fix latency issues in Adobe Audition.

Understanding Adobe Audition Workspace
For those who are new to Adobe Audition, the workspace consists of several panels, including the Files panel, the Effects Rack, the Editor panel, and the Markers panel. Each panel plays a crucial role in the audio editing process, and becoming familiar with these panels can greatly enhance your user experience.
Step 1: Check Your Audio Hardware
The first step in addressing latency issues is to check your audio hardware. Audio devices such as microphones, headphones, and audio interfaces can cause latency if they aren't correctly configured or if they aren't fully compatible with Adobe Audition.
- Open Adobe Audition.
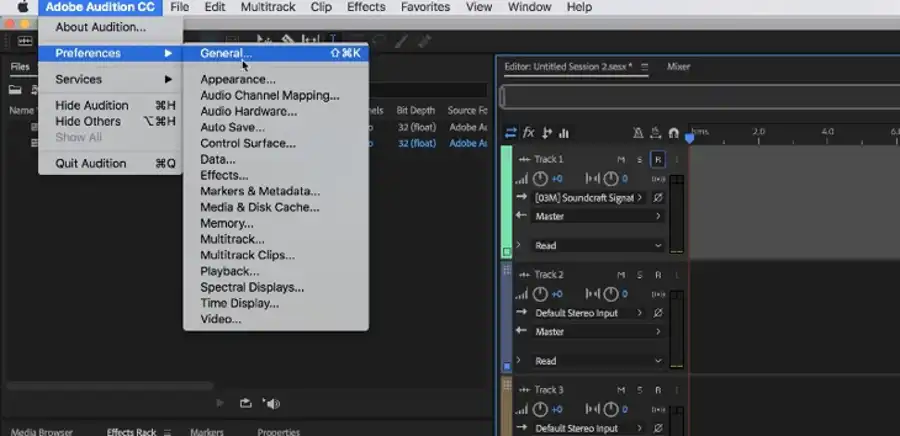
- Go to the "Edit" menu and select "Preferences".
- In the "Preferences" window, click on "Audio Hardware".
- Under "Default Input" and "Default Output", make sure the correct devices are selected.
- Click "OK" to save your settings.
If you're using an audio interface, ensure that it's set to use ASIO drivers (Windows) or Core Audio (Mac), as these provide lower latency compared to other driver types. Check your audio interface's manual or manufacturer's website for more information.
Step 2: Adjust the Buffer Size
The buffer size is a crucial setting that can significantly impact latency. A smaller buffer size means lower latency, but it also requires more processing power from your computer. Conversely, a larger buffer size reduces the strain on your computer but increases latency. Here's how to adjust the buffer size in Adobe Audition:
- Go to the "Edit" menu and select "Preferences".
- In the "Preferences" window, click on "Audio Hardware".
- Look for the "I/O Buffer Size" option. If you're experiencing high latency, try reducing the buffer size. Start with a lower setting (like 128 or 256), and increase it if you notice any pops, clicks, or other audio glitches during recording or playback.
- Click "OK" to save your settings.
Remember, the optimal buffer size can vary depending on your specific hardware and the complexity of your audio project, so you may need to experiment with different buffer sizes to find the best setting for your needs.

Step 3: Close Unnecessary Applications
Running other software while using Adobe Audition can strain your computer's resources and contribute to latency issues. Close any applications that you're not actively using, especially those that use a lot of CPU or memory. If you're unsure which applications are using the most resources, you can use Task Manager (Windows) or Activity Monitor (Mac) to check.

Step 4: Optimize Adobe Audition Settings
Adobe Audition has several settings that can be optimized to reduce latency:
- Go to the "Edit" menu and select "Preferences".
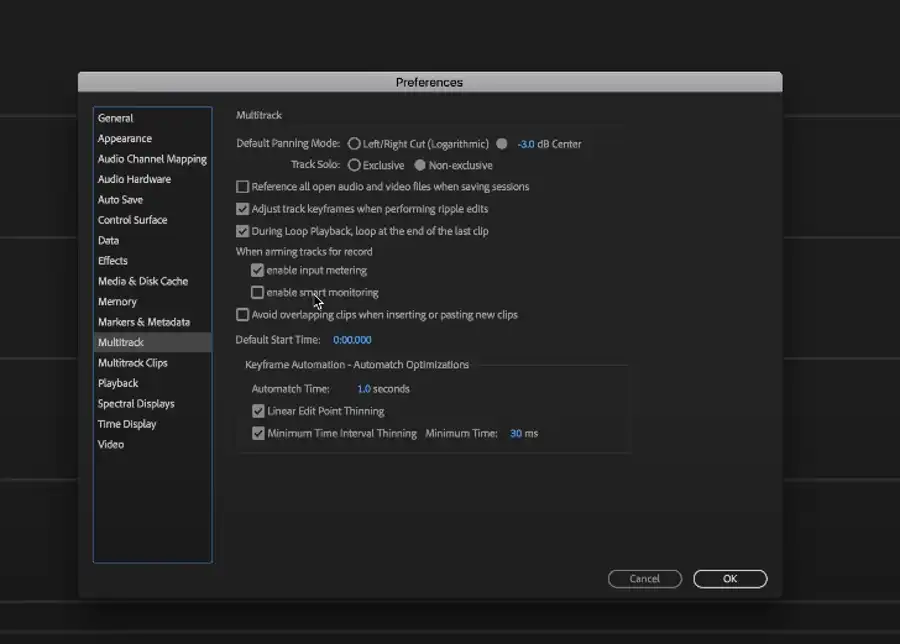
- In the "Preferences" window, click on "Multitrack".
- In the "Multitrack" settings, look for "Delay Compensation" and ensure it's turned on. This feature automatically adjusts the timing of each track to compensate for latency.
- Still in the "Multitrack" settings, you'll see "Latency" (it may be labeled as "Playback Latency" or "Recording Latency"). Set this to the lowest possible value that doesn't cause any audio glitches.
- Click "OK" to save your settings.
Tips for fixing latency in Audition
Disable Multitrack editing
The first step is to disable the multitrack when recording, so that you can focus on a single, clean track. Enabling input monitoring and smart monitoring options does not change the minimum latency value, so disabling multitrack is the way to go.
Upgrade your hardware
Latency in Audition is determined by the hardware in your computer. Audition uses a buffer which can be set to be slightly greater than the system latency value. If you're using an MME driver, the latency is even worse. Unfortunately, there's no real "fix" for latency, as it's a physical limitation that can't be helped. However, upgrading your audio interface to one that supports or has an ASIO type driver can help improve latency.
Go easy on the effects
Adding effects in Audition can cause latency issues. The Speech Volume Leveler effect is one of the significant offenders, so use it sparingly. There are both software tools and hardware options available for adding effects in Audition, so consider what option is best for your needs.
MME can have latency issues and may result in dropout if the CPU gets busy with other processes, so consider using ASIO for better latency and sound quality. Configuring the output to be the Focusrite Scarlett 2i2 USB Audio interface for ASIO and connecting the monitor jack output to your computer's sound card would be a feasible solution.
Questions you might be asking
How do I get rid of latency in Adobe Audition?
Latency in Adobe Audition can be caused by several factors such as high buffer settings, incompatible audio drivers, and system resource hogging by other applications. You can reduce latency by adjusting your buffer size to the lowest possible value without experiencing any glitches or dropouts. Additionally, updating your audio drivers and closing any unnecessary background apps can help reduce latency.
How do I fix playback latency?
Playback latency can be improved by reducing the buffer size in your audio device settings. Adobe Audition also offers the "Hardware Buffer Size" option in the "Audio Hardware Setup" window, which can be lowered to reduce latency. Disabling any unnecessary audio effects and plugins on tracks can also help reduce playback latency.
How do I make Adobe Audition run smoother?
To make Adobe Audition run smoother, ensure your computer meets the minimum system requirements for running the software. Updating to the latest version of Audition can help fix bugs and improve performance. Closing any other applications that are not required, and disabling any unneeded plugins and effects can also help reduce the load on your system and make Audition run smoother.
How do I fix Adobe Audition?
There are several ways to fix Adobe Audition, depending on the issue. Clearing the cache and preferences, updating to the latest version, and removing any third-party plugins that may be causing problems are some general troubleshooting steps. If the issue is still not resolved, you can try reinstalling the software or contacting Adobe support for further assistance.