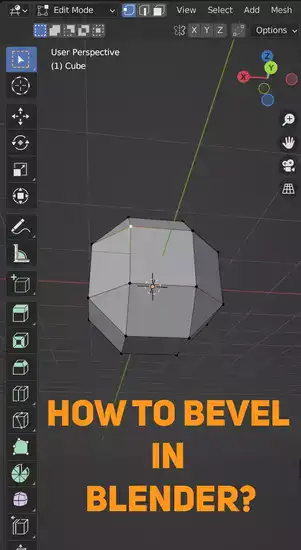
Sharp edges can be off-putting and damage the realism you strive for as a 3D modeler or those learning Blender. A bevel is a great way to add roundness and realism to objects. This article explains how to use the bevel tool and bevel modifier. We'll also discuss when to use the tool or modifier based on your desired look and the object type.
Read on to learn how to use bevels in Blender, whether you're a beginner or an expert.

1. Bevels are a great way to add roundness and realism to 3D models, creating highlights and shadows for more detailed objects.
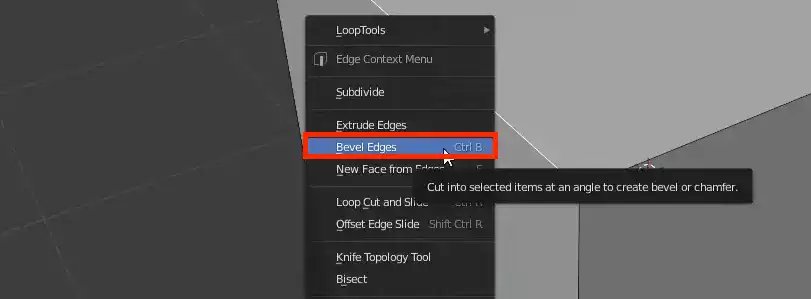
2. Use the Bevel tool (Ctrl+B) on edge loops or faces to create sharp edges, or the Vertex Select mode (Ctrl+Shift+B) for individual vertices.
3. If you're having trouble with the bevelling tool not working, check that you have selected a mesh or an edge loop before pressing the shortcut and make sure your object is set to Smooth shading instead of Flat.
What is a Bevel in Blender?
Bevel creates smooth angles between geometry and surfaces to add depth and detail to 3D models. This feature helps shape objects by creating highlights and shadows.
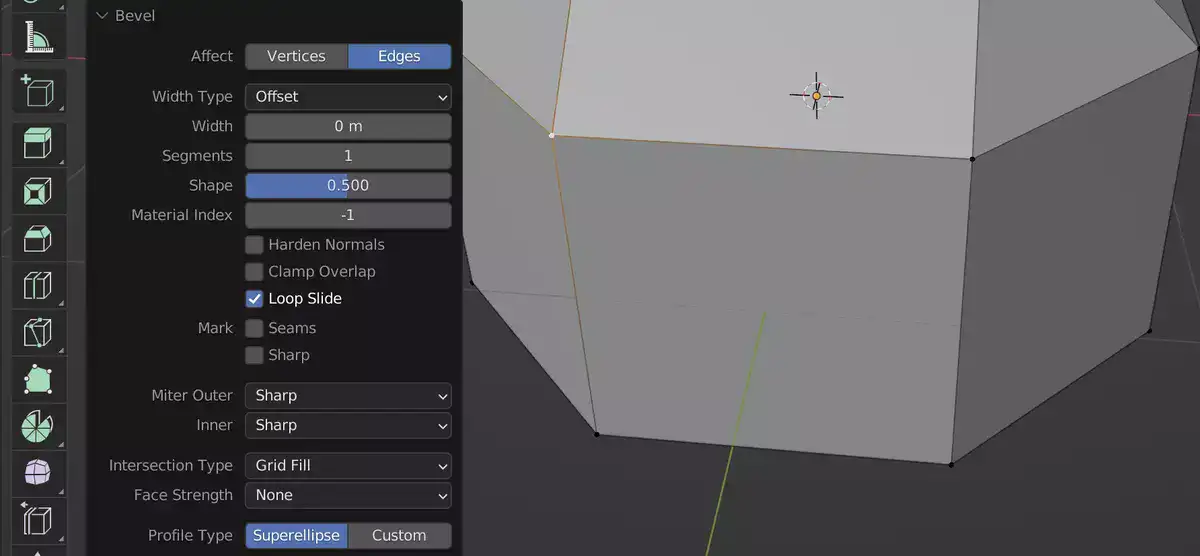
To use the bevel tool, select an edge loop or faces to bevel. You can choose the number of segments or "loops" for a model's geometry transitions. More segments mean smoother Blender edges.
Also read: How to Denoise in Blender?
If you don't need extra details in some areas, use a chamfer (or loop cut) tool instead of a Bevel to create straight cuts instead of angled ones. Bevels allow for more flexibility when editing Blender objects if additional cuts are needed.
Learning how to use and adjust Blender's beveling settings can result in beautiful models with smooth transitions between its geometry and surfaces, making them look more realistic when rendered into final images or animations. Set up enough loops to avoid hard-lined corners and sharp edges.
How to Bevel in Blender?
Beveling adds depth and shape to 3D models, elevating your work to the next level.
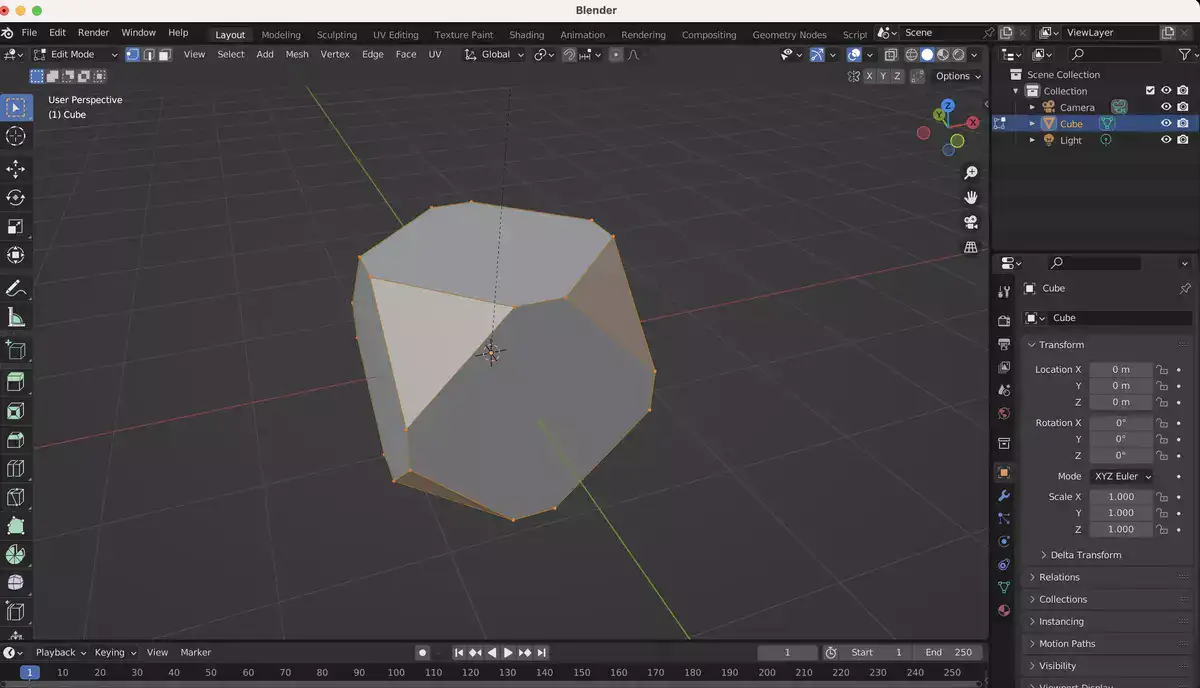
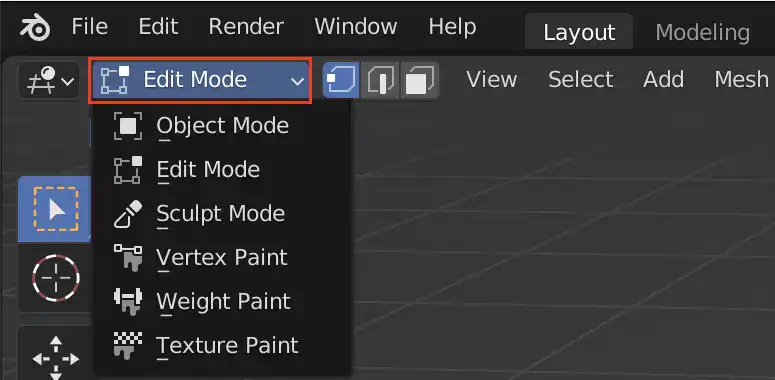
To get started with bevelling, head over to Blender's Edit Mode. After selecting an object to bevel, press Ctrl+Tab to enter Edge Select mode. On the left toolbar, you'll see options for creating and editing edges.
3D artists use the Bevel tool (Ctrl+B) to create sharp edges. When applied correctly, this will create a perfectly smooth, sharp edge. Adjust this tool's weight using the mouse scroll wheel after selecting it from the menu.
If vertices are more your style, use Vertex Select mode (Ctrl+Tab), then Ctrl+Shift+B to give each vertex a unique look and feel. Experiment with different settings until you're satisfied with your creation.
How do You Bevel a Circle in Blender?
Beveling circles is different from polygons because they have one connected loop instead of multiple smaller ones. To bevel a circle with no gaps between segments, switch to edit mode (Ctrl+Tab) and press Alt+B instead of using the Beveling tool (Ctrl+B). You can adjust the number of sections and the width of each before clicking "Ok" and seeing the changes on your circle mesh.
Related: How to Use Curves in Blender?
Blender Bevel Not Working
If you are struggling with your bevelling tool not working properly, first check that you have selected a mesh or an edge loop before pressing the shortcut (Ctrl+B). If it still isn’t working, try restarting Blender as there may be some bug causing it to malfunction. Lastly, make sure that your object is set to Smooth shading instead of Flat as this may also cause issues with applying bevels correctly.
Final words
Bevelling in Blender is a great way to add texture and depth to your objects without having to manually sculpt each edge yourself. Knowing how to use it properly can save you time and energy when making more intricate models!