As a 3D artist, I understand the importance of having great control over our objects and geometry. Adding a vertex in Blender can be a hard and complex process, but with some helpful tips and techniques, we can make it much easier.
In this article, we will explain step by step how to add a vertex to an object or detail in Blender. We will cover topics such as edges, faces, merging, non-manifold edges, floating vertices, and animation. With four simple vertices, you can create a face on any object or detail with ease.

So whether you're starting out in 3D modeling or want to brush up on your skills this article is for you!
1. Vertex manipulation is an essential part of 3D modeling, allowing you to refine and perfect geometry with ease.
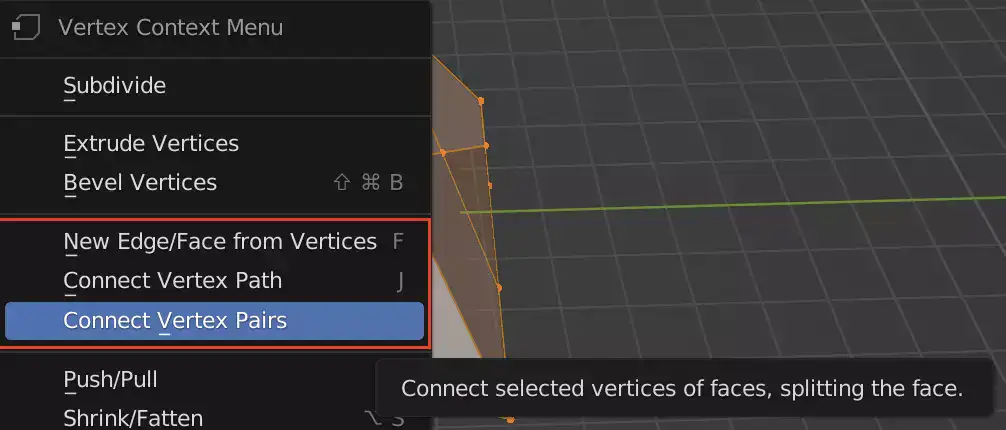
2. Blender's Edit Mode allows you to add new vertices by left-clicking while holding Shift or CTRL+ Left Click, then pressing "W" and selecting "Subdivide" from the pop-up menu.
3. With practice, you can gain full control over your projects in Blender without relying on external software like Maya or MODO etc...
Also read: How to Use Vertex Groups in Blender?
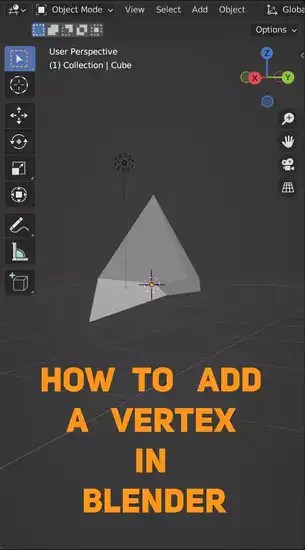
What is a Vertex in Blender?
As a 3D artist, I know the value of vertices. A vertex is a point in 3D space and it is represented as a dot in the 3D Viewport. Blender's Edit Mode shows all the vertices of a mesh or object-array. These dots are coordinates that define your model's shape.
Position, normal, and UV co-ordinates make up each vertex. Its position on each axis (X, Y, and Z) creates its 3D location. The normal tells Blender which direction a surface faces at any given point, allowing it to properly light models with different materials or textures. UV co-ordinates allow us to 'unwrap' our mesh onto a flat plane for texturing.
Vertex manipulation is important for efficiently creating complex shapes in Blender; by adjusting them correctly, we can achieve remarkable results with minimal effort. Controlling individual points makes perfecting geometry much easier. With practice, you'll have control over every aspect of your project, from large-scale changes to small details like character facial expressions, without relying on external software like Maya or MODO etc...
Vertices are essential for any budding 3D artist; knowing their purpose will help them master Blender and create stunning 3D designs.
Related: Learn how to add objects in Blender
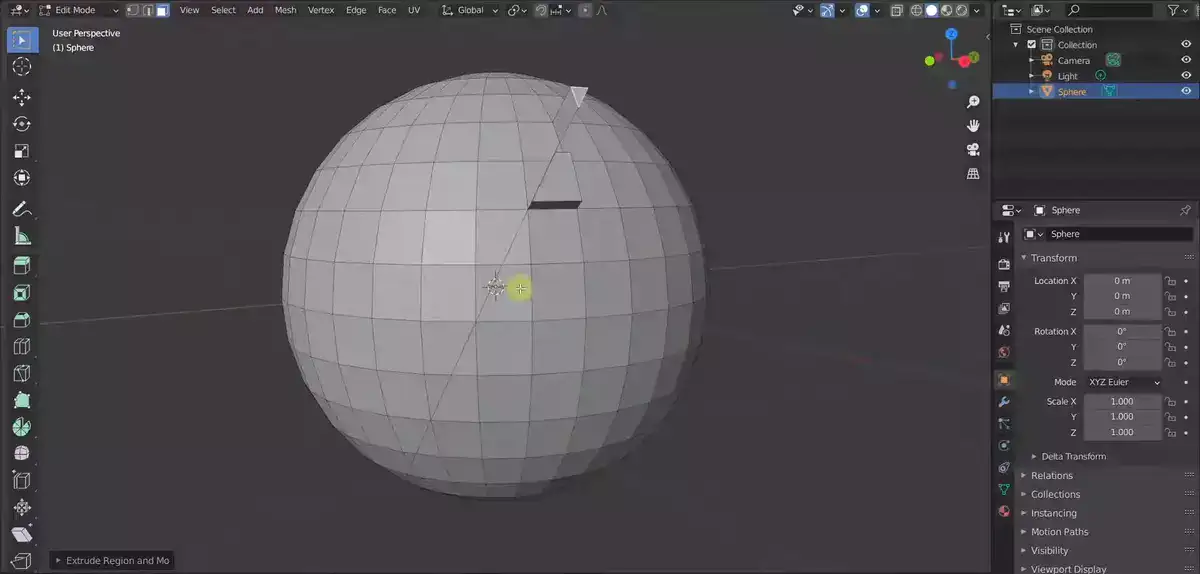
How do I Add a Vertex to a Model in Blender?
Adding vertices to your model is simple. Tab into Edit Mode to add vertices. Then, left-click on your model while holding Shift (or CTRL+ Left Click) to add new vertices. Press "W" and choose "Subdivide" from the pop-up menu. Each selected edge will have several new vertices.
Final words
Blender's vertices can help you create complex shapes and objects and refine existing designs. Adding vertices may seem difficult at first, but practice makes perfect. This article should have given you enough information to add vertices.