
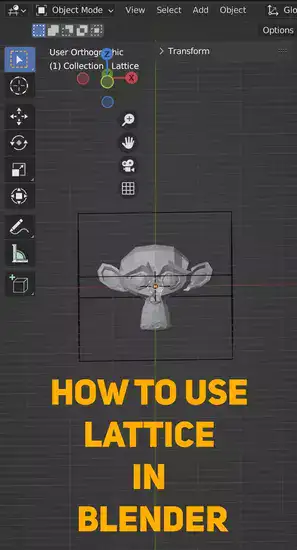
Curves serve as the basis for both 2D and 3D modeling in Blender. Furniture and faces are only two examples of what may be modeled using curves. Here, you'll learn about Blender's curve tools and how to use them.

1. Curves are a useful tool for creating complex shapes and controlling object movement in Blender.
2. Subdivide Surface, Convert to Bezier Curve, and Displace modifiers can be used to add curvature to surfaces.
3. To select a curve in Blender, press Tab to enter object mode then right-click on the appropriate curve and select Select All or press A.
4. Vertex (V), Edge (E), and Face (F) selection modes can be used to modify curves and move individual vertexes for greater detail in models.
5. Always save often when using Blender as unexpected things can happen that require starting over.
What is a curve in Blender and when do we use this?
The Curve tool in Blender enables the construction of accurate 3D shapes. Bezier curves, circle segments, and straight line segments are all examples of curves. Curves are a useful tool for creating complex shapes, routes for moving objects to follow, and movement of objects.
When compared to cubes or cylinders, curves provide us with greater freedom and accuracy when it comes to the generation of complex structures. We can achieve greater precision in our designs by utilizing curves rather than the conventional geometrical tools.
The trajectories that objects take in Blender are curved. Curves are utilized in the process of planning out the movement of a camera inside a scene. In order for a vehicle such as a car or rocket to drive along a curved track, you will also need to incorporate curves.
Curves are not only important for surfaces but also for sculpting since they enable us to correctly design the shape we want without having to make any manual adjustments. By making use of these efficient tools, we are able to swiftly delete sections from forms or add features, so saving countless hours of manual effort.
The use of curves in Blender offers us a great deal of control over the manner in which we plan out any project, from basic shapes to complex animations combining a number of different objects. Working with curves should be an integral part of your workflow, whether you're animating creatures along life-like paths or creating lines to represent objects in the real world.
How do you add curvatures in Blender?
Blender objects with curvatures look more organic. Depending on the item, there are several techniques to add curves.
Subdivide Surface modifies meshes to add curvature. This modification subdivides the mesh into smaller faces that can be curved. To use the Subdivide Surface modifier, pick the mesh in the Modifiers tab. Increase the subdivisions until you're happy with the curve.
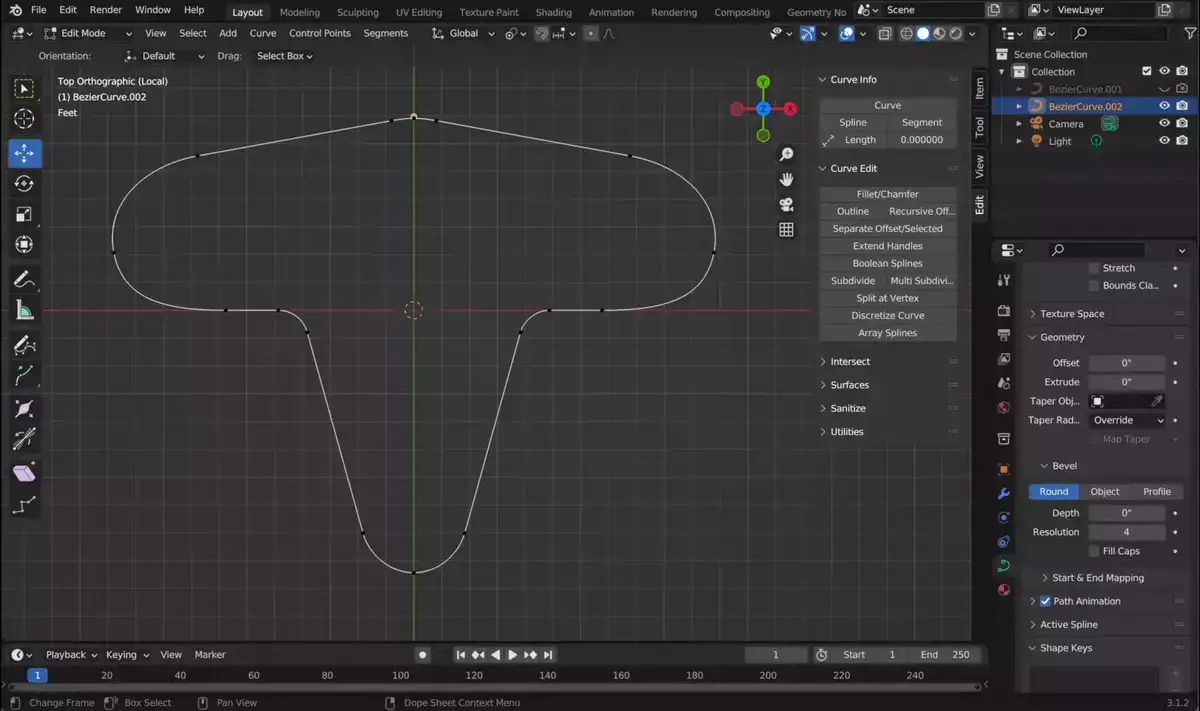
Convert to Bezier Curve adds curvature to curves. This tool converts a curve into a bezier curve, which can subsequently be changed. Select the curve you want to convert and click Edit on the Curves tab. Then click Convert to Bezier Curve and move the handles.
The Displace modification can provide curvature to surfaces. This modification displaces vertices, creating curves. To use Displace, select a surface and add it in the Modifiers tab. Increase Strength till the curvature is right.
How do I select a curve in Blender?
With a few simple steps, you may select a curve in Blender. First, choose the proper curve type. Bezier, Nurbs, or 3D curves are examples. Each has unique qualities and benefits. After choosing a curve, select it in Blender.
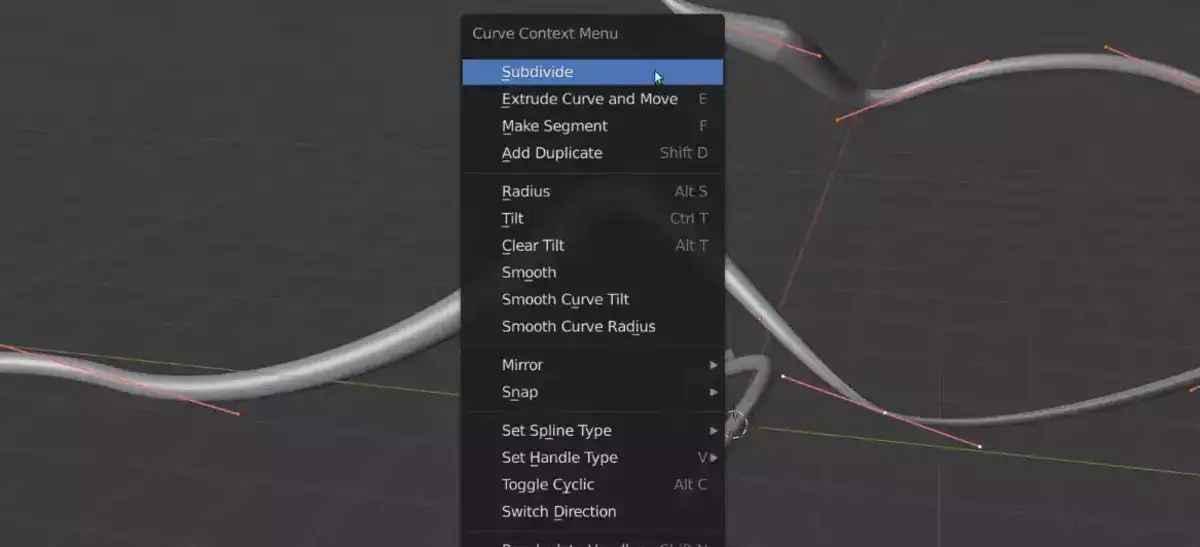
To achieve this, press Tab to enter object mode, then right-click on the appropriate curve and select Select All or press A. You can choose between Vertex (V), Edge (E), and Face (F) selection modes (F key). If you pick numerous curves at once, use Shift+left mouse button to add more selection sets or Ctrl+left mouse button to remove selection sets without wiping everything.
By holding Alt while picking in Vertex Select mode, you can add individual points to larger groups (V key). You can move individual vertexes to add detail and intricacy to your model.
Always save often when using Blender; unexpected things can happen that need starting over. Once you know how to pick curves in Blender, you can construct precise 3D models and designs.