Parenting has become a staple feature in 3D art software due to its incredible power and ease of use; however with great power comes great responsibility! Be sure not confuse the relationship between parent and children so that your models remain organized. With enough practice though anyone can master parenting--it's just a matter of getting comfortable with the workflow process needed to establish those links effectively!

What is parenting in 3D modeling?
Parenting in 3D modeling links one item to another in the scene, allowing them to move as one. This 'parent-child relationship' between items enables for more complicated animations and interactions. 3D modeling might entail movement, rotation, scaling, and other adjustments.
Parenting allows objects to remain visually connected even when moving apart, keeps parts together during animation or transitions, and simplifies grouping by assigning all children links to their parent simultaneously. It's particularly handy for constructing tools with several parts, like rigging characters or cars, where components must stay together but interact independently with the scene. Autodesk Maya, Blender, and Cinema 4D support parenting.
Parenting entails designating an element (the parent) that will operate as the basis of movement for all child elements attached to it. It forms an axis around which other items rotate or move relative to its position. Parenting is like connecting the wheels and body panels of a model vehicle so that when you move the main body forward/backward/left/right, everything else moves too.

Other options include “Vertex” and “Face”, which will make the child object a vertex or face of the parent object. This can be useful for things like modeling hair or fur on a character.
Once you’ve chosen how to parent the objects, you can press Enter to confirm, or Esc to cancel.
Parenting is a powerful tool that can be used to create all sorts of relationships between objects in your scene. Experiment with it and see what you can come up with!
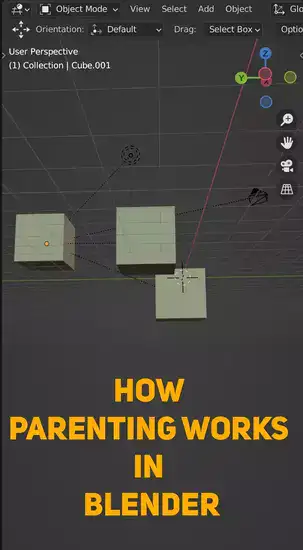
Parenting Fundemantals in Blender
How to parent in Blender?
Implementing parenting in Blender requires some knowledge. Parenting makes one object another's child. This has many uses. To animate a character's arms, parent them to their body.
Blender has object and bone parenting. Object parenting involves making one object another's child. Bone parenting means making one bone another's child. This article discusses both parenting styles.
Object Parenting
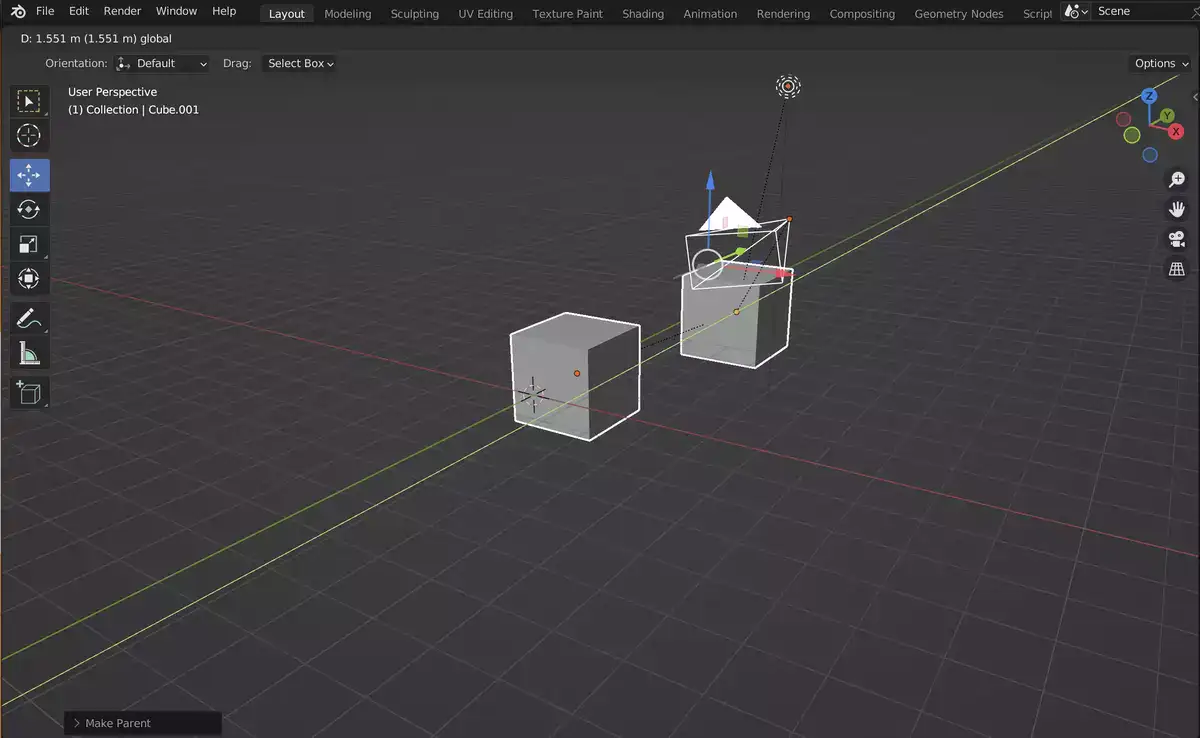
To parent an object in Blender, select the object you wish to be the parent.
- In Tools, click Parent.
- Choose the child.
- Ctrl+P or File->Parent opens the parent window.
- From the drop-down option, choose Object. The selected object becomes the other's kid.
Bone Parenting
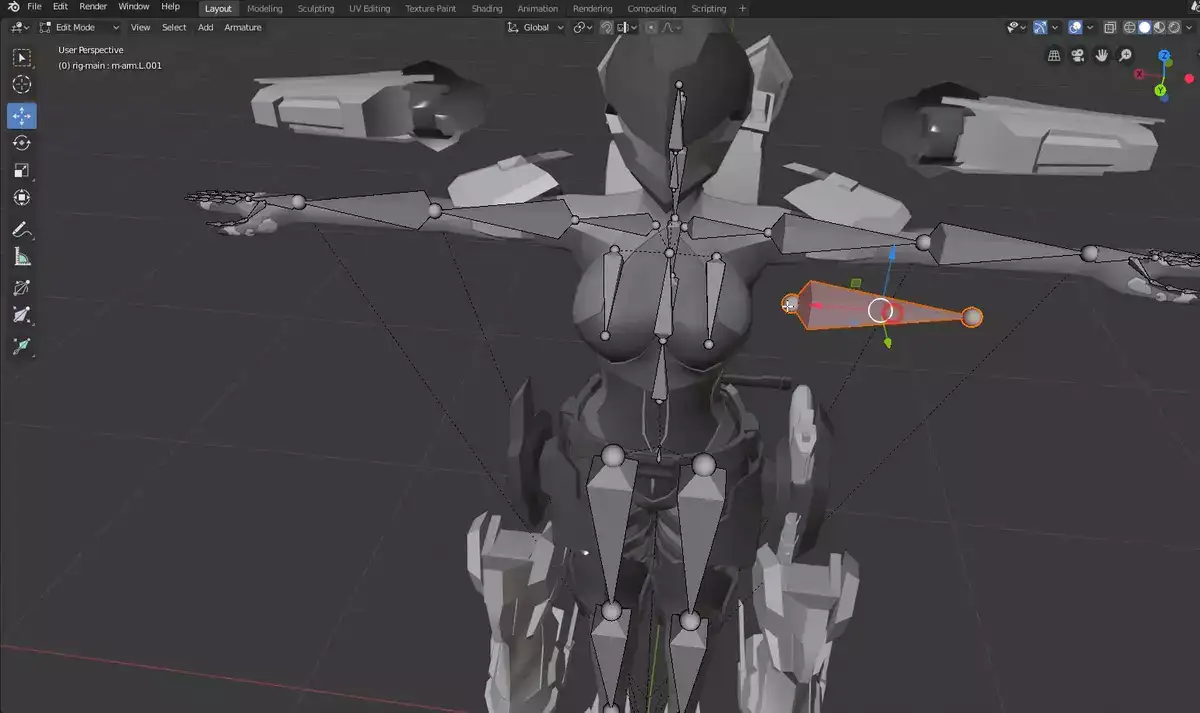
To parent a bone in Blender to another bone:
- Choose the armature with the desired bones.
- In the Tools panel, click Parent.
- Select the bone's parent.
- Select the child bone with Shift+select.
- Use Ctrl+P or File->Parent in the menu bar.
- Click Bone in the pop-up menu. The selected bone becomes the other's child.