Inset makes geometric shapes in Blender. This lesson explains how to make realistic 3D models with Inset. Here are 3 main takeaways from the article:
- Blender's Inset tool can generate forms and geometry.
- Press "Shift" + "I" to activate the inset tool.
- Use your keyboard's arrow keys to fine-tune how far you push the faces in or out.

What is inset in Blender?
Inset in Blender is a powerful modeling tool used to shape 3D models. It transforms specified points, edges, faces, or objects into insets. It lets you fit one thing into another without manual modification. This method streamlines difficult mesh work.
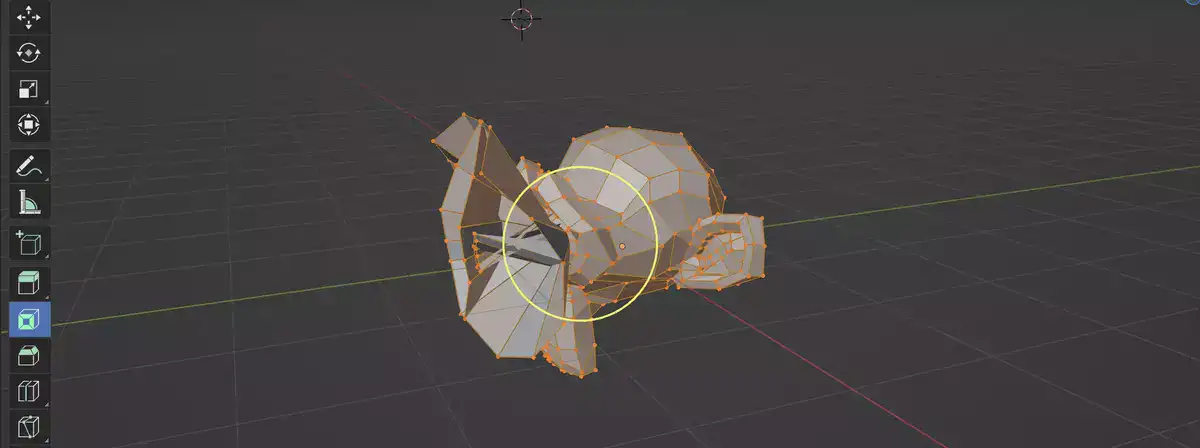
Insetting in Blender helps create organic objects and shapes like animals, plants, and figures. It allows you to easily design complex shapes with classic polygon-based modeling tools. Before modeling, set the inset depth. Once set up, it's straightforward to choose areas of the model and click "inset" in Blender's menu bar to create an elaborate mesh of polygons.
Blender's inset feature lets you edit individual points and faces after transforming them into insets (something which is not always doable in other 3D software). Since everything runs under one unified transformation, you may simply alter characteristics like edge creases or apply modifiers like subdivision surface or sculpting brushes for finer details, resulting in gorgeous high-quality images without spending hours polishing each item manually.
Inset in Blender is a versatile tool that gives users greater creative flexibility and makes 3D modelling easier and faster.
How to inset in Blender?
In Blender, insetting is a strong tool for swiftly generating complex shapes. Adding edges to an object's surface creates a "pocket" or indentation. This technique is used for sculpting, modeling, and adding cuts.
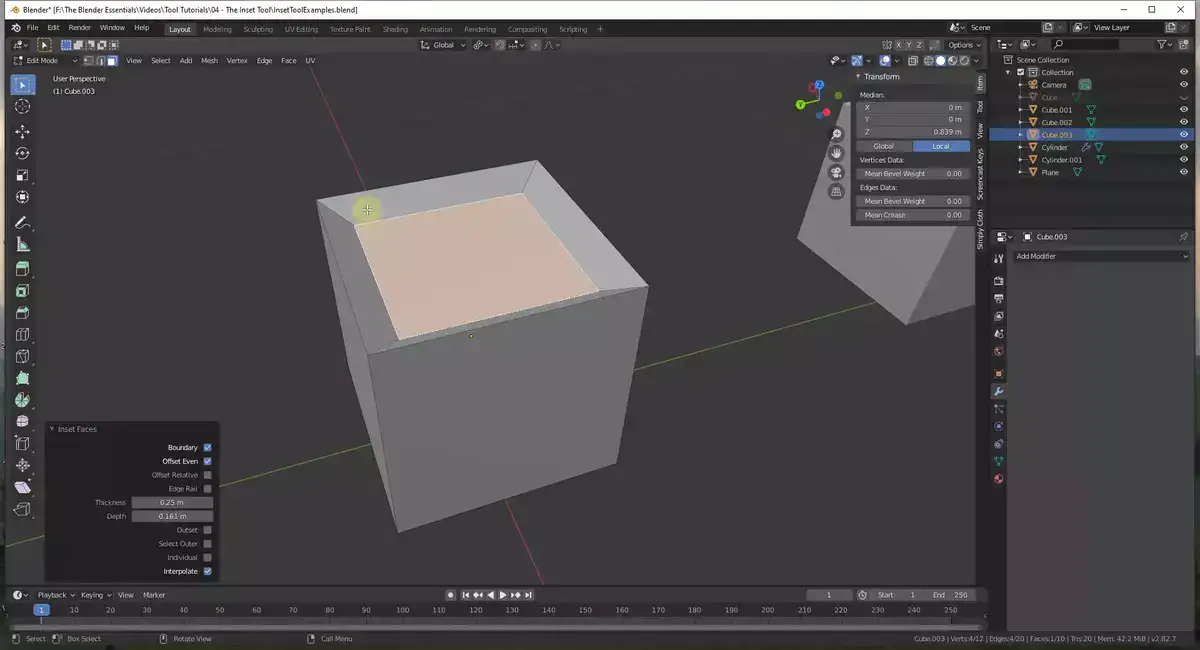
To inset in Blender, click or use the box select tool to choose the desired faces. Once selected, press CTRL + I to enable the 'Inset Faces' tool shelf option. Adjust Inset Offset and Number Of Segments till you're satisfied.
Inset tab options include edge sliding and creasing for sophisticated users and professionals searching for tighter control over their models (which allows you to add sharp features). Use proportional editing mode when insetting to fine-tune model alterations along each edge.
Blender's 'Manipulator Modes' allow you to easily resize and rotate objects without entering edit mode. Blender is a wonderful choice for experienced 3D modelers who want speedy results with professional quality.
How do you inset all faces in Blender?
Blender has numerous techniques to inset all faces at the same time. Just use 'Inset Multi-Faces' option on the Mesh Tools tab. This tool lets you choose many faces and generate insets with a single click. It saves time for everyone who uses this strategy frequently.
First, pick the inset faces. Use the box or circle selection tools in Edit Mode's Select Mode. After selecting your faces, choose Mesh Tools > Inset Multi-Faces. Now that your selected faces are in their polygons, you can continue working.
How do you inset a cylinder in Blender?
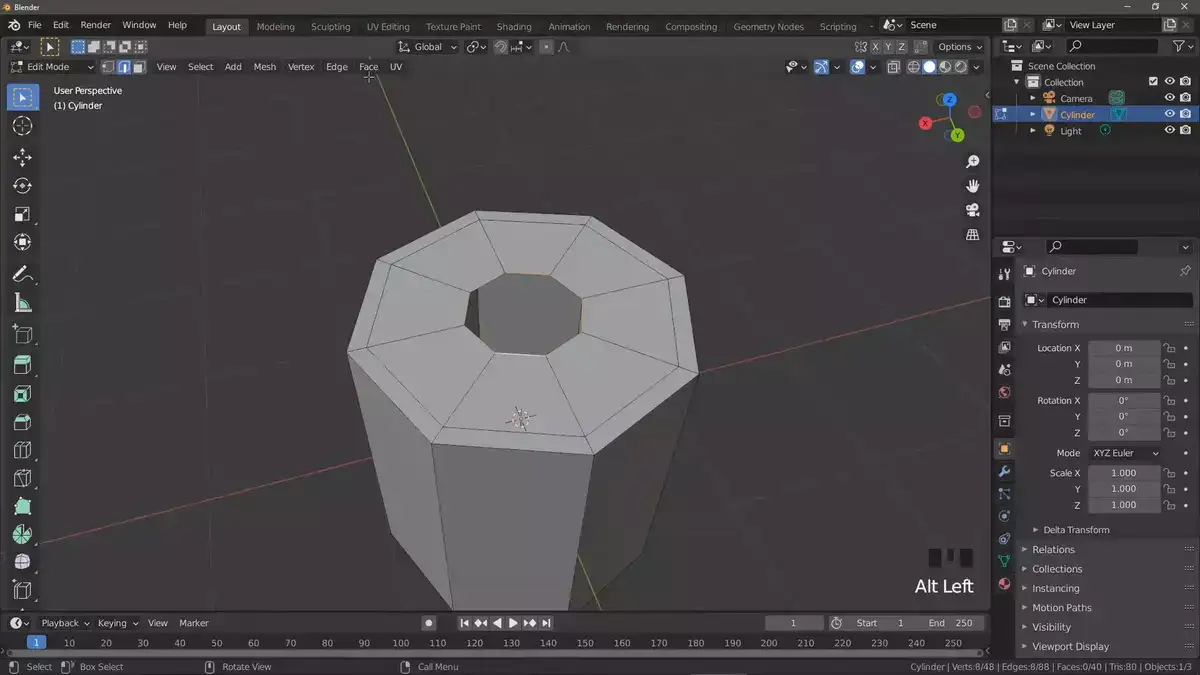
The process of inserting a cylinder into Blender is simple and requires only a few steps. To begin, open the 3D viewport and click the "Add" button on the workspace's left side. Choose Mesh > Cylinder from the resulting drop-down menu. This will add a simple cylinder shape to the scene.
Using the Shift+A keyboard shortcut or by selecting it from the toolbox on the right side of your screen, you will need to modify its characteristics such as scale, radius, and height. Once you're satisfied with the size, place it in the correct location by pressing G (for grab) or R. (for rotate). Enabling wireframe view mode is also beneficial so that you can better observe how each object interacts with one another while modifying them in 3D space.
After configuring the specifications of your cylinder according to your demands, you can utilize tools such as Subdivision surface and Edge split modifier, if necessary, to add more detail and complexity to it. To render a final version of your design, simply press F12 or select Render > Render Image from the main menu. With a few mouse clicks, you'll be able to produce an outstanding 3D representation that appears really lifelike!
Is there a shortcut for inset in Blender?
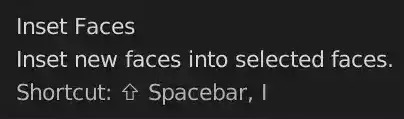
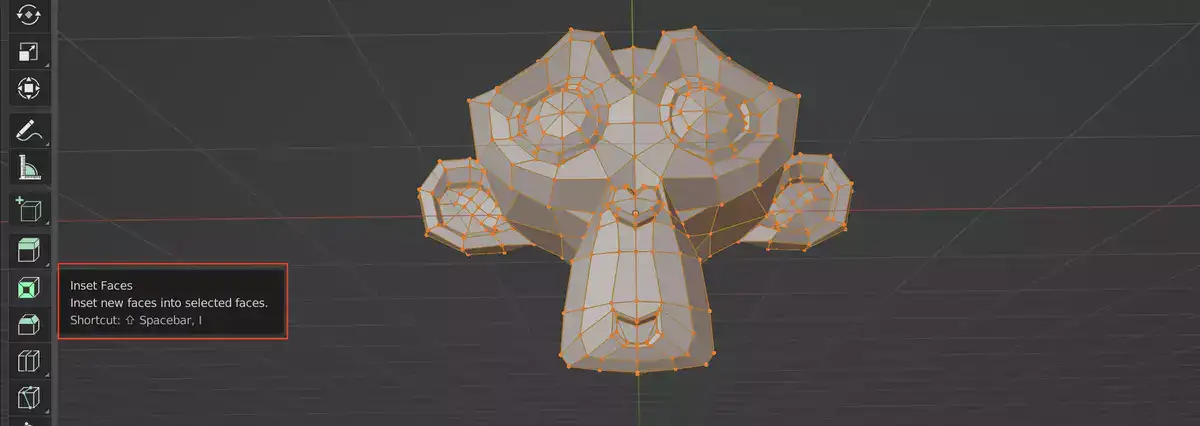
Yes, there is a shortcut for the inset tool. To activate the inset tool, press "Shift" + "I" on your keyboard. You can also use the arrow keys on your keyboard to fine-tune the amount that you're pushing the faces inward or outward.
Final words
Inset is a powerful tool in Blender that can be used to create all sorts of shapes and geometry. In this article, we've taken a look at what inset is and how it can be used to create some interesting 3D models.