Why Vectorize Images?

When it comes to graphics, there are two main types: raster and vector images. Raster images are pixel-based, which means that they are made up of small dots of color. As you zoom in or enlarge a raster image, it loses quality and appears pixelated. On the other hand, vector images are made up of geometric polygons and colors that maintain their sharpness and clarity, regardless of the size they’re displayed at.

That’s why vectorizing an image can be so useful. Vectorizing it means converting it from raster to vector, resulting in a crisp, high-quality image that can be resized without losing clarity. A discount of 50% is available on 20+ apps, including Photoshop, Illustrator, and more, for the first three months only. This offer ends on June 11, so it’s time to act fast and grab the tools you need to create beautiful vector graphics.
How to Vectorize an Image in Photoshop?

While Adobe Illustrator is typically the go-to software for creating vector graphics from scratch, Photoshop can be used to vectorize an image with a few simple steps. However, it’s worth noting that this method works best for simpler images, such as logos or icons, rather than complex images like photographs.
- First, open your raster image in Photoshop.
- To prepare it for vectorization, use the selection tool of your choice to separate the image from the background.
- Next, use the “Control” and “Alt” keys to create a work path around the section you wish to vectorize.
- Once you’ve created a path, right-click it and select “Create Vector Mask.”
Now that your image is a vector mask, it can be edited and resized without losing quality. You can even export it as an EPS file, which can be opened and edited further in Adobe Illustrator.

How to Convert Image into Vector Art in Photoshop?
To convert a raster image to a vector image, follow these steps:
- Simplify the image into foreground and background colors by applying a threshold layer adjustment.
- Use the “Color Range” command to highlight the section of the image you want to vectorize.
- Create a new fill layer and set the tolerance value to create the path around the selected area.
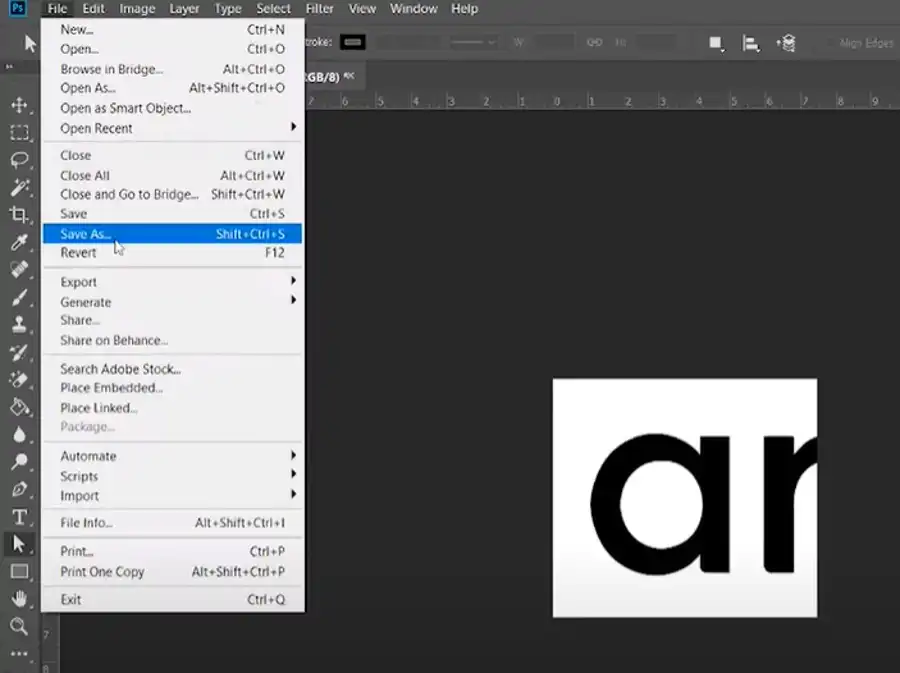
- Export the image as an SVG file for use in other vector-based applications.
As with vectorizing an image in Photoshop, this method is best for simpler images.
Conclusion
Vector graphics have several advantages over raster images, with the most significant being that they don’t lose quality as they’re enlarged. Vectorizing an image can be particularly useful for logos and icons, and while it’s typically done in Adobe Illustrator, Photoshop can also be used to vectorize simpler images.
If you’re interested in learning more about vector graphics, or you would like to purchase Adobe Photoshop and Illustrator, or other apps, a subscription to Adobe Creative Cloud is available for purchase online or by phone. Take advantage of this opportunity and start creating beautiful, high-quality vector graphics today.
Questions you might be asking
How do I vectorize an image in Photoshop Adobe?
To vectorize an image in Photoshop Adobe, you can use the Image Trace function. Go to the Window menu and select Image Trace. Select the image you want to vectorize and adjust the settings to get the desired vector result. Once you are happy with the changes, click on the Expand button to convert the image into a vector path.
How do I convert a PNG to a vector file in Photoshop?
You can convert a PNG file to a vector file in Photoshop by using the same Image Trace function mentioned earlier. Import the PNG file into Photoshop by going to File > Open. Then, select the PNG layer you just imported and choose the Image Trace option. Once you’ve refined the tracing settings and resolute the image, you can then save it as a vector file format such as SVG, AI or EPS.
How do I turn an image into a vector file?
You can turn an image into a vector file by using the vectorization features in design softwares like Adobe Illustrator or CorelDRAW, or image editing tools like Adobe Photoshop. The process will involve using one of the software’s vector tracing tools to automatically convert the pixels of the image into vectors. After converting the image to a vector file, then adjust and edit the vector paths until you get the desired vector result.
How do I create a vector file?
You can create a vector file using a vector design software (Adobe Illustrator, CorelDraw, etc) or an image editing software (Adobe Photoshop, GIMP, etc). Start by creating the artwork using vector tools such as shape tools or pen tool and then save the file as a vector file format such as SVG, AI or EPS, depending on the software and the requirement of the design application. Ensure that the design in the software is created in vector format, with each element created as a vector path rather than pixels.