
Cropping your videos sometimes is essential to get rid of unwanted parts such as logos and objects in the video, or just when you want to fit the video in a specific aspect ratio. In this tutorial, we'll learn how to crop videos in Adobe Premiere Pro in 3 simple steps. Luckily, it's easy as it gets!

Also read: Best video cropping software
How to crop videos in Adobe Premiere Pro using effects?
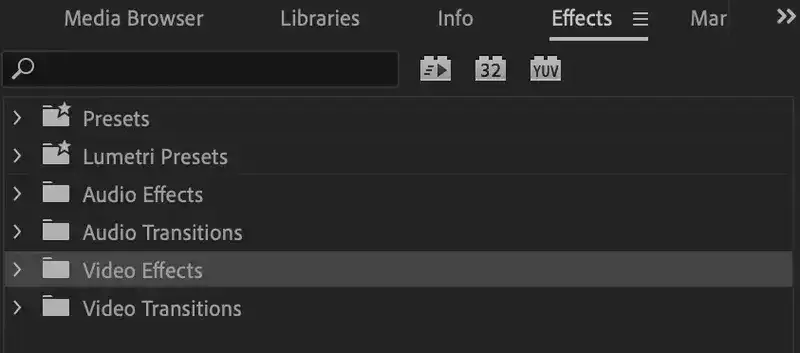
Step 1: Add a video clip to your timeline and navigate to your Effects Panel.
Step 2: Go to Video Effects > Transform > Crop.
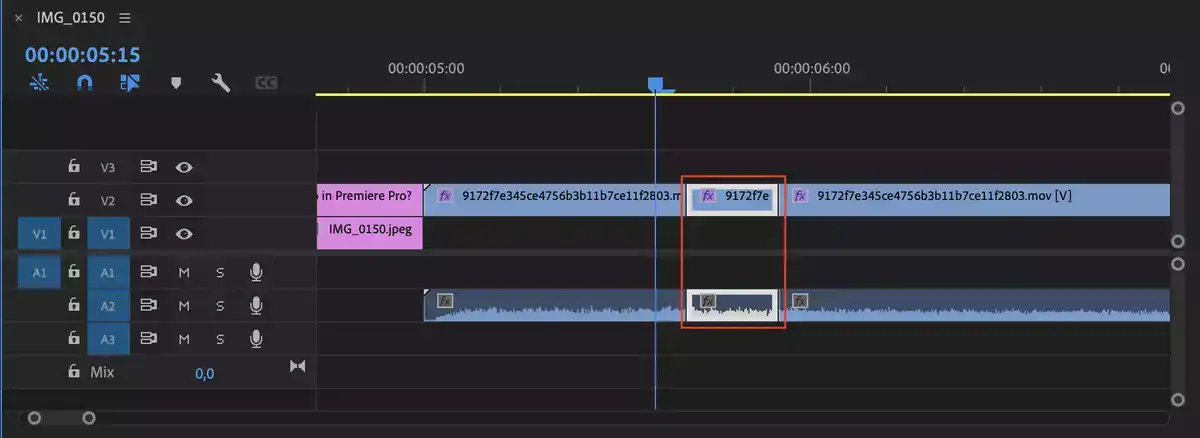
Step 3: Drag and drop the effect on the video clip that you want to crop.
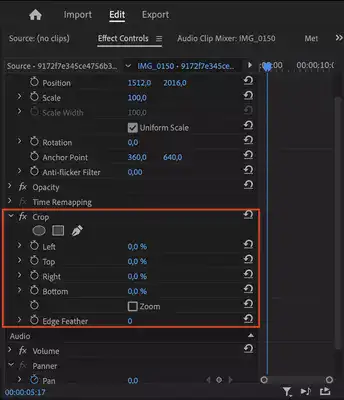
Step 4: You'll notice a new effect added on your Effects Control Panel called Crop. It gives you the option to crop your file from top to bottom, left, and right. Other things you can do with the crop feature include masking and adding feather effects for smoother cropping.
Also read: How to trim in Premiere Pro?
What is the difference between trimming and cropping?
Sometimes trimming and cropping could be used interchangeably. However, the main difference between trimming and cropping is, when we say trimming, we usually mean cutting the length of a clip and shortening its duration. Cropping, on the other hand, describes the process of cropping video footage to get rid of unwanted parts and fit in a specific aspect ratio and frame size.
Also read: Best video editor for trimming