Desaturation is a technique that has extensive use in the world of graphics and design. In Adobe Photoshop, the Sponge tool allows you to saturate or desaturate areas of your image in different ways. On the iPad version of Photoshop, this valuable tool is easily accessible with just a few clicks. Here's what you need to know to use the Sponge tool to desaturate in Photoshop like a pro!

Desaturate using sponge tool
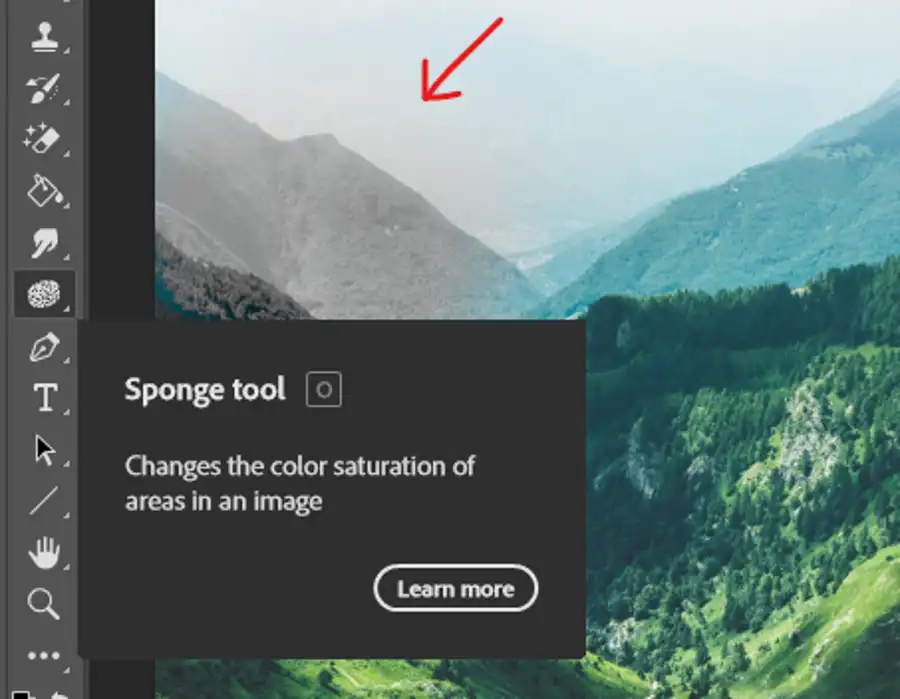
The first thing to note is that the Sponge tool allows you to achieve subtle saturation and desaturation effects. You can use brush settings like Flow, Hardness, Angle, and Roundness to create interesting and unique effects. Try experimenting with these settings to find the brush that works best for you.
Remember, edits made with this and other tools like Dodge, Burn, and Smudge are destructive. In simpler terms, you cannot undo changes made with these tools once you've saved them. So, it's a good idea to always keep a backup of your original image.
To use the Sponge tool in Photoshop, simply tap the Adjustments tools icon from the toolbar and select Sponge from the options. From there, you can choose the size and strength of your brush and start desaturating specific areas of your image.
Vibrance settings
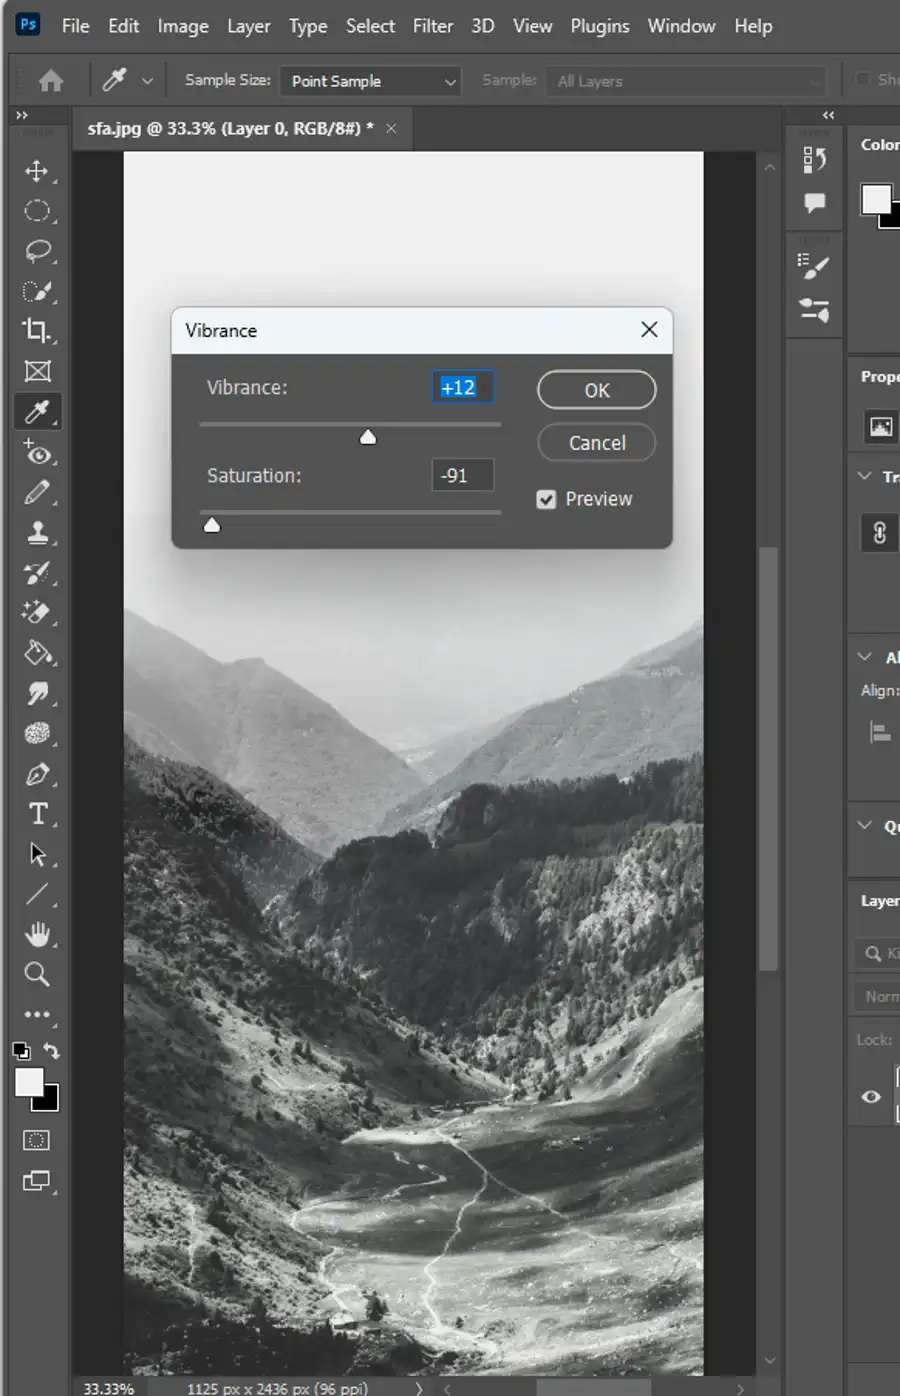
Another important feature to note is the Vibrance setting, which allows you to toggle between Vibrance and Saturation for different effects. Vibrance adds more saturation to less-saturated colors and vice versa, whereas Saturation adds the same amount of saturation to all colors. These settings can come in handy for creating subtle and nuanced desaturation effects.
When using the Sponge tool in Adobe Photoshop, it's best to go for a subtle look by gently brushing over specific areas of your image. Remember to always make a backup copy of your original image and to save your edited image under a different name.
In conclusion, desaturating an image can help you achieve a wide range of effects in Photoshop, from creating black and white images to highlighting specific colors. The Sponge tool is an effective and easy-to-use feature for achieving subtle saturation and desaturation effects on the iPad version of Photoshop. Experiment with different brushes and settings to create unique and professional-looking images. Just remember to always keep a backup of your original image and to save your edited image under a different name.
Questions you might be asking
What is the shortcut to desaturate in Photoshop?
The shortcut to desaturate in Photoshop is Ctrl+Shift+U or Shift+Ctrl+U (Windows) and Command+Shift+U (Mac).
How do I desaturate everything but one color in Photoshop?
To desaturate everything but one color in Photoshop, you need to create a new Hue/Saturation adjustment layer. Then select the color you wish to keep using the targeted adjustment tool. Once you have selected your color, invert the mask on the Hue/Saturation adjustment layer and everything will be desaturated except the color you selected.
How do you desaturate the color of a picture?
To desaturate the color of a picture, you can create a Hue/Saturation adjustment layer and adjust the saturation slider to -100. This will remove all the color from the image and make it black and white. If you only want to desaturate parts of the image, you can use the brush tool and paint on the Hue/Saturation adjustment layer mask to reveal the color in those areas.