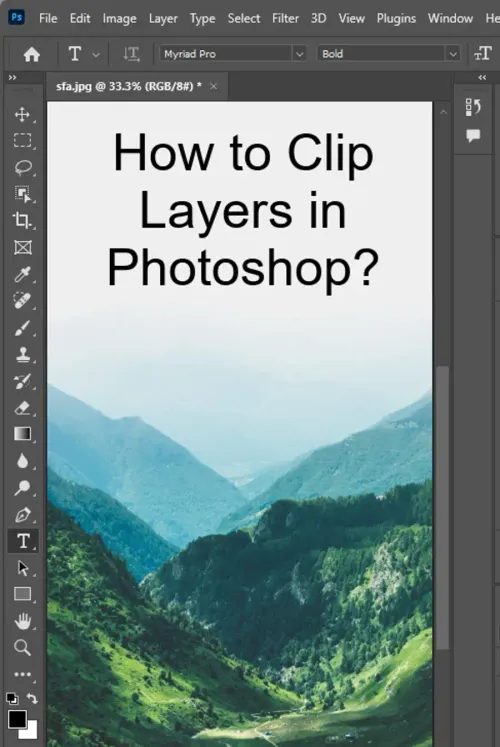
Adobe Photoshop is a comprehensive tool utilized by photographers, graphic designers, digital artists, and casual users alike. Its ability to create and manage layers is one of the core features that gives it immense versatility and power. One specific technique that can significantly enhance your workflow is 'Layer Clipping.' This article will guide you through the process of clipping layers in Photoshop.

Understanding Photoshop Layers
In Photoshop, layers can be visualized as sheets of acetate stacked one on top of the other. Each layer can contain different elements that compose a final image. Understanding how to manipulate these layers – creating, deleting, reordering, and clipping – is essential to effectively use Photoshop.
What is Layer Clipping?
In essence, a clipping mask allows you to use the content of a layer to control the visibility of the layers above it. The layer that is controlling the visibility is often called the "base layer," and the layers being controlled are called "clipped layers."
A practical example would be if you have a text layer and want to fill the text with an image. By using the text layer as a clipping mask, the image layer clipped to it will only appear where there is text.
Creating a Clipping Mask

Let's walk through the process of creating a clipping mask:
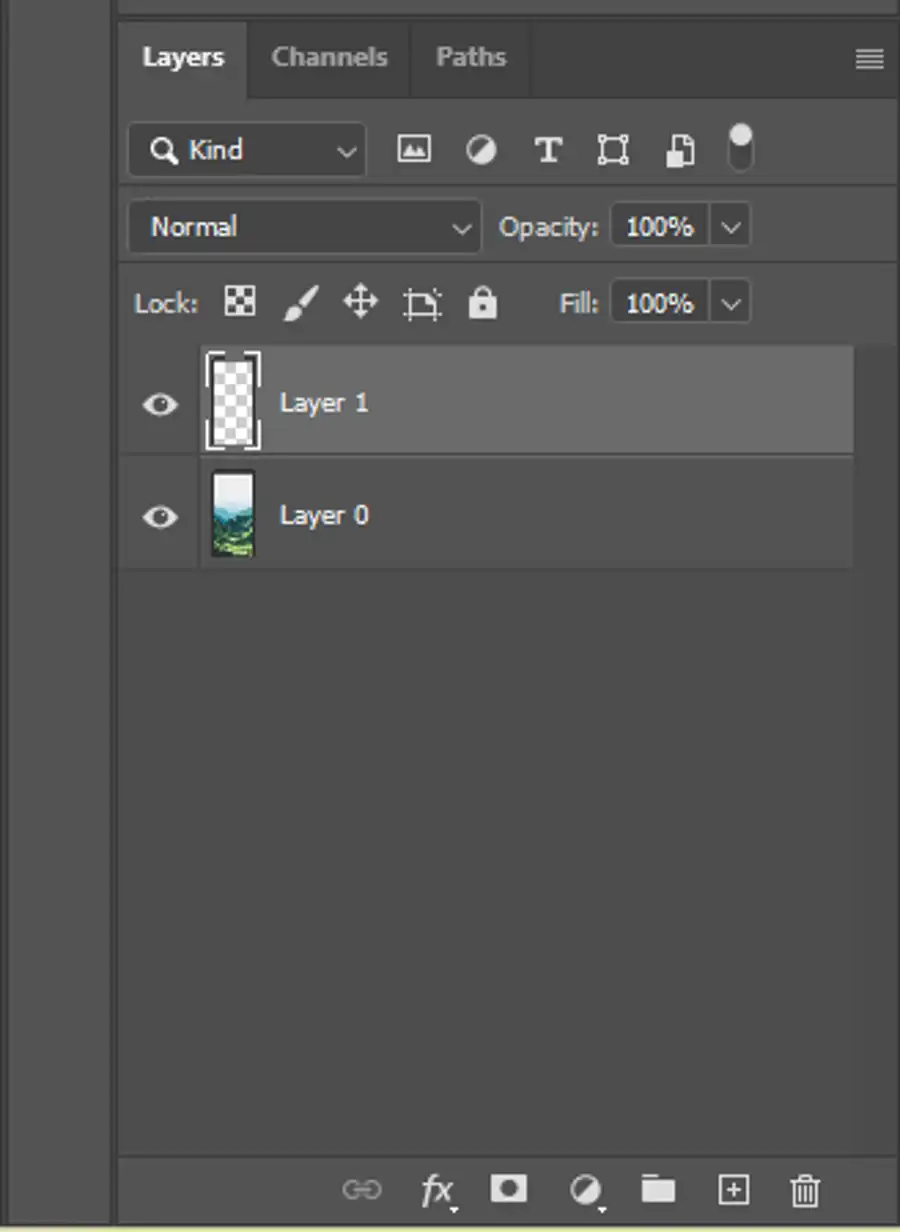
Step 1: Prepare Your Layers
For a clipping mask to work, you need at least two layers. The bottom layer will be the base layer that defines the visible area, and the layer(s) above will be the one(s) you clip to the base layer.
Step 2: Position the Layers Correctly
Ensure that the layer you want to use as the clipping mask (base layer) is below the layer(s) you want to clip.
Step 3: Create the Clipping Mask
There are several ways to create a clipping mask, depending on your workflow preference:
- Menu Option: With the top layer selected, go to the 'Layer' menu, hover over 'Create Clipping Mask', and click.
- Right-Click Option: Right-click on the top layer and select 'Create Clipping Mask' from the dropdown menu.
- Keyboard Shortcut: Alt+Ctrl+G (Windows) or Option+Cmd+G (Mac) with the top layer selected.
- Mouse Shortcut: Hover your mouse between the two layers while holding the Alt/Option key until the cursor changes to a square with a downward-pointing arrow. Click to create the clipping mask.
Once completed, the top layer will only be visible where there is content in the base layer.
Manipulating Clipping Masks
With your clipping mask in place, you can manipulate the clipped layer without affecting the base layer:
- Moving and Transforming Clipped Layers: Using the Move Tool (V) or Free Transform (Ctrl+T or Cmd+T), you can change the position and size of the clipped layer(s).
- Changing Layer Opacity and Blend Modes: You can adjust the opacity and blend mode of the clipped layer(s) in the Layers panel.
- Adding Effects and Adjustments: You can apply layer styles, filters, and adjustment layers to the clipped layer(s).
- Adding More Clipped Layers: You can clip multiple layers to the same base layer. Simply position them above the base layer and follow the steps to create a clipping mask.
Releasing and Deleting Clipping Masks
To release or delete a clipping mask:
- Menu Option: Go to the 'Layer' menu, hover over 'Release Clipping Mask', and click.
- Right-Click Option: Right-click on the clipped layer and select 'Release Clipping Mask' from the dropdown menu.
- Keyboard Shortcut:
Alt+Ctrl+G (Windows) or Option+Cmd+G (Mac) with the clipped layer selected.
- Mouse Shortcut: Holding the Alt/Option key, hover your mouse between the clipped and base layers and click.
The clipped layer will return to its normal state, no longer being constrained by the base layer.
Conclusion
Clipping masks in Adobe Photoshop offer an intuitive and powerful method to control the visibility of your layers. This feature enhances the ability to work non-destructively, allowing a high degree of flexibility and creativity. Whether you're designing complex graphics or simply experimenting with text and photos, mastering layer clipping can take your Photoshop skills to the next level. Keep practicing, and soon, you'll be using clipping masks like a pro!
Questions you might be asking
What is the shortcut to clip to layer below in Photoshop?
The shortcut to clip a layer to the layer below it in Photoshop is Alt + Ctrl + G (Option + Command + G on Mac). This command is also located in the Layer menu under the "Create Clipping Mask" option.
Can you clip a layer?
Yes, you can clip a layer in Photoshop. Clipping a layer means that it will only be visible within the boundaries of the layer below it. To clip a layer, select the layer you want to clip and then use the shortcut Alt + Ctrl + G (Option + Command + G on Mac) or go to the Layer menu and select "Create Clipping Mask".
How do I cut part of a layer in Photoshop?
To cut a part of a layer in Photoshop, first select the area you want to cut using any selection tool such as Lasso or Marquee. Once you have the selection, either use the Delete key or go to the Edit menu and select "Cut" to remove the selected area from the layer.
How do you clip an image in Photoshop?
To clip an image in Photoshop, first open the image you want to clip. Then, create a new layer above the image layer and draw the shape you want to clip the image to. Make sure the new layer is selected, then go to the Layer menu and select "Create Clipping Mask". The image will now only be visible within the boundaries of the shape you drew.