Outlining text is an essential technique in graphic designing, web development, and digital art creation. It makes the text stand out and enhances its visual aesthetic. Adobe Photoshop is one software that provides an immersive platform for digital art creation, and adding an outline to text is a walk in the park. In this article, we will discuss how to outline text in Photoshop, how to outline a font, and how to outline only part of a text layer in Photoshop.

How to Outline Text in Photoshop
Adding an outline to text in Photoshop is simple and quick. The easiest way to do this is by using layer styles. Layer styles are editing tools that allow users to modify the settings of a layer’s border, shadow, or glow effects, among others. Let’s see how to apply an outline to text in Photoshop using layer styles.
Step 1: Create a new document
Launch Photoshop and create a new document by clicking File > New. Set the width, height, resolution, and color mode according to your preferences.
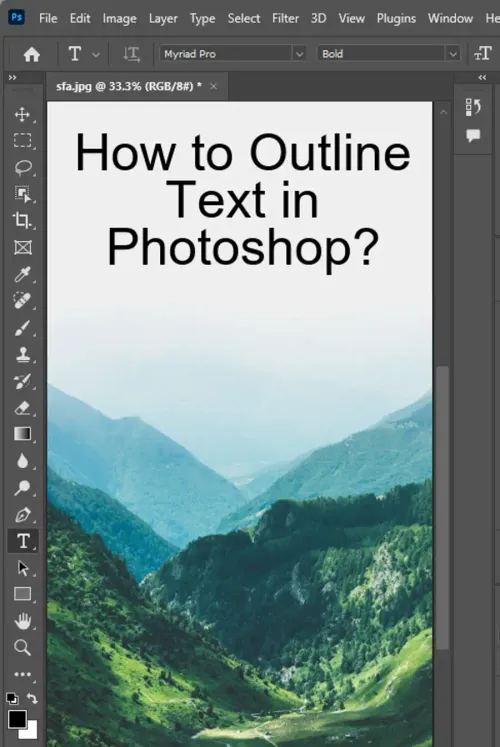
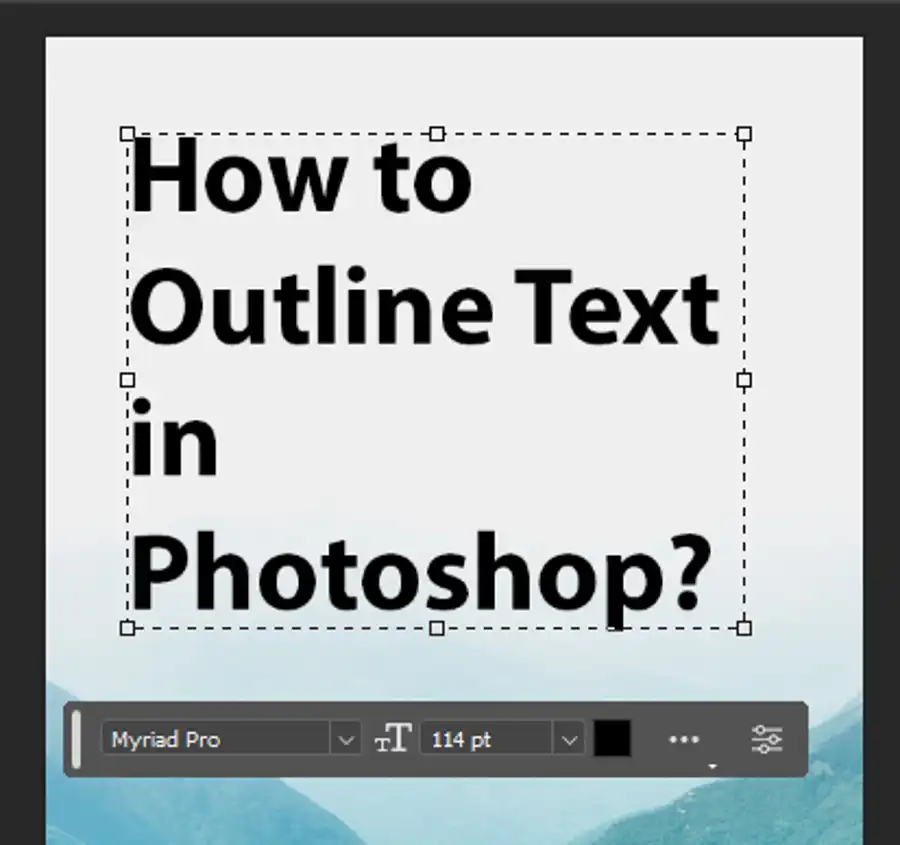
Step 2: Add text to your document
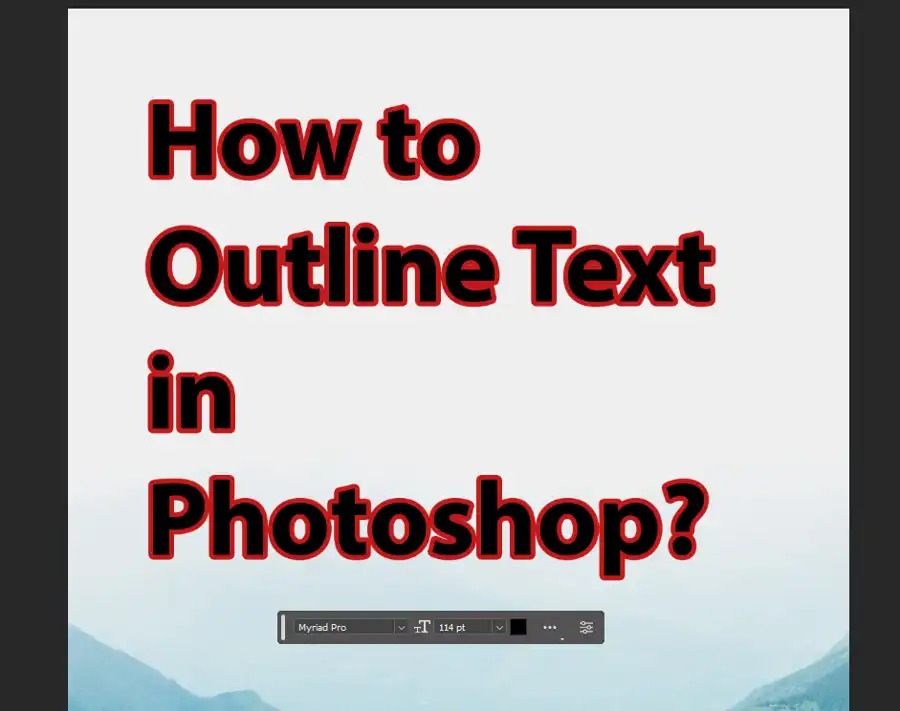
Select the Type tool from the toolbar on the left side of the working area. Choose a font, font size, and font color from the options bar. Then click anywhere on the document to add your text.
Step 3: Modify the layer settings
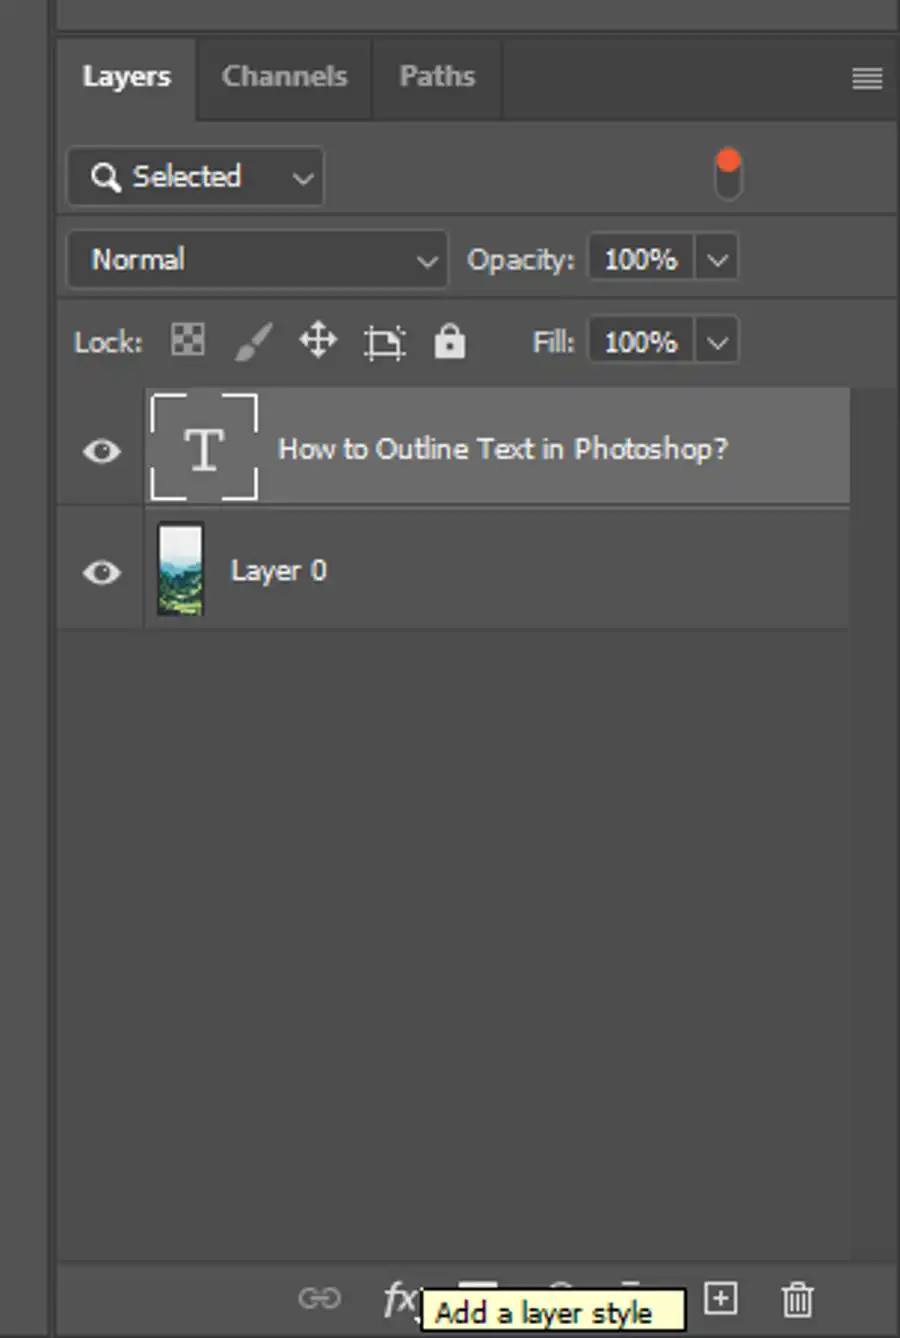
Locate the Layers panel on the right side of the working area and select your text layer. Click the Layer Style button (fx) at the bottom of the Layers panel and choose Stroke from the dropdown menu.
Step 4: Add the outline effect
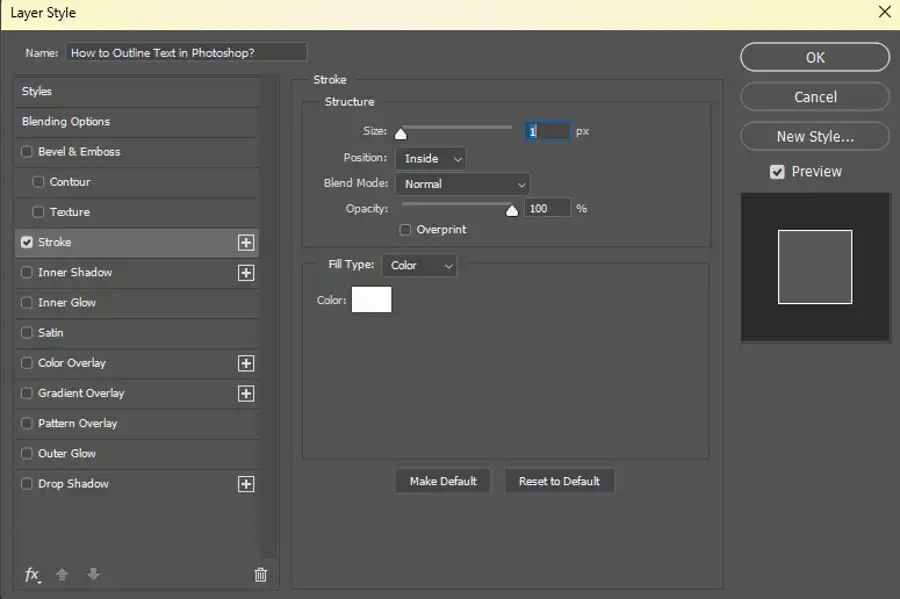
A new window will appear, where you can customize the stroke settings. You can choose the width, color, position, and blending options for the stroke effect. Once you’ve made the desired changes, click OK to apply the outline.
Congratulations! You have successfully added an outline to text in Photoshop.
How to Outline a Font in Photoshop
Outlining a font in Photoshop means converting the font into a border shape that is scalable and can adopt various colors. Outlining a font creates a significant impact on the graphic design and web development of a project. Let’s see how to outline a font in Photoshop.
Step 1: Add text to your document
Follow the same steps as outlined in the previous section (Step 1 and Step 2).
Step 2: Outline the font
After selecting the text layer the "create outline" tool will be used. Click on the "Type" drop down from the toolbar on top and select "Convert to Shape". The text you have selected is now a shape layer.
Step 3: Customize the outline
In the Layers panel, double click on the text layer and choose the Stroke option. Here we can set the stroke width, style, and color. Make sure to save this as a Smart Object so that it stays scalable and editable at any time.
Congratulations! You have successfully outlined a font in Photoshop.
How to Outline Only Part of a Text Layer in Photoshop
Sometimes, you don't want to outline the whole text layer, but just part of it. Here's how to do that:
Step 1: Add text to your document
Follow the same steps as outlined in the first section (Step 1 and Step 2).
Step 2: Rasterize the text layer
Right-click on the text layer and select Rasterize Layer. This will convert the text layer into a pixel layer, which allows us to select the area we want to outline.
Step 3: Use the selection tool
Select the area you want to outline using any of the selection tools like the Rectangular Marquee or Lasso tool.
Step 4: Apply stroke effect
Once you have made the necessary selection, click on the "Layer Style" button at the bottom right of the Layers panel and choose Stroke. This will apply the stroke effect to the selected area only. Customize the settings as necessary.
Congratulations! You have successfully outlined only part of a text layer in Photoshop.
Questions you might be asking
How do I outline a font in Photoshop without filling it?
Firstly, select the text layer for which you want to create a font outline. Next, choose the "Type" menu from the top menu bar and select "Create Work Path." Then, select the "Path" menu and choose the "Stroke Path" option. Finally, choose the "Brush" option and set the thickness of the outline as per your requirement.
How do you outline a font?
Open the Photoshop software and create a new document. Next, select the text tool from the tool bar and type the text that you want to outline. Then, select the text layer from the layers panel and right-click on it. Finally, select the "Blending Options" and choose "Stroke" to add the outline to the text.
Where is the text outline in Photoshop?
The text outline feature in Photoshop is located under the "Blending Options" menu. To access it, select the text layer from the layers panel and right-click on it. Select the "Blending Options" and choose "Stroke" to outline the text.
How do you outline an area in Photoshop?
To outline an area in Photoshop, select the area using any selection tool. Then, choose the "Edit" menu from the top menu bar and select "Stroke." Set the thickness and color of the outline according to your requirement, and click "OK."