Are you tired of distorted images in your photography? Do you wish there was a tool to straighten out those pesky angles and reduce perceived distortion? Look no further than Adobe Photoshop's Perspective Warp feature.
Using the Perspective Warp feature in Photoshop can help you make adjustments to your images and create a seamless, non-distorted final product.

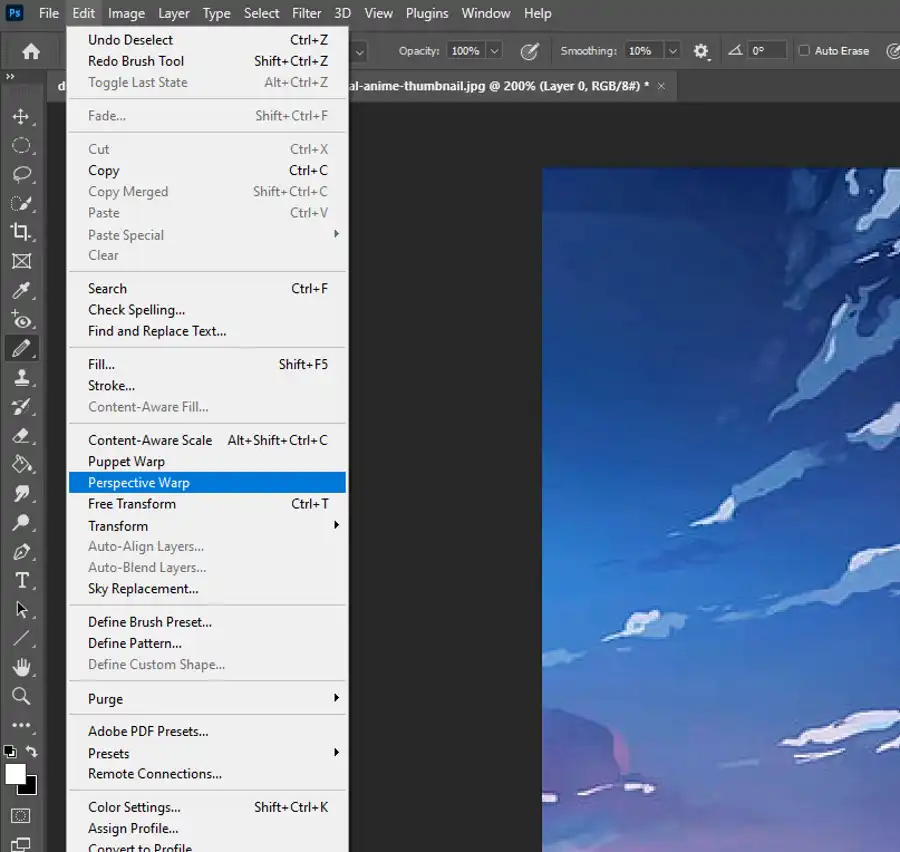
Step 1: To apply the Perspective Warp feature in Photoshop, simply go to Edit > Perspective Warp and follow these simple steps:
Step 2: Create the perspective grid plane wherever you need it on the image by clicking on the image.
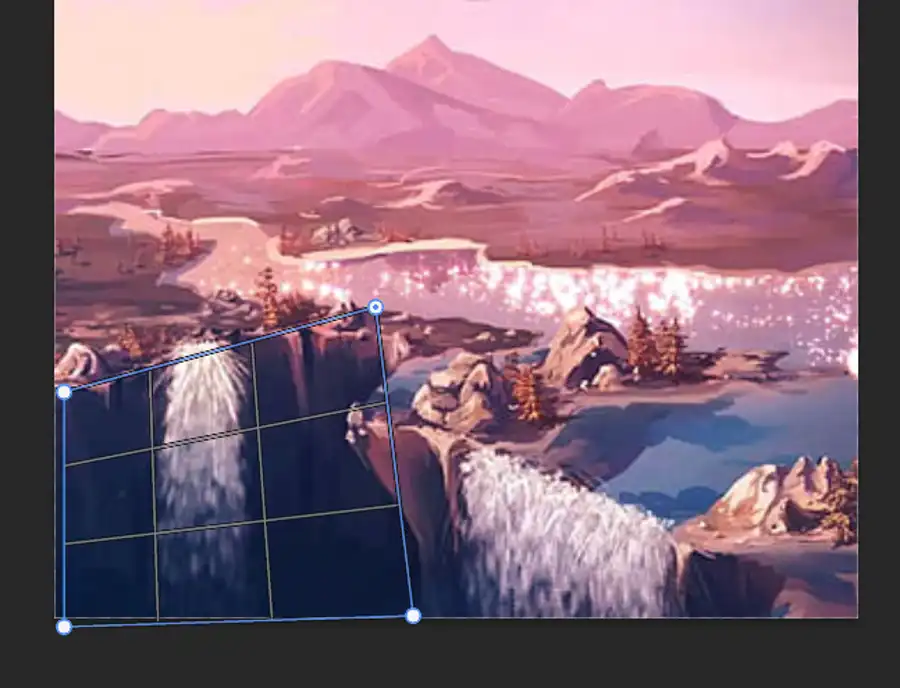
Step 3: Drag the corners of the grids to align with one another to ensure the proper perspective has been established.
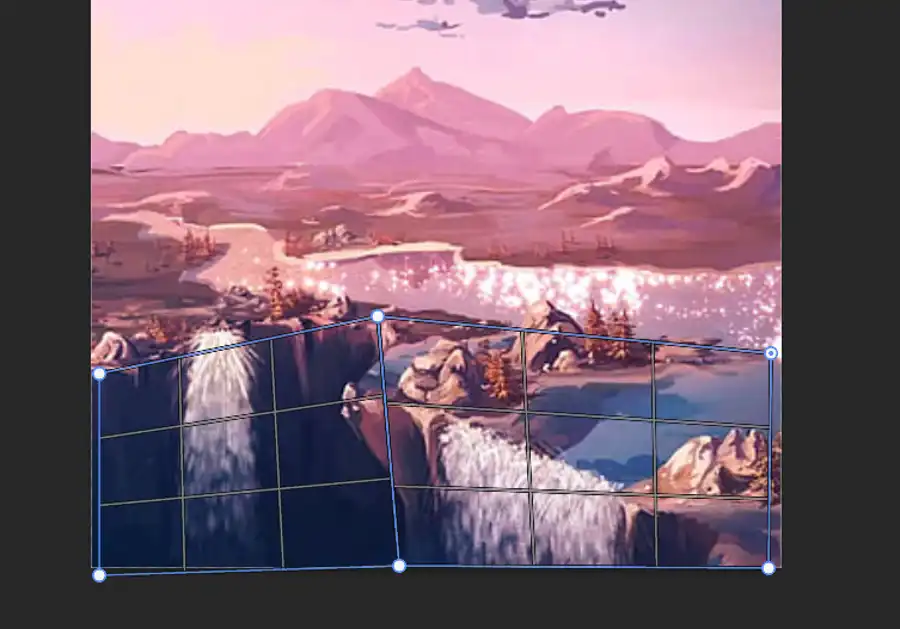
Step 4: Click the Warp button in the tool options bar, then drag each corner in the image to align the vertical lines of all the grids.
Step 5: Finally, click the Commit button in the tool options bar to finalize the change.
By using the Perspective Warp feature in Photoshop, you can adjust and correct distorted images with ease. This can be especially useful when dealing with large objects or buildings in images.
In addition to Perspective Warp, Photoshop offers many other powerful tools and features, such as Graphics Processor support, the Layers panel, Smart Objects, the Crop tool, the Healing Brush tool, the Clone Stamp tool, and the Select tool. You can also take advantage of the Line tool, which makes aligning line segments in your composites easier.
Questions you might be asking
Why can't I use perspective warp in Photoshop?
If you are unable to use the perspective warp tool in Photoshop, there could be a few different reasons why. It's possible that your version of Photoshop doesn't support the feature, or that you haven't selected the correct layer or object in the image. Additionally, if you are working with a low-resolution image or if there is a lot of noise or distortion, you may find that the tool doesn't work as effectively as you'd like it to.
How do you skew warp in Photoshop?
To skew warp an object in Photoshop, select the layer or object that you want to work with, and then navigate to Edit > Transform > Skew. This will activate the skew tool, allowing you to drag each of the four corners of the bounding box around the object to achieve the desired effect. You can also use the skew tool in conjunction with other transformation tools, such as perspective warp or free transform, to achieve more complex manipulations.
How do you do a 2D perspective warp in Photoshop?
To perform a 2D perspective warp in Photoshop, first select the layer or object that you want to work with. Then navigate to Edit > Transform > Perspective Warp. This will activate the perspective warp tool. From there, you can create a grid over the object you want to warp and use the vertical and horizontal lines to adjust the perspective and angles as necessary. Once you have made the desired adjustments, hit enter to apply the new perspective. Be aware that the effectiveness of the tool will depend on the complexity of the object and the quality of the original image.