Recording Audio in Adobe Audition: A Comprehensive Guide for Beginners
Adobe Audition is one of the most powerful audio recording and editing tools available today. It offers a wide range of features and tools for capturing, editing, and improving audio. In this article, we will provide a guide for beginners on how to use Adobe Audition to record, edit, improve, and apply effects to audio.

Workspace and Setup
Before we dive into recording audio, let's start by discussing how to set up your workspace and audio inputs/outputs in Adobe Audition. The first step is to configure your audio inputs and outputs in the settings. Go to the Edit menu, click on Preferences, and then click on Audio Hardware.
Here, you can select your input/output devices and adjust your buffer size. You can also enable CEP extensions, which are third-party plugins that can help improve your workflow and add more effects to your recordings.
Importing and Recording Audio
Once your audio inputs and outputs are set up, you can create a new file or import an existing one. To import an audio file, click on the File menu, choose Import, and then select your file.
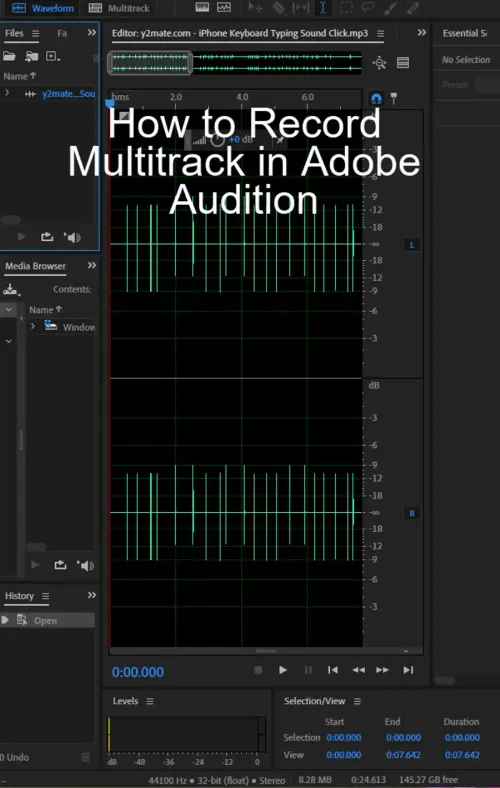
If you want to record audio from a microphone or any device you can plug into the Line In port of a sound card, click the red Record button in the Waveform Editor. To stop recording, click on the square Stop button. The current-time indicator will move when recording begins, and the recorded audio will appear as a wave.

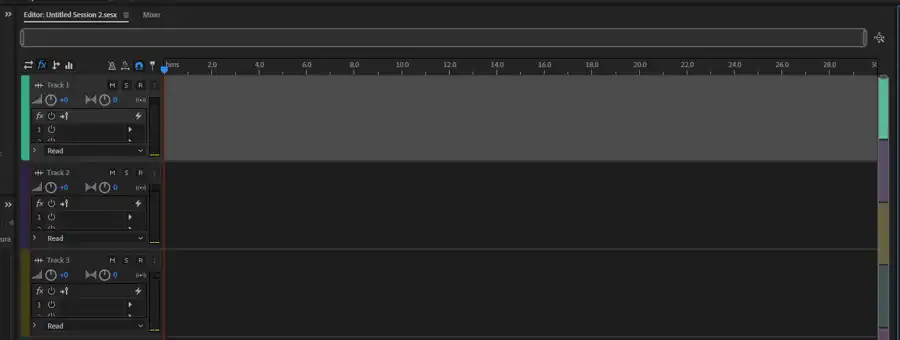
In the Audio File mode, Adobe Audition captures only one audio input, which is useful for situations that require recording a single voice. To record more than one track, you need to click on the Multitrack option, assign a track name, select a location, and adjust some settings.
If you want to record from different sources, such as a built-in microphone, a USB mic, or an audio interface, you can use the Multitrack Editor. Here, you can arm the track for record by clicking on the R button to make it red. Once you have completed your recording, you can save your file by choosing Save As from the File menu and naming your file while choosing a folder location on your computer.
Editing and Improving Audio
After recording, you may want to edit and improve your audio. Adobe Audition provides a wide range of tools to select, cut, copy, and paste audio. You can use the Essential Sound panel to repair and improve the audio.
You can also match loudness across multiple audio files, fade and change amplitude, and work with markers. Additionally, you can apply special effects such as stereo imagery effects, reverb effects, and others.
Applying Effects
In Adobe Audition, you can apply effects in both Waveform Editor and Multitrack Editor. The Effects Rack on the left-hand side of the sound panel allows you to choose the effects you want to apply. You can enable CEP extensions, effects controls, and add third-party plugins. The program offers various effects such as diagnostic effects, filter and equalizer effects, modulation effects, and others.
Recording Audio in Waveform Editor
To record audio in the Waveform Editor, click on the red Record button from a microphone or any device plugged into the Line In port of a sound card. You can create a new file or import existing audio, set audio inputs, adjust input signals, and use the Record button to start recording.
Recording Audio Clips in Multitrack Editor
Recording a single audio clip or multiple clips in the Multitrack Editor is possible using overdubbing. You can choose a source from a track's input menu, arm the track for record, and create a new clip. Additionally, you can punch into a selected range, perform punch and roll in recording, and choose punch-in takes.
Punch and Roll Recording Mode
The Punch and Roll recording mode includes pre-roll, visual countdown, and Punch Again functionality. You can toggle punch and roll recording mode and adjust pre-roll duration.
Timed Record Mode
The Timed Record Mode is useful when you may not be available to manually start or end the recording process. You can schedule recording for a later time by selecting the Start Time and Recording Time options and activating the Timed Record Mode.
Overwrite and Insert Modes in Waveform Editor
There are two modes for editing audio in the Waveform Editor: the Overwrite mode and the Insert mode. The Overwrite mode replaces audio data at the start of the selected range, while the Insert mode moves new audio data into the selected range and shifts existing audio data to the right.
Input Monitoring
Input monitoring in Adobe Audition allows you to hear the effect of your recording while you record. You can enable input monitoring, view input levels on the track level meter, and activate Smart Monitoring to automatically switch between input and playback monitoring.
Conclusion
In conclusion, Adobe Audition is a great tool for recording and editing audio and is user-friendly for both beginners and professionals. Getting started with Adobe Audition is simple and easy. We hope this guide has provided you with valuable information on how to use Adobe Audition to record and edit audio. With these new skills, you can produce high-quality audio recordings that meet your needs.
Questions you might be asking
How do I record directly in Adobe Audition?
To record directly in Adobe Audition, you need to first select the input source. You can do this by going to the Edit menu, selecting Preferences, and then choosing Audio Hardware. From there, you can select your recording device and adjust the input levels. Next, create a new audio file by going to File > New > Audio File. In the Recording panel, select the track you want to record to and click the Record button. You can then start recording your audio.
How do I loop a recording in Adobe Audition?
To loop a recording in Adobe Audition, first select the part of the recording you want to loop by highlighting it. Then, go to the Edit menu and select Loop. You can also use the keyboard shortcut Ctrl+L (Windows) or Command+L (Mac). The looped section will now repeat until you manually stop it or adjust the loop settings.
What file format does Adobe Audition use for multitrack?
Adobe Audition uses a proprietary file format called the Adobe Audition Multitrack Session (SESX) for multitrack projects. This format allows for multiple tracks to be saved within a single file and for all edits and effects to be saved with the session. SESX files can be exported to various file formats, such as WAV, MP3, and AIFF, for sharing and distribution.