
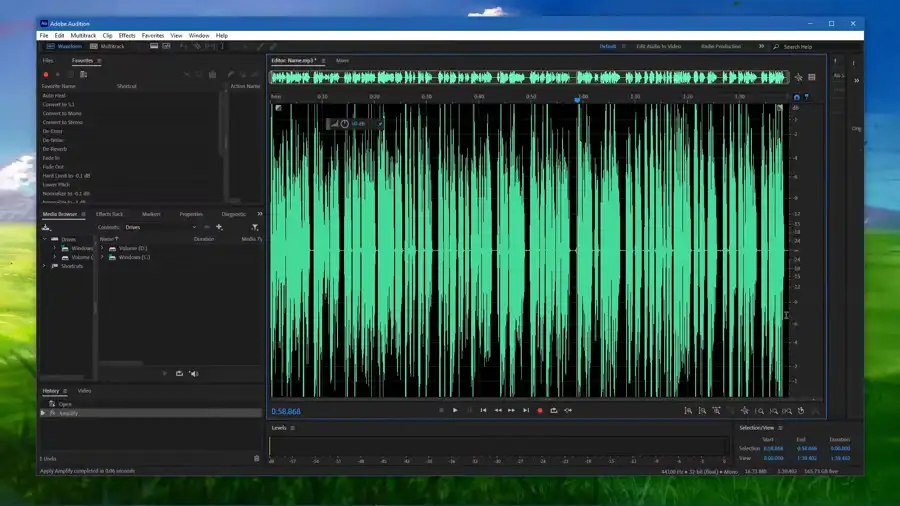
If you are an audio professional, working with clipping and distorted production audio is an inevitable challenge. The good news is that fixing such issues is not a herculean task, thanks to software like Adobe Audition. This article provides a comprehensive guide on how to fix audio issues such as distorted audio, echo, and noise reduction using Adobe Audition.

What is DeClipping tool
When it comes to recording audio, it's essential to start with the best possible quality to avoid the amount of post-production work needed. However, clipping, an issue where audio exceeds its peak level, can occur regardless of your project's scope - podcasting, music, radio, or video editing. This is where Adobe Audition comes in handy with its DeClipper tool.
How to use DeClipper
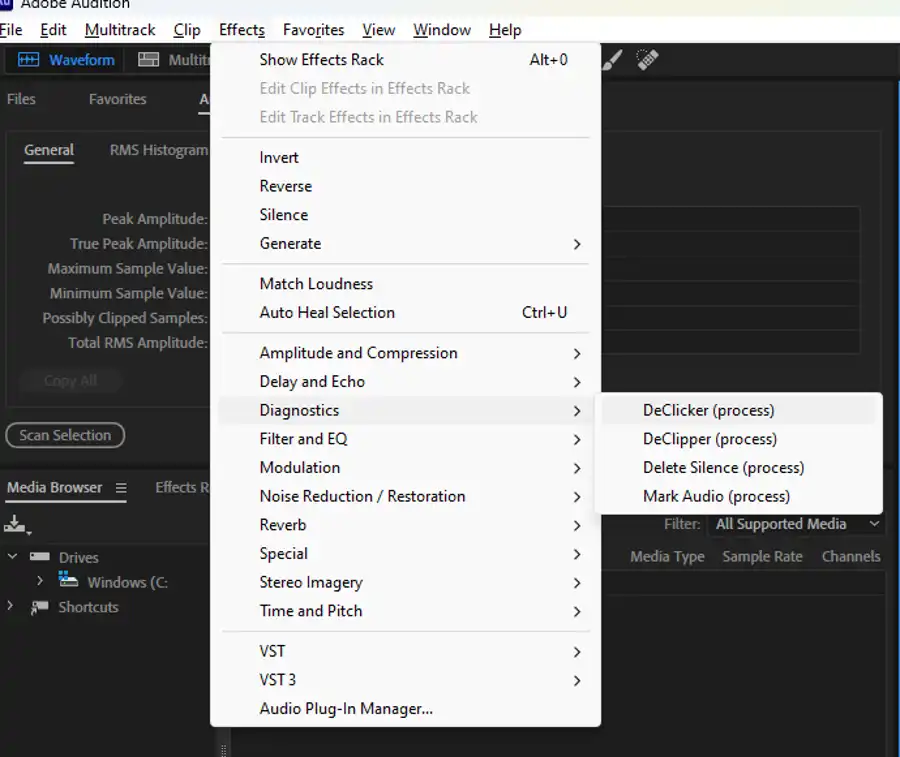
- To use the DeClipper tool, import the audio file into Adobe Audition, go to the Effects menu, Diagnostics, and choose DeClipper.
- Select the whole audio file or the portion that you want to fix. The software will scan and analyze the selected audio file automatically.
- Adobe Audition's default setting for the DeClipper tool can be applied directly to the sound clip.
- Click on Scan, and the software will analyze the selected audio and apply the DeClipping to it.
- If the default settings don't give satisfactory results, there are other DeClipper options available that can be experimented with.
Fix audio using spectral frequency
Apart from using the DeClipper tool, Adobe Audition has other options to fix multiple audio issues. The spectral frequency display is an excellent tool to fix various audio problems, including high-frequency white noise, unwanted pops, and sibilance. To use the spectral frequency display, take the following steps:
- Use the lasso tool to highlight the affected audio portion.
- Go to Analysis, choose Spectral Frequency Display, and the spectral frequency display will appear.
- Identify which frequencies are causing the problem by comparing the waveform to the display.
- Select the frequency range that needs fixing with the lasso tool.
- Click Effect, Restoration, and select Adaptive Noise Reduction.
Use adaptive noise reduction
Using adaptive noise reduction, other than the spectral frequency display panel, to fix distorted audio is another viable option. The process is simple:
- Determine the noise profile of the audio.
- Highlight the affected audio portion.
- Go to Effects and choose Noise Reduction/Restoration, click on Adaptive Noise Reduction.
- In the noise reduction panel, choose the noise profile, then apply the noise reduction.
Questions you might be asking
How do I reduce distortion in Adobe Audition?
Distortion in audio can be caused by various factors such as excessive gain, clipping, or distortion during recording. Here are some ways to reduce distortion using Adobe Audition:
Reduce the gain: You can reduce the volume of the distorted audio by reducing the gain or lowering the input level. This can help prevent clipping and reduce the distortion.
Use a DeClipper effect: Adobe Audition comes with a DeClipper effect that can help remove distortion caused by clipping. You can apply this effect to the affected audio clip and adjust the settings to remove the distortion.
Use a DeClipper plugin: You can also use third-party DeClipper plugins like iZotope RX or Waves DeClipper to remove distortion caused by clipping.
How do I fix garbled audio in Audition?
Garbled audio can be caused by various factors like audio interference, damaged audio files, or incorrect encoding. Here are some ways to fix garbled audio in Adobe Audition:
Check the audio file: If the garbled audio is in an audio file, try playing the file in a media player to see if the issue persists. If it does, the audio file may be corrupt, and you may need to re-record or obtain a new file.
Apply noise reduction: If the garbled audio is caused by background noise, you can apply noise reduction in Adobe Audition. Use the Noise Reduction effect to remove the noise, then adjust the settings to improve audio quality.
How do you fix heavily distorted audio?
Heavy distortion in audio can be caused by various factors like overloading the input, clipping, or using a low-quality microphone. Here are some ways to fix heavily distorted audio in Adobe Audition:
Remove the distortion: Use the DeClipper effect or DeClipper plugin to remove the distortion caused by clipping or overloading.
Apply equalization: Use the Equalizer effect to adjust the frequency levels of the audio and remove any harsh or muffled tones.
Compress the audio: Use the Compressor effect to reduce the dynamic range of the audio and even out the volume levels.