When it comes to getting the perfect shot, it can be easy to let a few flyaway hairs go unnoticed. However, these tiny distractions can make a big impact on the overall look of a photo. Thankfully, Adobe Photoshop provides several tools that can be used to remove flyaway hairs without sacrificing the integrity of the photo. In this article, we will go over two methods for removing flyaway hair in Photoshop, including using the clone stamp tool.

Method 1: Lasso Tool and Feathering
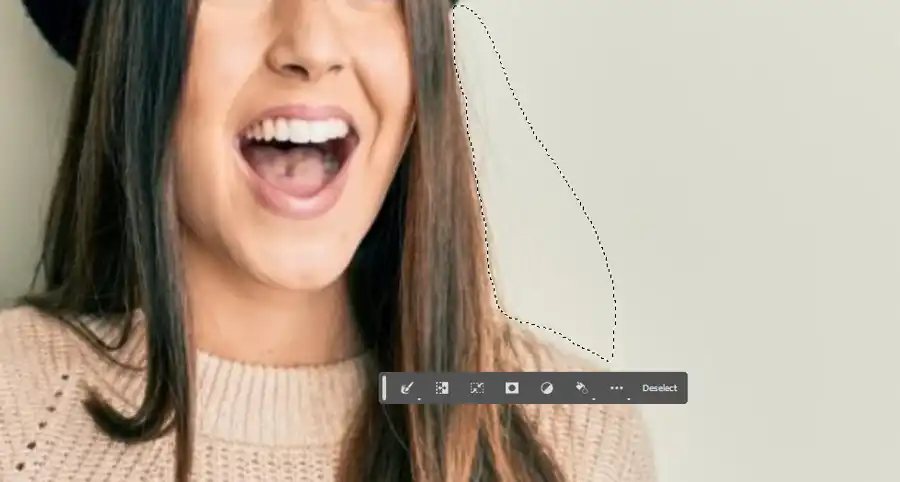
The first step to removing flyaway hairs in Photoshop is determining whether they need to be removed or left as is. Sometimes, flyaways can add charm or character to a photo. However, if it is decided that they should be removed, the lasso tool can be used to make the process easy.
To begin, select the lasso tool and create a selection around the flyaway hairs. Make sure to feather the selection to achieve a smoother and more natural transition. Once the selection is made, use the clone stamp tool to sample areas close to the flyaways and remove them. Repeat this process until all the flyaways have been removed.
Method 2: Clone Stamp Tool
The clone stamp tool is another excellent way to remove flyaways in Photoshop. It is especially useful for removing flyaways in areas where the lasso tool may be difficult to use, such as intricate hairstyles.
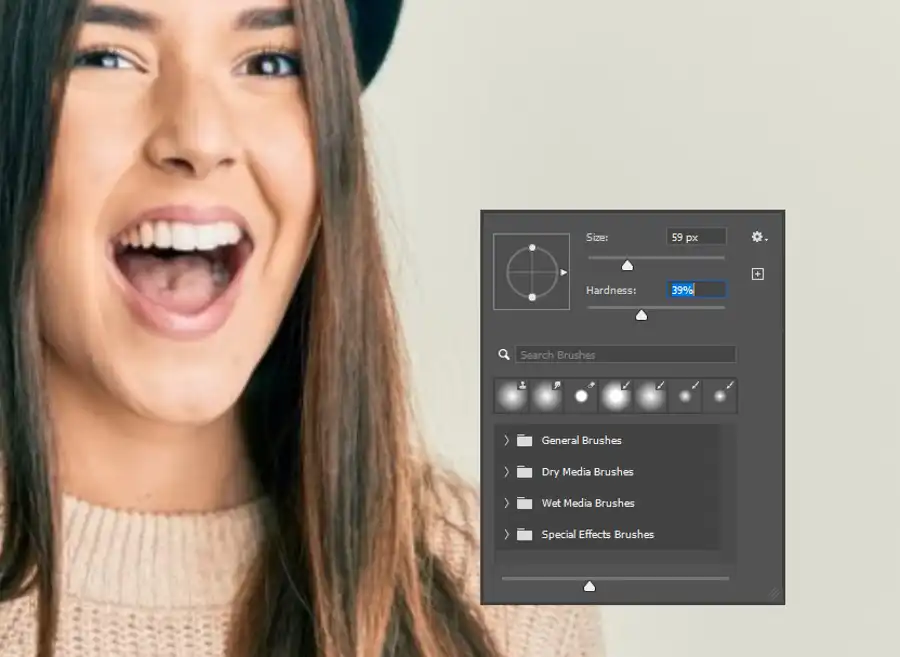
To use the clone stamp tool, select it from the toolbar and choose a brush size that matches the size of the flyaway hairs. Next, hold down the Alt key and click an area close to the flyaways that you want to sample from. Then, brush over the flyaway hairs to replace them with the sampled area. Continue to sample and brush until all the flyaways have been removed.
Other Tools and Techniques
In addition to the methods mentioned above, other tools and techniques can be used to remove flyaways in Photoshop. The healing brush and spot healing brush tools can be used to remove stray hairs on skin or background. The liquify filter and brush tool can be used to manipulate hair shape and form. There are also many tutorials available online for portrait retouching and photo editing.
As always, it is essential to remember that not all techniques work for every photo. It may take some trial and error to find the right tool and technique for your specific needs. Don't be afraid to experiment and play around with the different tools in Photoshop to achieve the desired result.
In conclusion, removing flyaway hairs in Photoshop can be a simple and painless process with the right tools and techniques. By using the lasso tool and feathering or the clone stamp tool, distracting hairs can be removed while preserving the quality of the photo. With a little practice, removing flyaways can become a quick and easy addition to your photo editing routine. After trying these techniques, make sure to share your results on social media and show off your newfound skills!
Questions you might be asking
How do I reduce flyaways in Photoshop?
To reduce flyaways in Photoshop, first, select the Spot Healing Brush tool from the toolbar. Make sure to set the brush size according to the hair's size and adjust the hardness to make it soft. Once you have selected the brush size and hardness, click on the flyaway and drag the brush in the direction of the hair growth. Repeat this process until you have removed all the flyaways.
How do you remove flyaways from photos?
To remove flyaways from photos, you can use the clone stamp tool in Photoshop. Simply select the tool and adjust the size of the brush according to the hair's size. Then press the Alt key and select an area close to the flyaway that matches the hair's texture. Now, you can click on the flyaway hair, and it will be replaced with the selected area's texture. Repeat this process for all the flyaways that you want to remove.
How do I get rid of hair wisps in Photoshop?
To get rid of hair wisps in Photoshop, you can use the Liquify filter. Firstly, select the Liquify filter from the Filter menu. Now select the Forward Warp tool and brush the wisp hair in the direction of the hair growth. You can also set the brush size and strength according to the hair wisps' size and position to have better control. Repeat this process until the wispy hair is blended into the rest of the hair.
How do I remove flyaway hair in Photoshop 2023?
To remove flyaway hair in Photoshop 2023, you can use the Content-Aware Fill feature. Firstly, select the flyaway hair using the Lasso tool or any other selection tool. Then, go to the Edit menu and select the Content-Aware Fill option. A new window will appear, and you can adjust the settings according to your preference. Finally, click on the OK button, and the flyaway hair will be removed from the image.