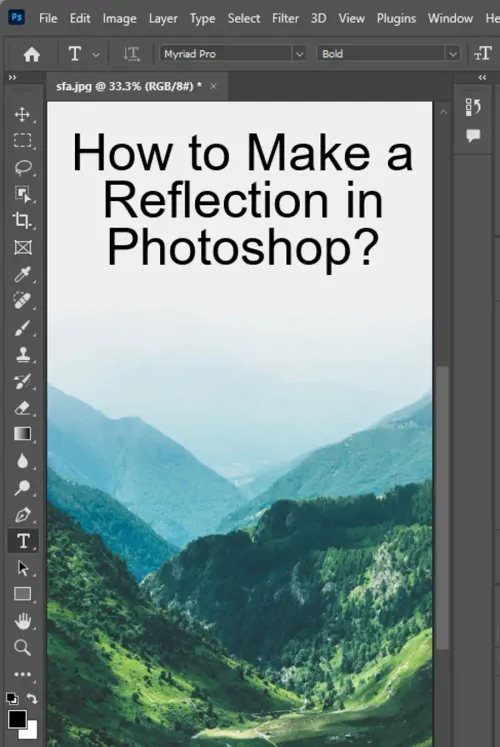
For many photographers, adding a reflective surface to their images is a crucial aspect of their post-processing workflow. Creating a reflection using Photoshop can seem complicated at first. Still, with six easy-to-follow steps, you can make your images pop by adding this eye-catching detail.


Step 1: Copy the Image
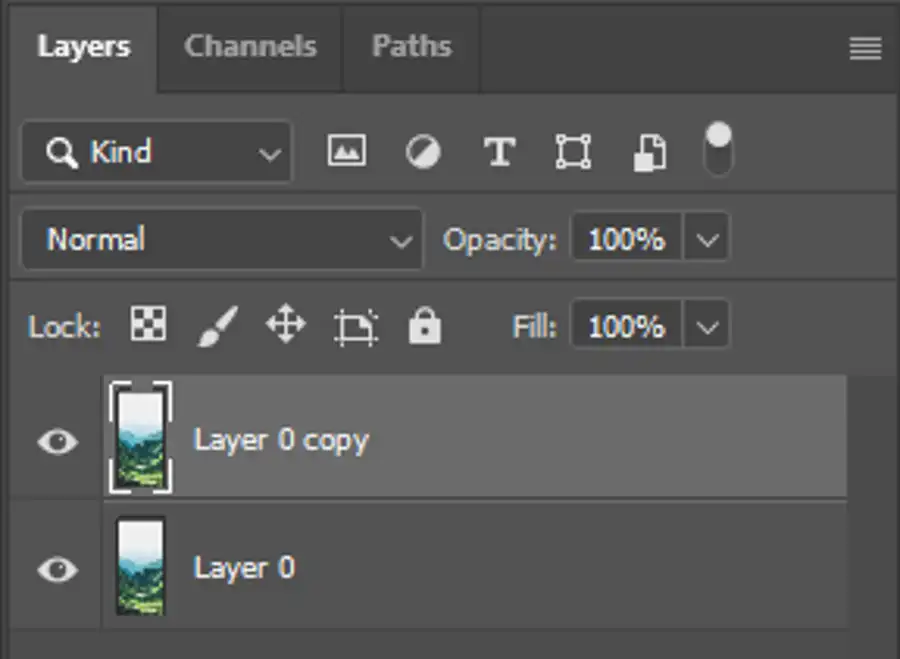
The first step to creating a reflection in Photoshop is to copy the image layer. This is achieved by clicking on the layer while pressing the Ctrl key and then dragging it to the New Layer icon. Alternatively, you can press Ctrl + J to create a duplicate copy of the image.
Step 2: Flip the Image
With the duplicated layer selected, choose Edit from the menu, then select Transform, and then Flip Vertical. Alternatively, you can use the keyboard shortcut Ctrl+T to open the Transform tool, right-click on the image, and select Flip Vertical.
Step 3: Position the Reflected Image
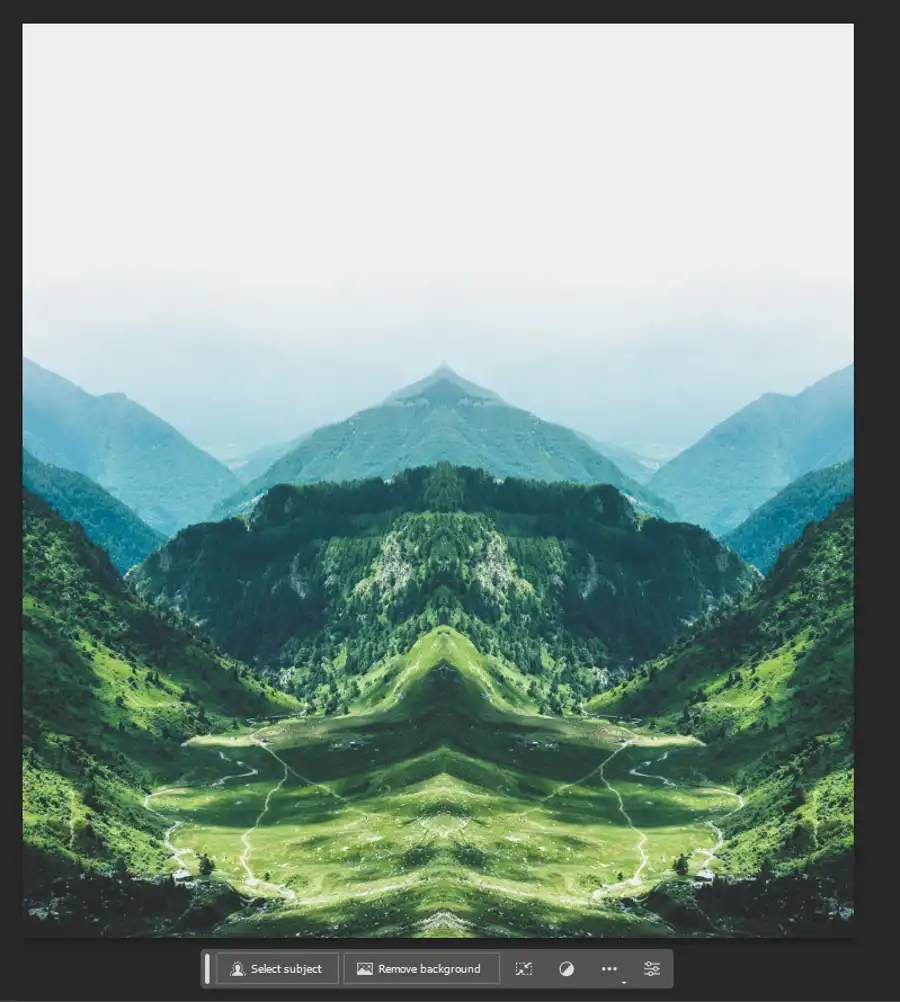
After flipping the duplicated layer, it is essential to position it below the original image to create a reflection. This can be done by clicking and dragging the layer with the Move Tool or using the arrow keys to make minor adjustments.
Step 4: Adjust the Blend Mode
The next step is to adjust the blend mode of the reflected layer. To do this, select the duplicated layer, then go to the Layers panel, click on the Blend Mode drop-down menu, and choose Screen or Lighten. The blend mode depends on the brightness of the reflection needed.
Step 5: Masking
Once you have adjusted the blend mode, you will likely notice that some parts of the image may still look a bit unnatural, particularly around the edges. To fix this, it is recommended to use masking. Select the Layer Mask icon, then use the Brush tool to mask away parts of the reflection layer that appear unnatural.
Step 6: Optional Finishing Touches
There are a few optional finishing touches you can add to your reflection to make it look even better. For example, you can use the opacity slider to decrease the opacity of the reflection layer or adjust the hue and saturation to create the appearance of a reflective surface that looks more like glass or metal.
Questions you might be asking
How do you do reflections in Photoshop?
To create a reflection effect in Photoshop first, Duplicate your image, flip it vertically, and lower its opacity. Then add a layer mask, and use a gradient tool to create a gradient from transparent to white, revealing the reflection gradually.
Is there a reflect tool in Photoshop?
Unfortunately, there is no specific "Reflect" tool in Photoshop, but you can create realistic reflections with some easy steps. You can use techniques like layer masks, gradients, and the transform tool to create reflections quickly and easily.
How to make a reflection floor in Photoshop?
You can create a reflection floor in Photoshop by using the Duplicate layer technique for your image, making a copy and flipping it vertically. Add a layer mask to the copied layer, and gradient it from the picture's bottom up into transparent areas. Then, go to Filter > Blur > Gaussian Blur and apply the blur effect. Adjust the layer opacity and use the transform tool to reposition and resize the reflection.
How do I make a reflective window in Photoshop?
Start by selecting the area you want as your reflective window. Duplicate and flip the selected area with Edit>Transform>Flip Vertical, then lower the layer opacity. Add a layer mask, use the gradient tool to soften the edges and fade the reflection, then go to Filter>Blur>Gaussian Blur and apply a blur effect to the reflection to match the background.