Wrinkles can be a source of anxiety for many people, especially when it comes to taking portraits. Fortunately, with Photoshop, you can achieve a smoother, more youthful look without sacrificing natural appearance. This tutorial will guide you through the process of removing wrinkles in Photoshop using the Healing Brush tool. We'll also discuss the importance of leaving some wrinkles to achieve a natural-looking portrait and share some tips for enhancing your portraits in Photoshop.

The Importance of Not Over-Retouching Wrinkles
The first thing to keep in mind is that completely removing wrinkles can result in an unnatural look. This is because wrinkles are an indicator of a person's age and are an inherent feature of a face. Therefore, it's crucial to minimize the appearance of wrinkles rather than completely removing them. By doing so, you can enhance the portrait's overall appearance while maintaining the subject's natural features.
Tools Needed
Before we begin, make sure you have access to Photoshop. Also, you'll need to use the Healing Brush tool from Photoshop's Tools panel. Lastly, you'll need to be familiar with adjusting layer opacity and blend modes.
Step-by-step Guide to Removing Wrinkles in Photoshop
With that introduction out of the way, let's get started!
Step 1: Add a new blank layer.
Open the photo you wish to modify, and select the layer containing the portrait. Next, add a new blank layer by clicking on the "New Layer" icon in the Layers panel.
Step 2: Select the Healing Brush.
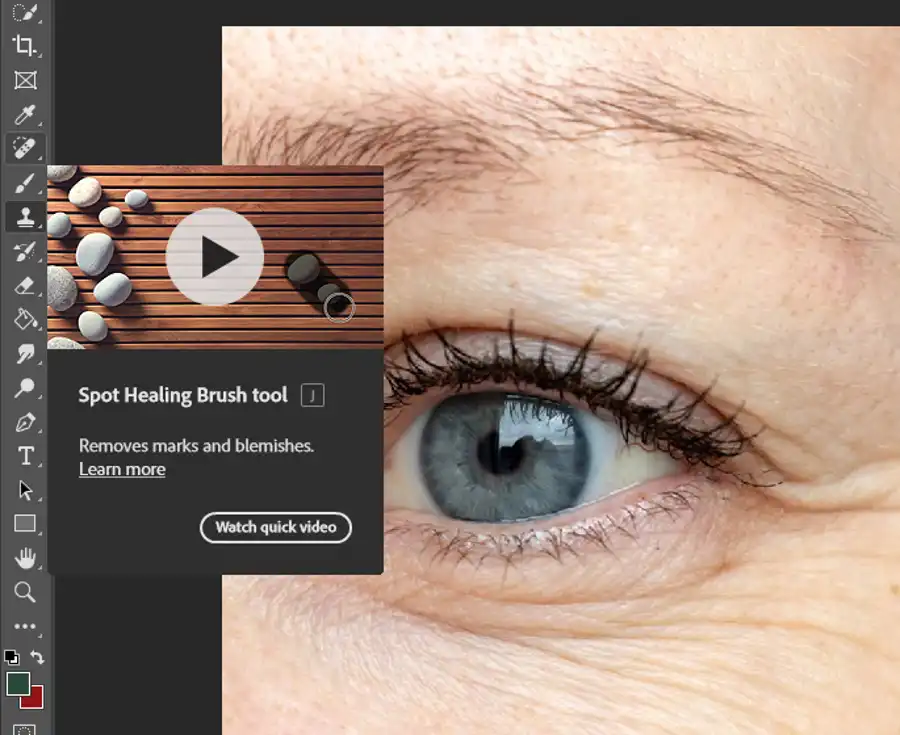
With the new layer selected, select the Healing Brush tool from the Tools panel. This tool is represented by a bandage with a dotted circle around it.
Step 3: Change the Sample option for the Healing Brush to "All Layers."

Important: Before you begin brushing over the wrinkles with the Healing Brush, you need to change the Sample option for the tool to "All Layers." This step is essential because it allows the Healing Brush tool to sample from both the current layer and all underlying layers.
Step 4: Leave "Aligned" unchecked.
Ensure that the "Aligned" checkbox is unchecked. By default, this option is unchecked, so chances are you won't need to change it.
Step 5: Click on an area of good texture to sample it.
Select an area of good texture to sample by clicking on it with the Healing Brush tool. This sample area should be near the wrinkles you wish to reduce. Be sure to use a brush size that matches the size of the wrinkle you wish to remove.
Step 6: Paint over the wrinkle to heal it.
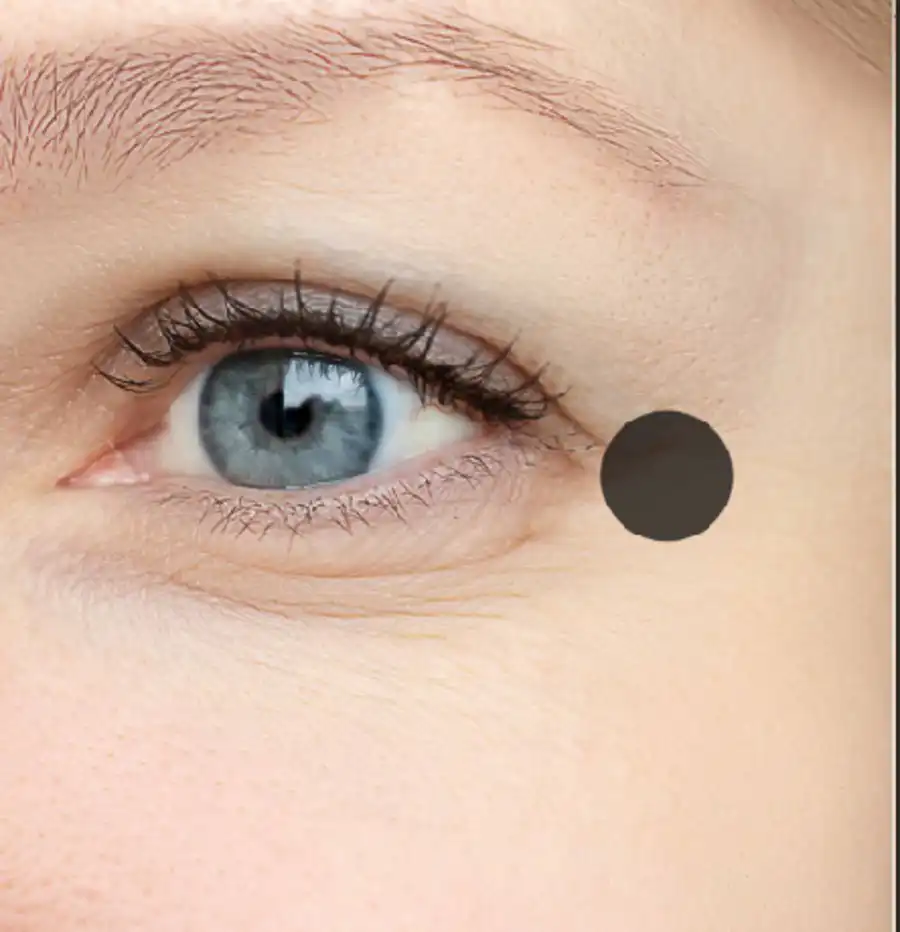
Using the sample point you selected in step 5, brush over the wrinkle gently. Continue to adjust your brush size for different wrinkles throughout the portrait, and keep in mind that it's better to do multiple passes than to overdo brush strokes in one pass.
Step 7: Change the layer blend mode to Lighten.
Select the layer containing your retouching brush strokes and change the blend mode to Lighten. This change will help the original skin texture around the wrinkles become more apparent, resulting in a more natural-looking portrait.
Step 8: Lower the layer opacity.
To dial down the intensity of your retouching, lower the opacity of the layer you created in step 1. Lowering the opacity will make your brush strokes less noticeable while still retaining the original, unretouched areas of the portrait.
Before and After Comparison
Once you've finished the above steps on your portrait, it's a good idea to compare the original image with your final edited version. This comparison will help identify any areas that need further retouching or adjustments.
Tips for Making the Retouching Look Natural
Here are a few tips to help you avoid over-retouching and achieve natural-looking portraits.
Use Good Judgment
Always consider how much you need to reduce the intensity of wrinkles. A good rule of thumb is to keep the portrait as natural and true to form as possible.
Avoid Removing Wrinkles Completely
Completely removing wrinkles can result in an unrealistic and unnatural-looking portrait, so be sure to focus on reducing their intensity rather than eliminating them entirely.
Change the Blend Mode to Lighten
Changing the blend mode of the layer with your brush strokes to Lighten can make the original skin texture around the wrinkles more apparent.
Lower Layer Opacity
Lowering the opacity of the layer with your brush strokes will reduce their intensity while leaving the unretouched areas untouched.
In conclusion, Photoshop is a powerful tool that can enhance the appearance of your portraits while maintaining the subject's natural features. And when it comes to removing wrinkles, be sure to minimize their intensity rather than eliminating them entirely. By keeping these tips in mind, you can create polished and natural-looking portraits that will impress and delight!
Questions you might be asking
How do you get wrinkles out of a picture in Photoshop?
To get rid of wrinkles in a picture using Photoshop, you can use various tools such as the Healing Brush tool, the Clone Stamp tool, and the Spot Healing Brush tool. To do this, first, create a duplicate layer of the image, then select the tool you want to use and adjust the brush settings. With the tool selected, click and drag it over the wrinkles, and they will gradually disappear.
What tool removes wrinkles in Photoshop?
There are a few tools in Photoshop that can effectively remove wrinkles from an image. For example, the Healing Brush tool is perfect for removing wrinkles because it uses a sample from a different area of your image to cover the wrinkles. The Clone Stamp tool is another option that works similarly to the Healing Brush tool, while the Spot Healing Brush tool is a great option for quickly removing small wrinkles or blemishes.
How do you remove wrinkles from clothes in Photoshop?
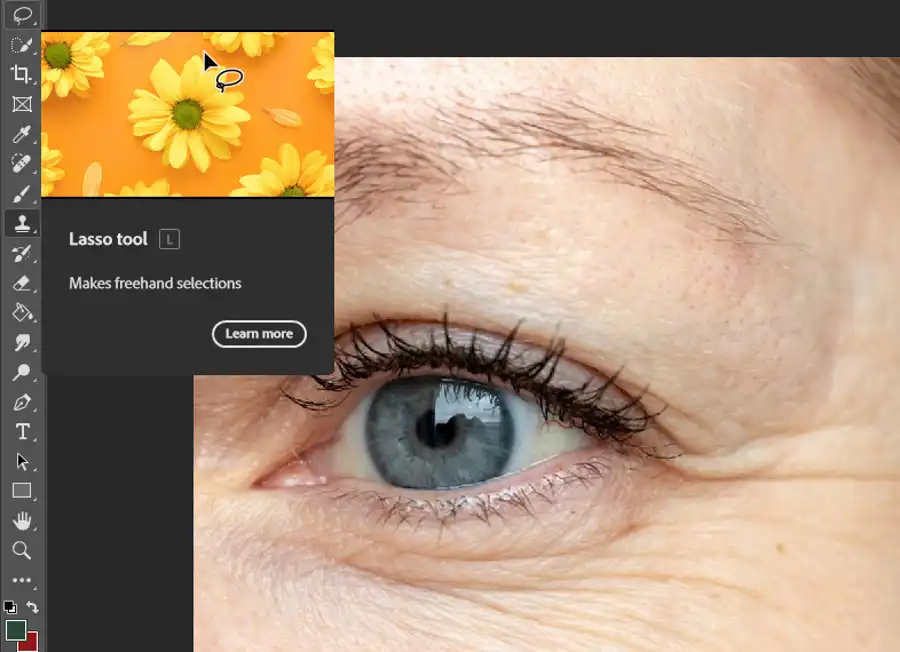
Photoshop can be used to remove wrinkles and creases from clothing in an image. To do this, first, select the Lasso tool and carefully draw around the area you want to modify. Next, go to Edit > Transform and use the Warp tool to adjust the clothing to your desired shape. You can also use the Liquify tool to make more precise adjustments to the shape of the clothing.
How do I smooth skin in Photoshop?
There are several techniques you can use in Photoshop to smooth skin. One of the easiest and most popular methods is to use a filter called "Gaussian Blur." To use this method, first, duplicate the layer containing the image, then apply the filter to this new layer. After applying the filter, adjust the opacity of the blurred layer until the skin looks smooth and uniform. Additionally, you can use the Healing Brush tool or the Clone Stamp tool to remove any blemishes or imperfections.