
Adobe Photoshop is an essential tool in the arsenal of any digital artist, photographer, or graphic designer. This software's versatility allows you to perform a multitude of tasks, one of which is stacking photos. This process is particularly useful in techniques such as focus stacking, star trail images, or creating HDR (High Dynamic Range) images. This guide will take you through the steps of stacking photos in Photoshop.

Understanding Photo Stacking
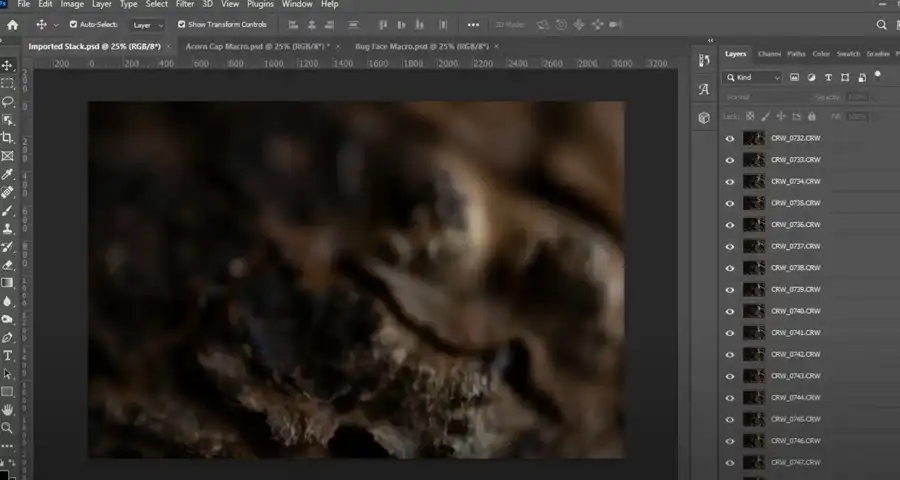
Photo stacking involves layering multiple images with identical compositions to create a final image that incorporates data from all stacked photos. This process can be used to create a long exposure effect, increase an image's depth of field, or produce noise-free low-light shots.
How to Stack Photos in Photoshop: A Step-by-Step Guide
Step 1: Open Photoshop
Begin by launching Adobe Photoshop on your computer. Ensure that you have all the images you want to stack ready and in the same folder for easy access.
Step 2: Load Your Stack into Photoshop
Once Photoshop is open, navigate to "File" on the top menu, move down to "Scripts," then select "Load Files into Stack." A dialogue box will open up.
Step 3: Select Your Images
In the dialogue box, click "Browse" and navigate to the folder where your images are stored. Select all the photos you want to stack by holding down the "Ctrl" key (or "Cmd" on a Mac) and clicking on each photo. After selecting all your images, click "Open."
The selected files will be listed in the "Load Layers" box. Make sure "Attempt to Automatically Align Source Images" is checked if your images aren't perfectly aligned. Then click "OK."
Step 4: Align Your Images
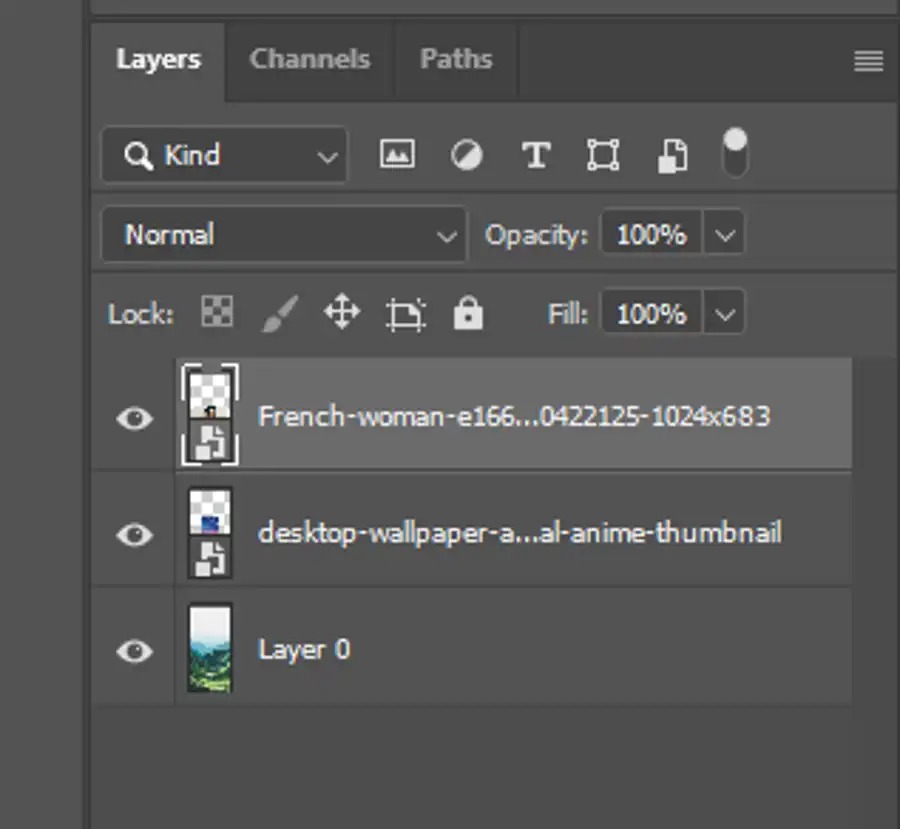
Photoshop will then work on aligning and stacking your images. This process might take a while if you're stacking many high-resolution photos. Once completed, you'll see all your photos listed as layers in the Layers panel.
Step 5: Blend Your Images
With all your layers selected (click the top layer, hold "Shift," then click the bottom layer to select them all), navigate to the "Edit" menu and select "Auto-Blend Layers."
In the "Auto-Blend Layers" box that pops up, select "Stack Images," and make sure "Seamless Tones and Colors" is checked, then click "OK."
Photoshop will now blend your stacked layers into a single image, keeping the sharpest parts from each photo.
Step 6: Finishing Up
You might notice some empty or uneven areas around the edges of your image due to the alignment process. Use the "Crop" tool to crop these areas out and finalize your image composition.
Finally, don't forget to save your work. Go to "File" > "Save As," and choose your preferred format.
Conclusion
Stacking photos in Photoshop is a powerful technique that can significantly enhance your photography work. This technique allows you to go beyond the limitations of your camera and create images with increased dynamic range, lower noise, or greater depth of field. With practice, you'll be able to easily incorporate photo stacking into your regular workflow. Happy editing!
Questions you might be asking
Does Photoshop have photo stacking?
Yes, Photoshop has a feature called "photo stacking" which is used to combine several images into one single image with multiple layers. This feature is often used in image editing to create composite images or to reduce noise in photographs.
How do I layer photos on top of each other in Photoshop?
To layer photos on top of each other in Photoshop, you need to open the images as separate layers in the same document. To do this, go to File > Scripts > Load Files into Stack. Select the images you want to use and click OK. This will open each image as a separate layer in the same document. You can then drag and drop each layer to position it in the image.
How do you stack pictures together?
To stack pictures together, you can use the same process in Photoshop as described in the above answer. Alternatively, you can use other software programs designed specifically for photo stacking, such as Helicon Focus or Zerene Stacker.
How do I open photos as stack in Photoshop?
To open photos as a stack in Photoshop, go to File > Scripts > Load Files into Stack. Select the images you want to use and click OK. This will open each image as a separate layer in the same document. You can then use the layers panel to adjust and manipulate each image as needed.