
Adobe Photoshop is an exceptional tool used by photographers, designers, and digital artists all over the world. Among its myriad features is "snapping," a function that can help you align layers, shapes, text, or selections to each other, the canvas edges, guides, or grid lines. However, there may be times when this feature gets in the way of your editing process, and you wish to disable it. This blog post will guide you step-by-step on how to turn off snapping in Photoshop.

What is Snapping?
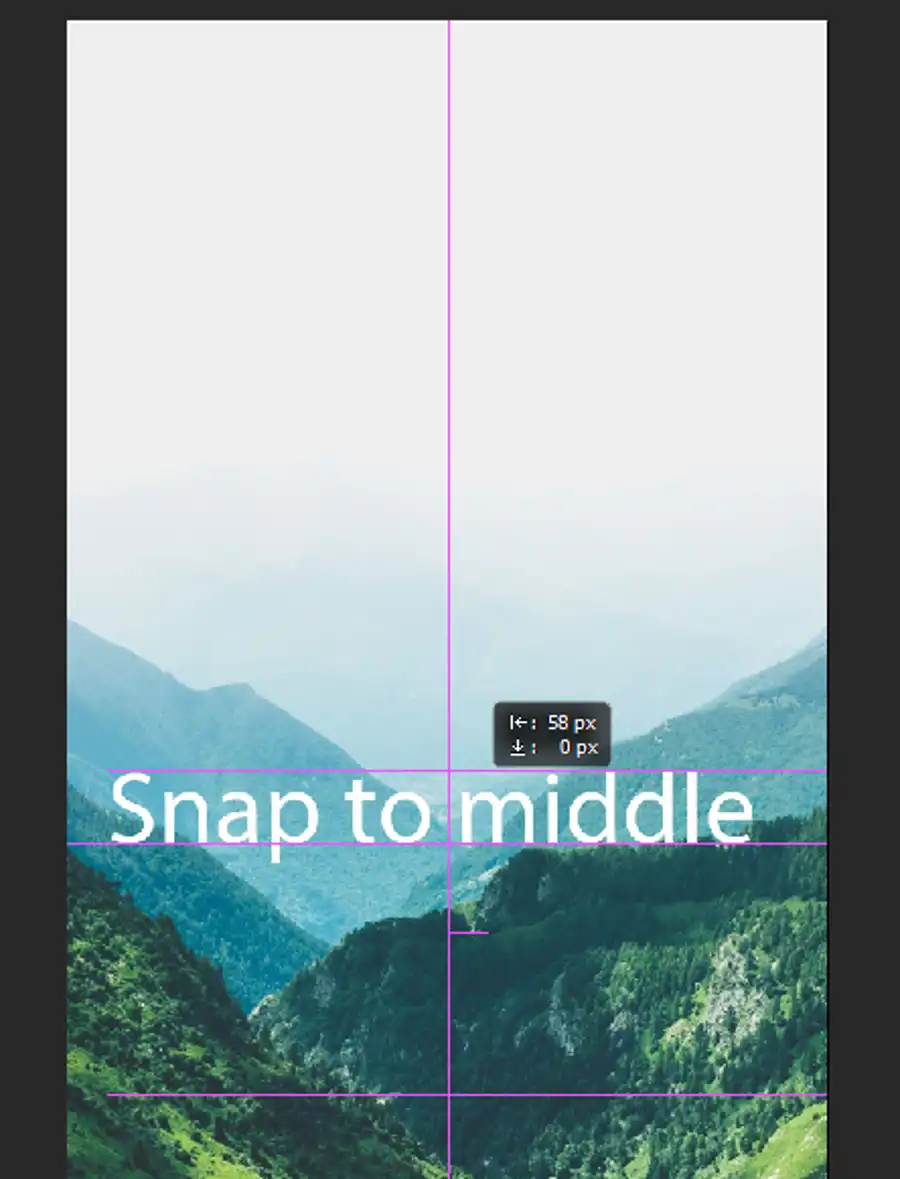
Before we jump into the steps, let's understand what snapping is. "Snapping" in Photoshop is a feature that automatically aligns elements to the nearest items. This includes edges of the workspace or other layers. It's a handy feature when you want to align your objects perfectly. However, when working on more delicate edits, snapping may become a nuisance, causing objects to align when you don't want them to.
How to Turn Off Snapping in Photoshop
Turning off the snapping feature in Photoshop is a straightforward process, and you can easily switch it back on when needed.
Step 1: Open Photoshop
Launch Adobe Photoshop on your computer. You can start this process with an open project, or you can begin with a new one. It doesn't matter if you're editing an image or starting from scratch; the steps remain the same.
Step 2: Navigate to the "View" Menu
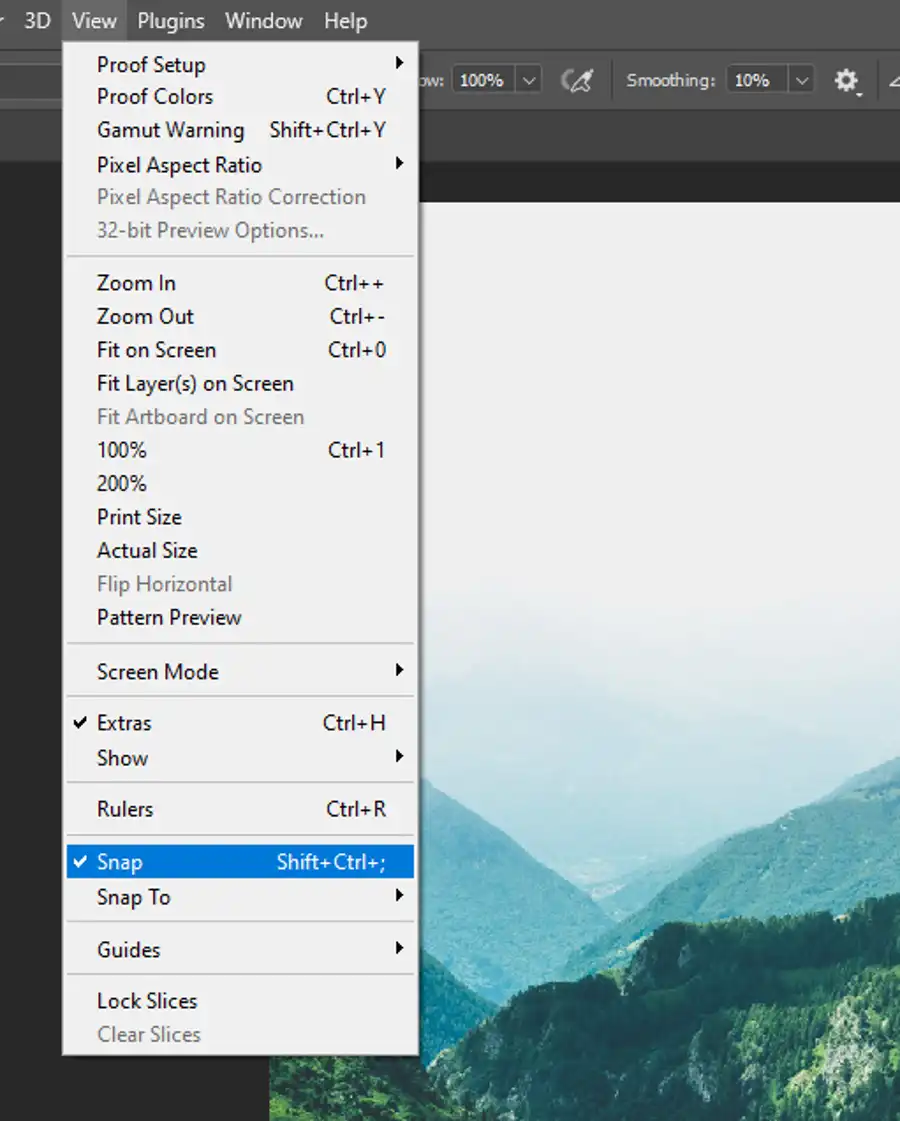
Look at the top of the screen and find the menu bar. Click on the "View" menu to drop down a list of options.
Step 3: Toggle Off "Snap"
In the dropdown list from the "View" menu, you'll see an option labeled "Snap." If snapping is active, there will be a checkmark beside this option. Clicking on "Snap" will toggle the snapping feature on and off. When the checkmark disappears, the snapping feature is off.
Customizing Your Snapping Preferences
Photoshop allows you to customize which elements will snap together. Maybe you want layers to snap to guides, but not to the document bounds. Here's how to customize your snapping preferences:
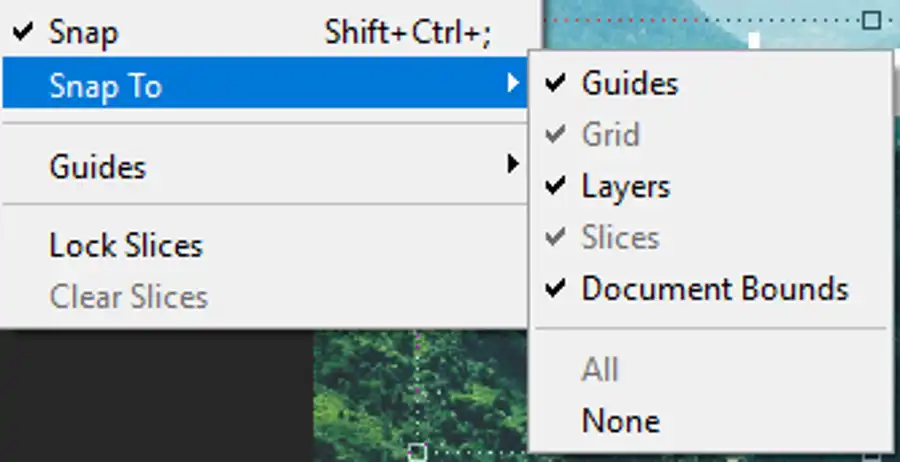
- Go to the "View" menu and select "Snap To."
- A secondary list will appear, showing you the elements that snapping applies to: Guides, Layers, Document Bounds, etc.
- To disable snapping for a specific element, simply click on it. If there's a checkmark next to the element, snapping is active for it. Clicking it will remove the checkmark and disable snapping for that element.
Conclusion
The "Snap" feature in Adobe Photoshop is indeed helpful for many tasks, but knowing how to turn it off is just as important to maintain control over your creative work. Remember that Photoshop is a highly versatile tool designed to cater to your editing needs. By managing the features like "Snap," you can tailor the software to best fit your unique work style and requirements. Happy editing!
Questions you might be asking
How do I turn on snapping in Photoshop?
To turn on snapping in Photoshop, you need to go to the View menu and select "Snap" or press "Ctrl+Shift+;". Once you turn on snapping, it will help you align your layers precisely. Moreover, you can customize the snapping options, such as the snapping type, spacing, and threshold.
How do I turn off the Move tool in Photoshop?
You cannot turn off the Move tool permanently in Photoshop, as it is one of the fundamental tools. However, if you want to switch to another tool temporarily, you can press the corresponding keyboard shortcut or select it from the toolbar. Alternatively, you can press the letter "V" to activate the Move tool and press it again to deactivate it.
How do I turn off Smart Guides in Photoshop?
Smart Guides are essential for aligning and spacing layers accurately, but if you prefer to work without them, you can turn them off easily. Simply go to the View menu, select "Show" and uncheck "Smart Guides" or press "Ctrl+U" to toggle them off and on. You can also customize the Smart Guides options, like color, length, and spacing, if you want to keep them on.