Adobe Premiere Pro is a great video editing software with useful tools for crafting films or videos, and being able to split and cut clips into different parts is an essential part of any editing. In this tutorial, we show you how to split a video or audio clip in Premiere Pro. Let's get started;

How Do You Split a Video Into Parts?
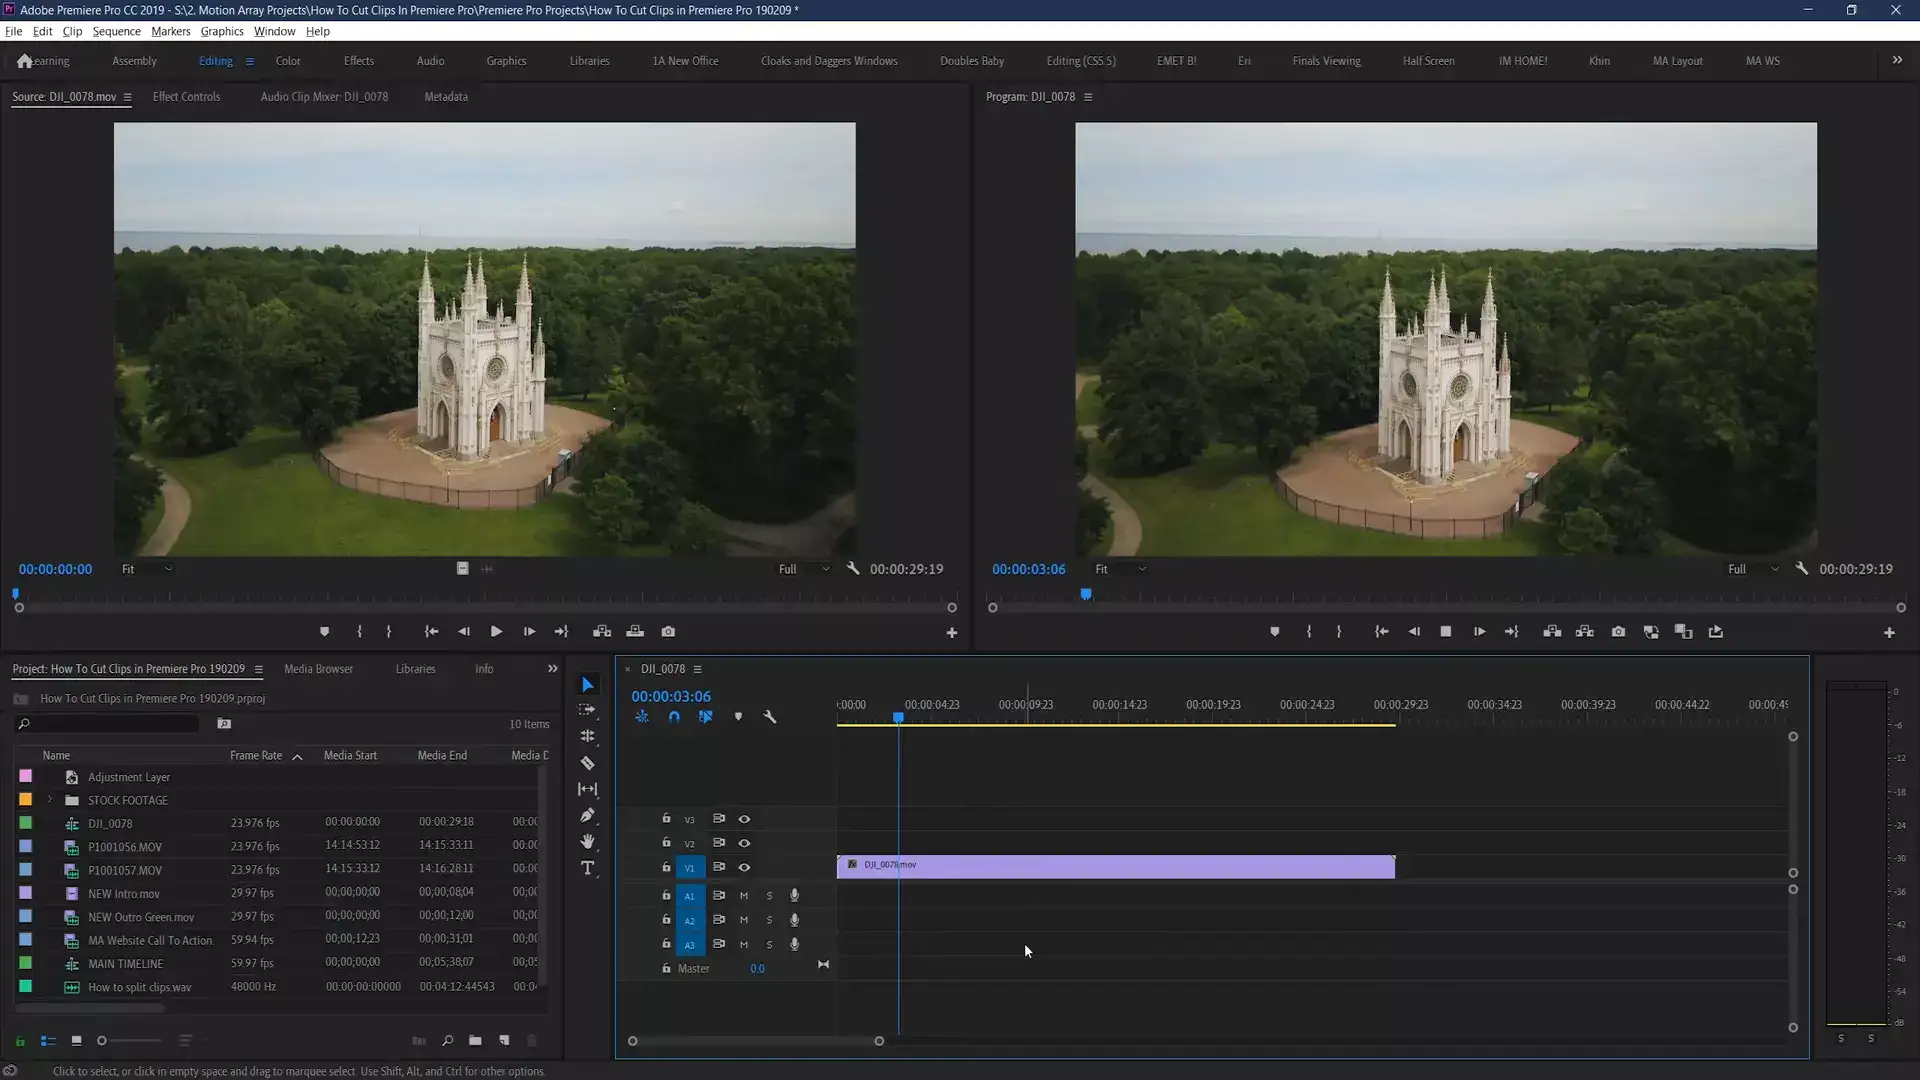
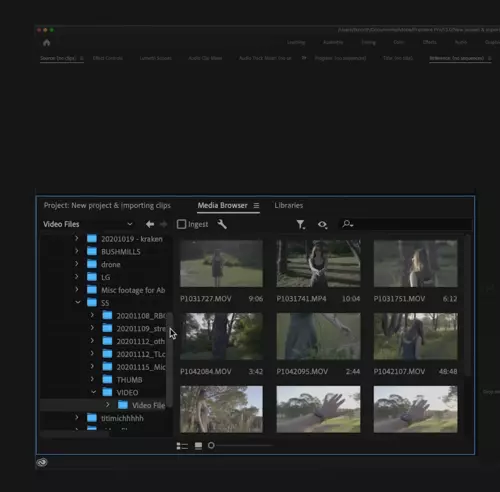
Step 1: Import the Video From the Computer to Premiere Pro
To import your video to the app, go to the ‘File’ > ‘Import’ options. Alternatively, you can drag and drop the clips into the app’s timeline.
Step 2: Move the Indicator
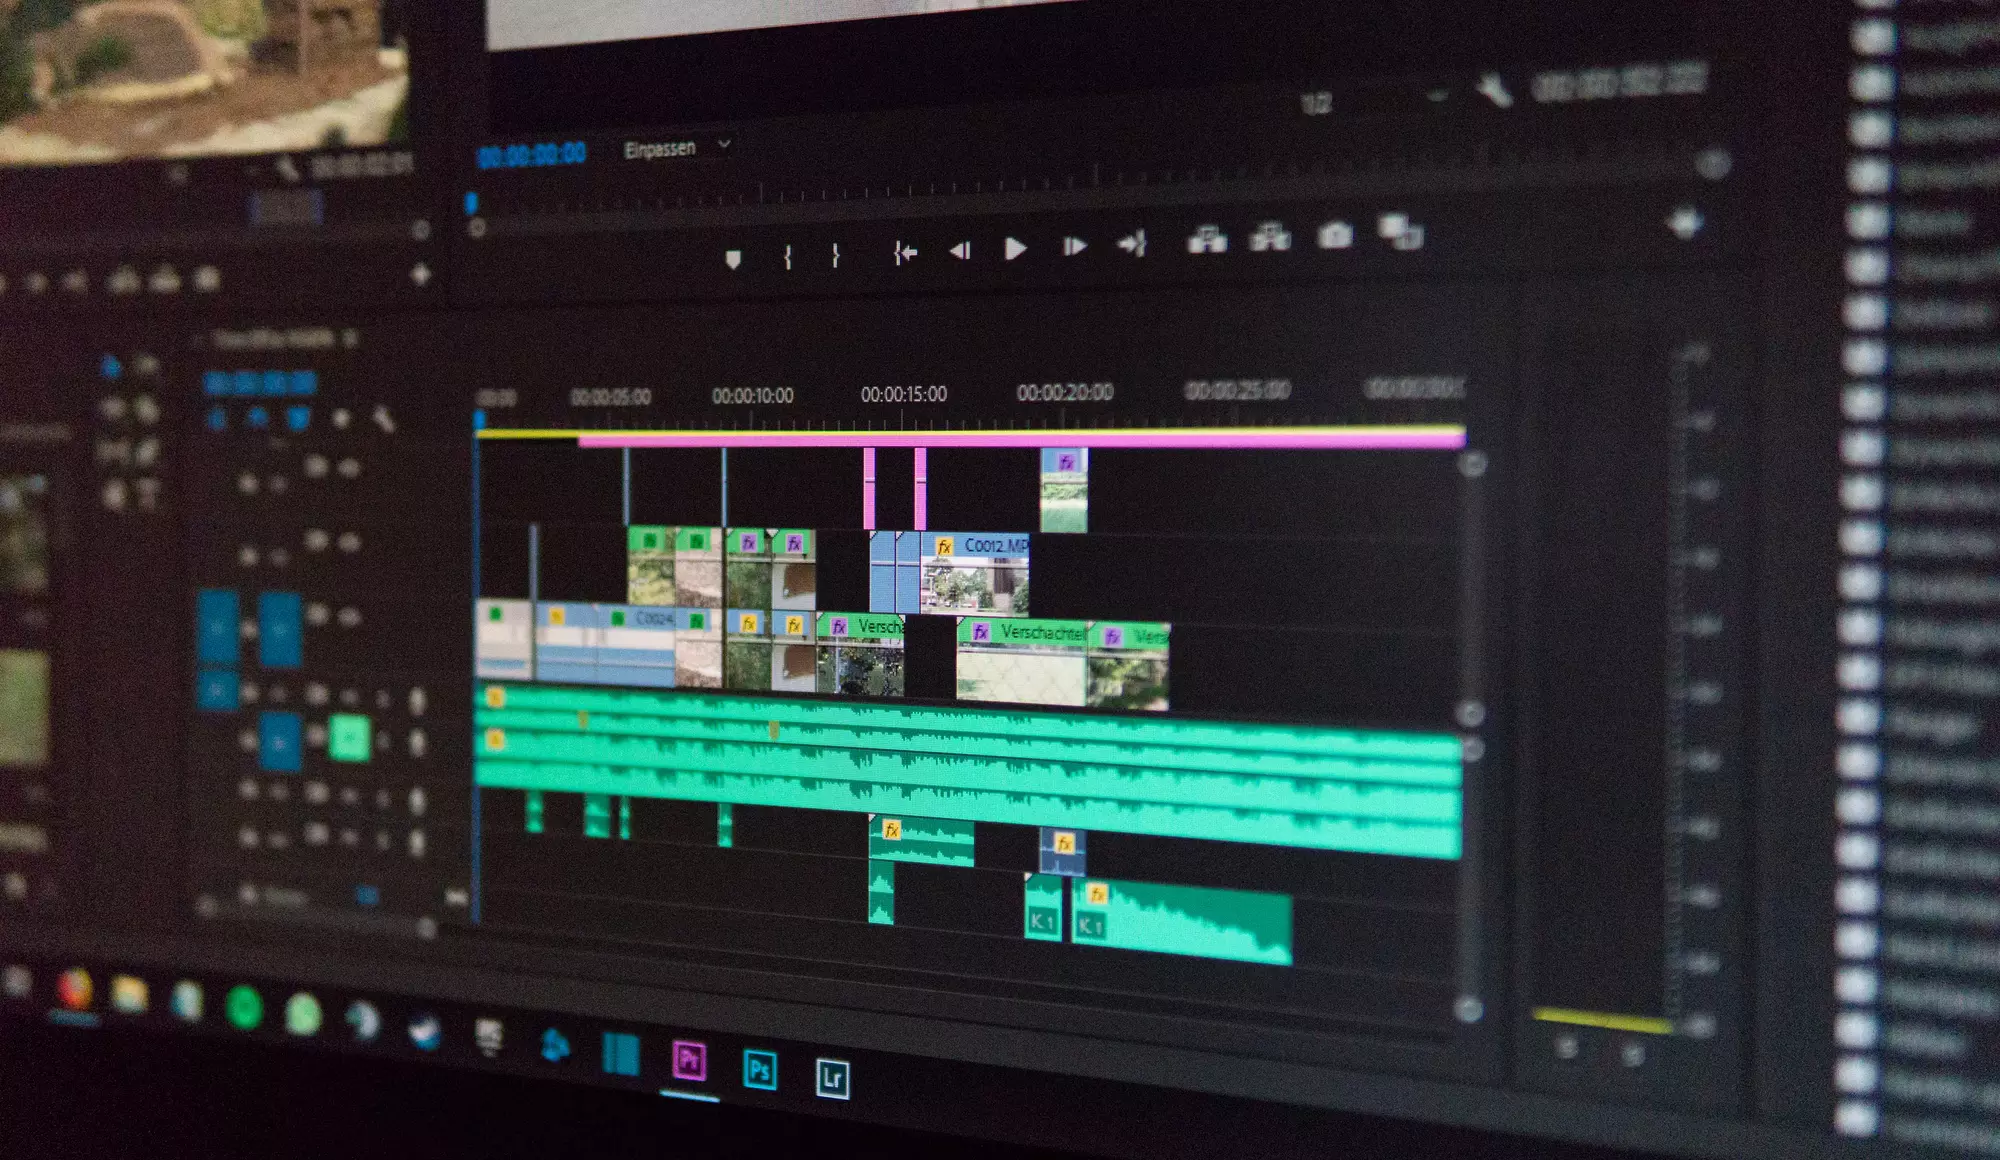
The next step is to move the indicator of the app’s timeline to the section you want to split the video. Afterward, select ‘Sequence’ > ‘Razor’ at the Current–Time Indicator.
Step 3: Highlight the Clip You Want to Split
Highlight the video you want to split by selecting ‘Toolbox’ and then choosing the ‘Razor’ tool. Hover the mouse to the point where you want to split the clip, then left-click.
Step 4: Split the Clip
Split your clip into different parts. Select and hold the ‘Shift’ key and choose the set portion with the ‘Razor’ tool. You can also ‘lock’ any videos you do not want to split by clicking the square at the right of the ‘eyeball’ in your clips.
How To Split Audio In Premiere Pro
Step 1: Drag the video clip with audio onto the timeline. The trick is to split the audio clip while the audio is still in sequence.
Step 2: Go to the project window, right-click select ‘modify’ the ‘audio channel.’ The clip channel format will be ‘stereo.’
Step 3: Split the clip channel format to ‘mono,’ then change the number of audio channels to ‘two.’
Step 4: Under the media source channel in clip 1, select ‘L,’ and in clip 2, select ‘R’ then click ‘okay.’
Step 5: Drag the same video clip with audio to the timeline, and you will note two audio clips. You can control the volume of each audio clip separately.
Split Clip Premiere Pro Shortcut
Go to the File menu (or Premiere Pro CC menu on Mac), then select Keyboard Shortcuts > Keyboard Layout Preset > Adobe Premiere Pro Default if it was not already selected.
Here are 10 keyboard shortcuts to make your video editing easier with Adobe Premiere Pro.
- To minimize or expand the timeline tracks use Shift+=/ -. Ctrl+=/ - (Cmd+=/ -) for track height and Alt+=/ - (Opt+=/ -) for audio track height.
- Use the backslash key (\) for zooming in your sequence and show everything on the timeline.
- To clear In and Out points, use Ctrl+Shift+I (Opt+I) and Ctrl+Shift+O (Opt+O) respectively. Use Ctrl+Shift+X (Opt+X) for both.
- Use / (forward slash) key to set In and Outs around all the clips you currently have selected and X to mark the clip under the Playhead.
- Use D to Select Clip at Playhead.
- Use Shift+Ctrl+A (Shift+Cmd+A to deselect effects, clips, or whatever you had selected.
- Use Ctrl+K (Cmd+K) to cut the clip into two.
- Use F to open the master clip in the Source Monitor at the same frame after parking over any clip in the sequence. F stands for Match Frame.
- The opposite is using Shift+R - the Reverse Match Frame - to take you to the first clip that frame appears in.
- If you want to perform rough cuts, use Ripple Trim Next Edit to Playhead (W) and Ripple Trim Previous Edit to Playhead (Q).