Want to control Blender 3D objects easily? Then use 3D cursor. This article explains Blender's 3D cursor. We'll show you how to set up and use the 3D cursor effectively, along with some tips. With our step-by-step guide, you'll be able to easily create 3D models. Then what? Let's begin!

Also read: How to select all in Blender?
1. The 3D cursor in Blender helps create precise alignments and establish points for scaling, rotating, or duplicating objects.
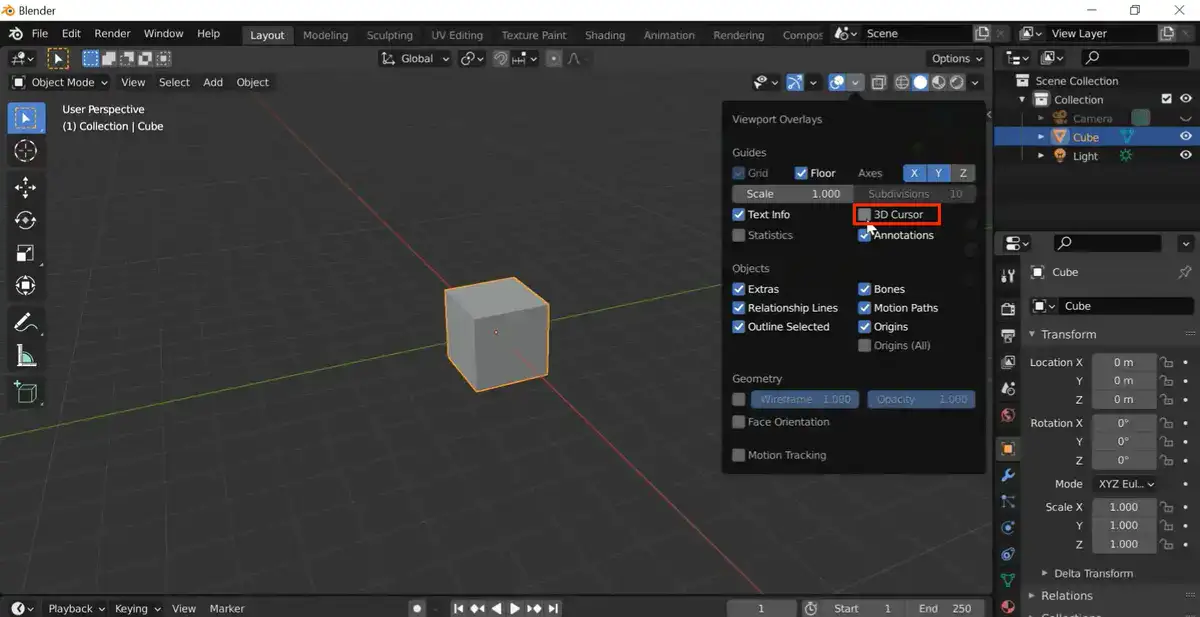
2. You can enable 3D cursor by navigating to the "View" tab and selecting "3D Cursor".
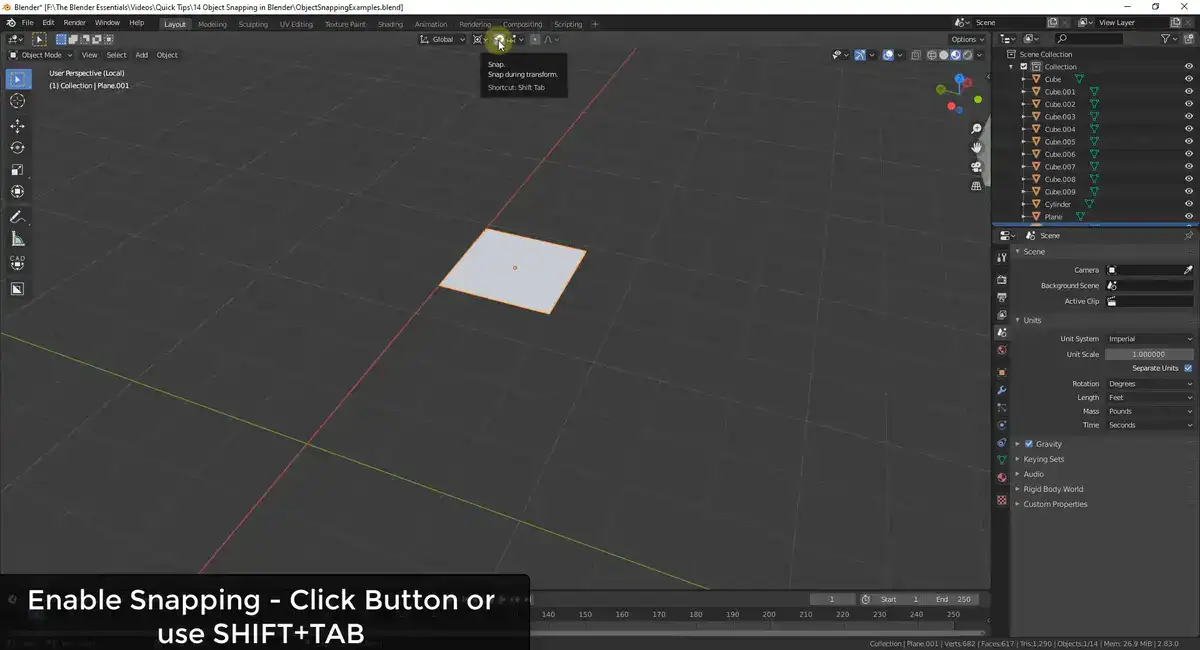
3. To snap a 3D cursor to the grid press SHIFT+TAB or select Cursor to Grid. In Edit Mode, press A to select all vertices followed by SHIFT + S and select Selection to Cursor.
What is 3D cursor in Blender?
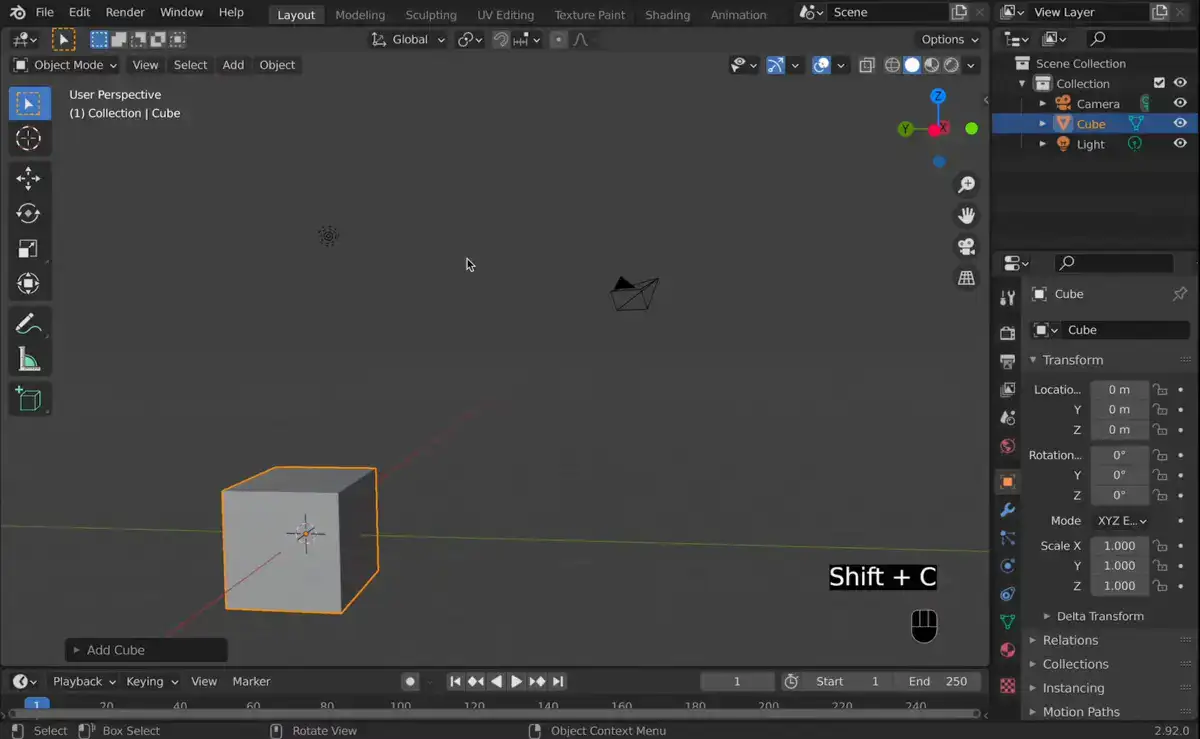
A 3D cursor is used in Blender to power your design process. You can use it to quickly move 3D objects around the workspace. The cursor has an origin point and a moveable target. By changing the target, you can place your object with one click.
It helps create precise alignments or establish points for scaling, rotating, or duplicating objects. The 3D cursor helps pinpoint specific locations when animating or even editing models with intricate details.
Also read: How to use curves in Blender?
It offers advantages over basic object transformations. Such as allowing you to precisely place objects without manually measuring distances every time you edit; it's like using a ruler without taking up physical space. Rotating around the 3D cursor prevents objects from drifting as they're rotated.
Mastering the 3D cursor can speed up production times for complex projects requiring precise placement of elements and parameters on 3D axes. This helpful feature is easy to use, so try it today!
How do I enable 3D cursor?
Depending on your settings, you might not have 3D cursor enabled, or you might have accidentally turned it off. Let's find it how to turn it back on!
Once you've opened up the app, navigate to the "View" tab and select "3D Cursor". This will activate your 3D cursor and allow you to move it around your scene.Next, click on the 3D cursor icon in your toolbox and drag it across the screen. You should notice that as you move it along, it'll leave behind an invisible line indicating its path.
This is known as the 'trail' mode and allows you to easily place objects within your scene with precision. To change modes from trail to precise placement (which can be more accurate when placing multiple objects at once), simply hold down Shift while dragging your pointer over the object(s).
How do you snap a 3D cursor to the grid in Blender?
Blender has two ways to snap 3D cursors to the grid.
First, select Cursor to Grid by pressing SHIFT+TAB. This centers the 3D cursor on the active grid square.
In Edit Mode, press A to select all vertices. Then press SHIFT + S and select Selection to Cursor to move the selected vertices to the 3D cursor's active grid square.