Adding fog or mist to an image can completely transform the tone and mood of a photograph. The addition of fog can make an image dreamy, mystical and moody, giving it a surreal and ethereal feel. In this article, we'll take a look at how to add fog to an image in Adobe Photoshop, using a step-by-step guide. We'll be exploring the process from start to finish, and sharing tips, tricks and guidelines along the way. So, let's get started.

Step 1: Choose Your Image
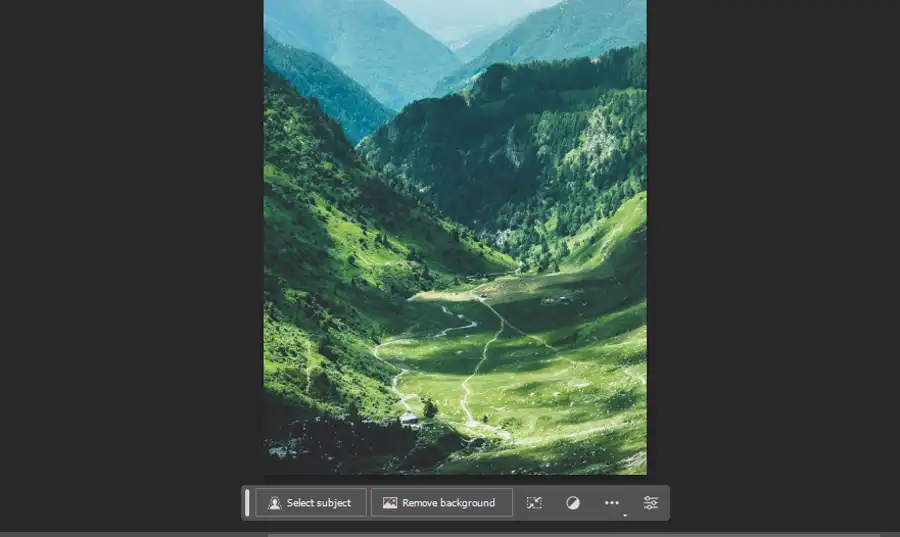
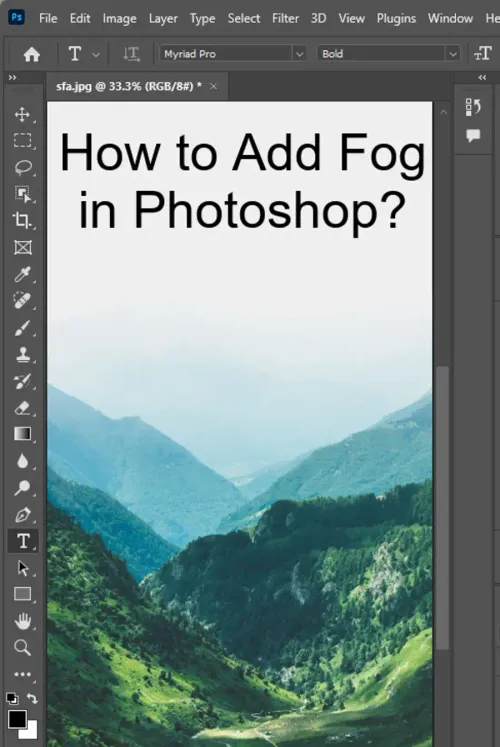
The first step in adding fog to an image is to choose the right photograph. For a realistic fog effect, an outdoor image with distance is ideal. Choose an image that has a clear subject and a background that allows for the addition of details such as fog.
Step 2: Add a New Layer
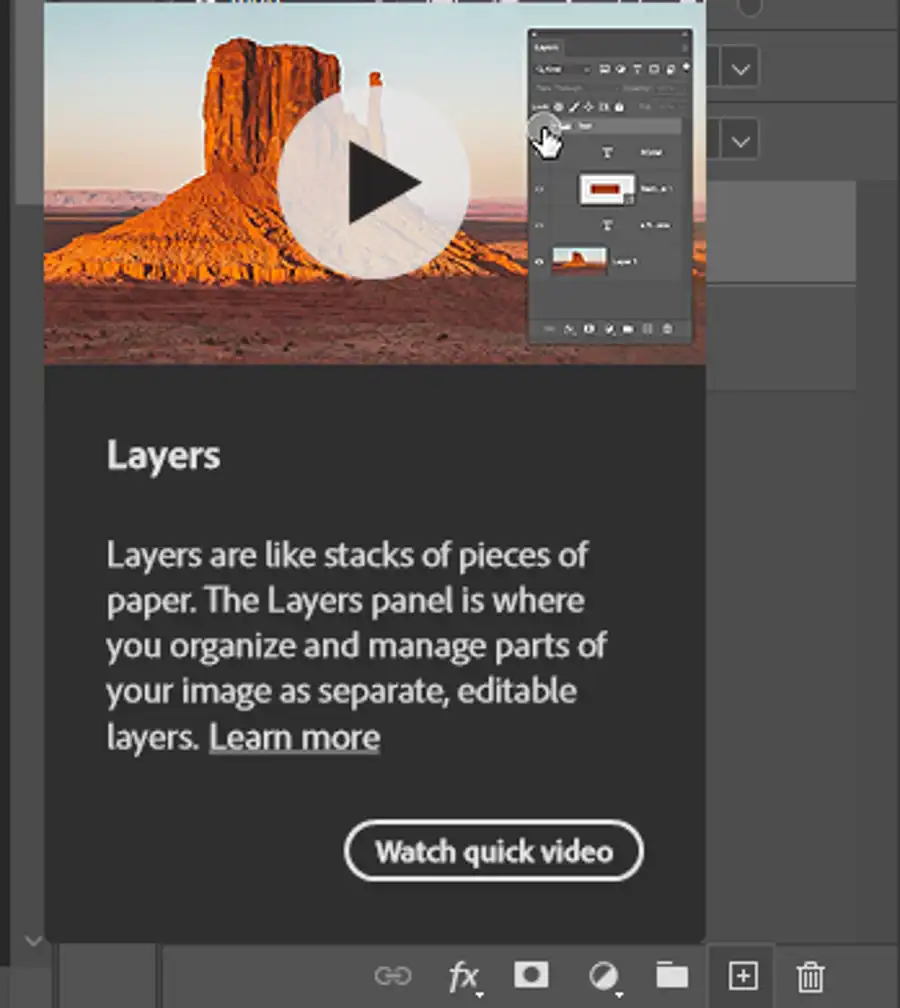
Once you've chosen your image, the second step is to add a new layer on top of the original image. By creating a new layer, you can add the fog on its own layer, which allows for more control over the editing process.
Step 3: Render Clouds
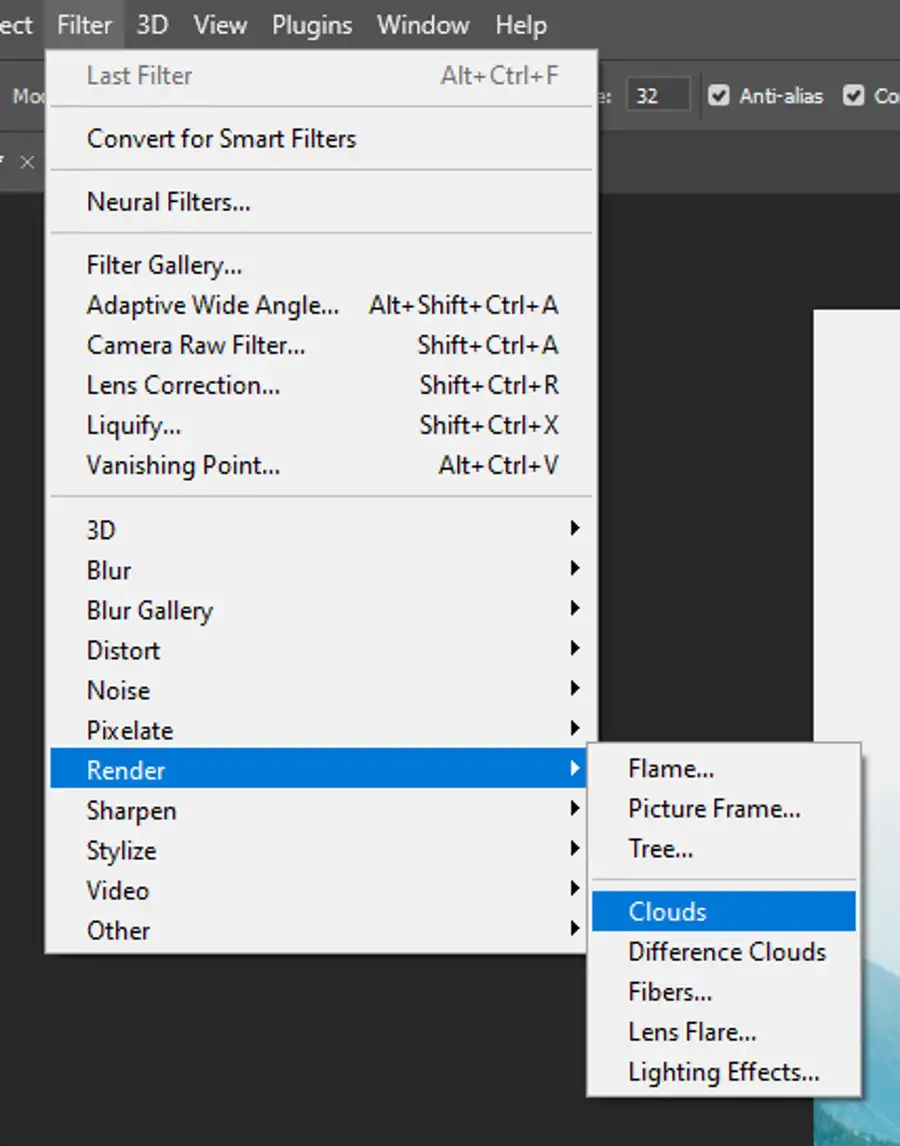
Next, navigate to the toolbar menu and select the "Render Clouds" tool. This filter tool will add the cloud effect to your new layer.
Step 4: Fill with White
After adding the clouds, press Shift+Backspace to fill the selection with white. This will get you the desired effect of the fog over the photograph.
Step 5: Adjust the Size with the Transform Tool
Now, press Crtl+T or Cmd+T to transform this layer and use the transform tool to expand the layer by 800-1000%. This enlarges the cloudy overlay and creates a smoother look. Take the rectangular marquee tool and drag a selection over the visible portion. Once you have an active selection, press Ctrl+C (Cmd+C) then Ctrl+V (Cmd+V) to copy and paste your selection into a new layer. Delete the original fog layer.
Step 6: Refine the Fog
The final step is refining the fog to simulate a realistic look. To do this, add a mask to the new layer and invert the mask by pressing Ctrl+I (Cmd+I). Select the Brush tool with a white foreground color and, using various brush sizes, opacity, and flow, begin to paint in areas where you want to reveal fog. You can use the Transform tool to add some perspective to the fog layer. You could also use the smudge tool to manipulate the location of the fog.
Questions you might be asking
How do you add fog in Photoshop?
To add fog in Photoshop, follow these steps:
- Open the photo you want to add fog to in Photoshop
- Create a new layer by clicking the "New Layer" button in the Layers panel and name it "Fog"
- Select the "Brush Tool" and choose a soft brush with a low opacity
- Set your foreground color to white and paint over the areas you want to add fog to
- Adjust the opacity and blend mode of the "Fog" layer to your liking
How do you add fog to a photo?
To add fog to a photo, you can use the same steps as adding fog in Photoshop outlined above. However, there are also other techniques you can use, such as:
- Using the "Filter" menu to apply a "Dust & Scratches" or "Lens Flare" filter and adjust the settings to make it look like fog
- Applying a pre-made fog or mist texture on a new layer and adjusting the layer's opacity and blend mode to blend it with the photo
- Using the "Clouds" or "Smoke" filter as a base layer and masking out the unwanted areas to make it look like fog
How do you make fog or mist in Photoshop?
To make fog or mist in Photoshop, you can use several techniques, such as:
- Using the "Brush Tool" with a soft brush and low opacity to paint over the areas you want to have fog or mist
- Applying a pre-made fog or mist texture on a new layer and masking out the unwanted areas
- Using the "Filter" menu to apply a "Blur" or "Lens Flare" filter and adjusting the settings to make it look like fog or mist
How do you add a fog brush in Photoshop?
To add a fog brush in Photoshop, follow these steps:
- Find a fog brush to download and save it to your computer
- Open Photoshop and select the "Brush Tool"
- Click on the brush drop-down menu and select the "Gear" icon at the top
- Choose "Load Brushes" and select the downloaded fog brush file
- The fog brush should now appear in the brush presets and you can adjust the brush settings and start painting with it.