Halftoning is a powerful technique in graphic design that transforms gradient images into a series of dots of varying sizes, giving the impression of a gradient effect when viewed from a distance. This technique is frequently used in printing, comic book art, and pop art. In this guide, we'll dive into the steps of creating a halftone effect using Adobe Photoshop.

Understanding the Halftone Effect
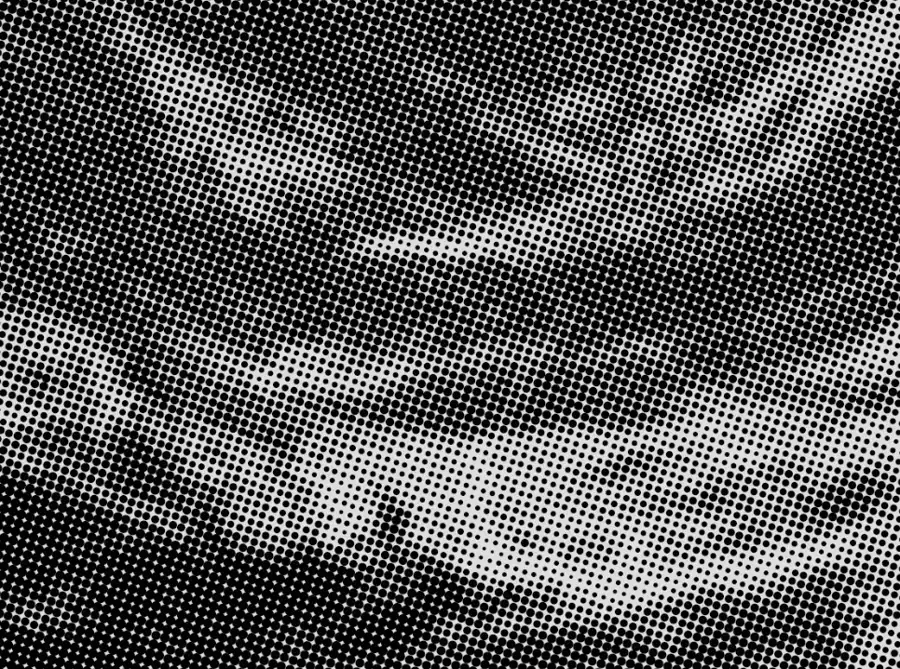
The halftone effect is used to mimic the look of high-quality continuous-tone images using only binary image data. It tricks the eye into seeing a gradient of shades instead of discrete dots. The outcome is a unique, retro-inspired style that can be a fascinating addition to your design repertoire.
How to Create a Halftone Effect in Photoshop: Step-by-Step Guide
Creating a halftone effect in Photoshop is a relatively straightforward process. Here's how:
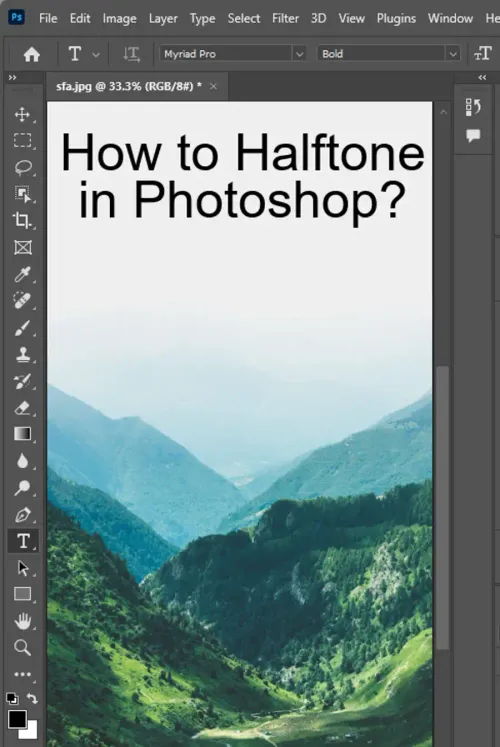
Step 1: Open Your Image in Photoshop
Begin by launching Adobe Photoshop on your computer. Open the image you wish to apply the halftone effect to by going to "File" > "Open" and selecting the image from your files.
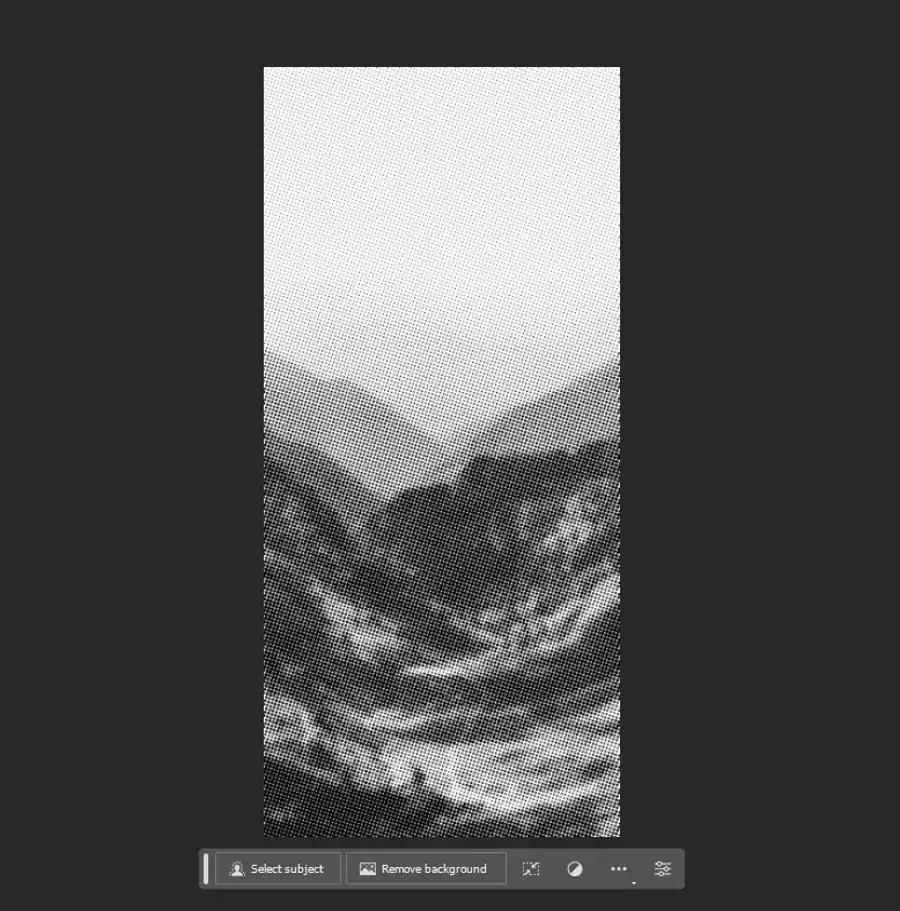
Step 2: Convert Your Image to Grayscale
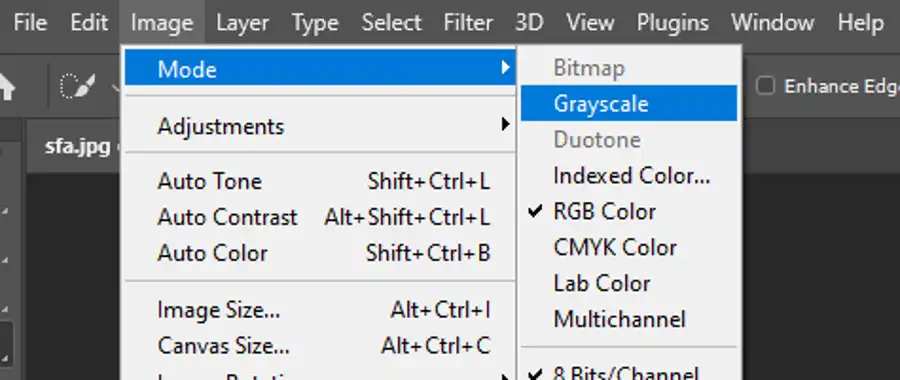
The halftone effect works best with grayscale images. To convert your image to grayscale, go to "Image" > "Mode" > "Grayscale." Click "Discard" when prompted to discard color information.
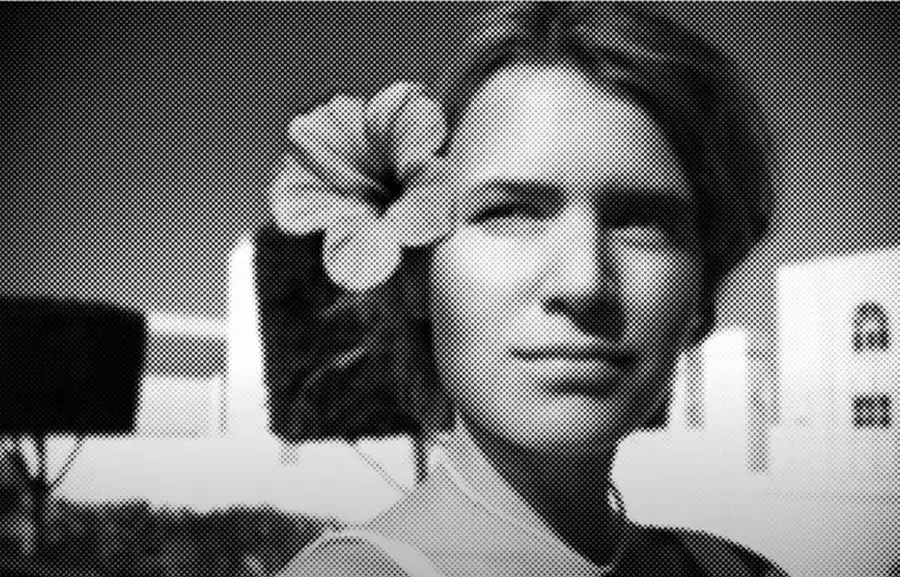
Step 3: Apply the Halftone Effect
Once your image is in grayscale, go to "Filter" > "Pixelate" > "Color Halftone." A dialog box will open. Here, you can set the maximum radius for the halftone dots and adjust the screen angles for the different color channels. For a standard halftone effect, set the radius between 4 to 6 pixels, and leave the screen angles at their default values. Click "OK" to apply the effect.
Step 4: Adjust the Effect
The halftone effect might appear too intense or too subtle, depending on your image and settings. To adjust the effect, you can use Photoshop's "Levels" feature. Go to "Image" > "Adjustments" > "Levels" (or press "Ctrl+L" on Windows or "Command+L" on Mac). Drag the sliders under the graph to adjust the intensity of the halftone effect.
Step 5: Save Your Image
Once you're satisfied with the effect, remember to save your image. Go to "File" > "Save As," and choose your desired file format.
Conclusion
The halftone effect is a versatile and intriguing technique that can add a unique visual style to your images. Whether you're designing a retro-inspired poster or experimenting with different effects, halftoning can offer an exciting dimension to your design arsenal. Although it might seem complex at first, creating a halftone effect in Photoshop is actually a simple process once you get the hang of it. So go ahead and experiment, and let your creativity shine. Happy designing!
Questions you might be asking
How do I halftone an image in Photoshop?
Halftoning is a process of converting a continuous tone image into a series of dots or lines to simulate shades of gray or color. In Photoshop, you can halftone an image by following these steps:
- Open your image in Photoshop
- Go to Image > Mode and select "Grayscale" or "Bitmap"
- Choose Filter > Pixelate > Color Halftone
- Adjust the "Max Radius" slider to control the size of the halftone dots
- Click OK to apply the halftone effect to your image

How does Colour halftone work in Photoshop?
Color halftone is a technique in Photoshop used to produce a halftone pattern in various colors. The process involves using a set of halftone screens in different angles and sizes to create color separations. The screens are then printed on top of each other to produce a full-color halftone image.
In Photoshop, you can achieve a color halftone effect by converting your image to a CMYK color mode, which separates it into cyan, magenta, yellow, and black channels. You can then apply the Color Halftone filter to each channel separately to create the halftone dot patterns in different colors.
How to do halftone dots?
To create halftone dots in Photoshop, you can use the following steps:
- Open the image you want to apply the halftone effect to.
- Go to Filter > Pixelate > Color Halftone.
- Adjust the Max. Radius slider to change the size of the halftone dots.
- Click OK to apply the halftone effect.
You can also adjust the angle of the halftone dots by changing the values in the Angle fields for each of the color separations. The angle values can affect the final output, so experiment with different combinations of angle values until you get the desired result.
How do you pixelate color halftone in Photoshop?
To pixelate color halftone in Photoshop, you can follow these steps:
- Open your image in Photoshop.
- Click on Image > Mode > CMYK Color to switch your image mode to CMYK.
- Choose Filter > Pixelate > Color Halftone.
- You will now see the Color Halftone dialog box. Adjust the Max. Radius setting to control the size of the halftone dots.
- Click OK to apply the pixelated color halftone effect to your image.
After applying the effect, you can perform further adjustments as needed, such as changing the color of the halftone dots or modifying the halftone screen angles for different color channels.