Flyers are one of the most effective marketing tools available. Whether you're a small business owner, a musician, or a club promoter, flyers help get your message across to your target audience. With the advent of digital design software, it's easier than ever to create a visually appealing flyer that resonates with your audience. In this blog post, we'll show you how to create a flyer in Photoshop from scratch, even with limited knowledge of Photoshop.

Step 1: Setup your workspace
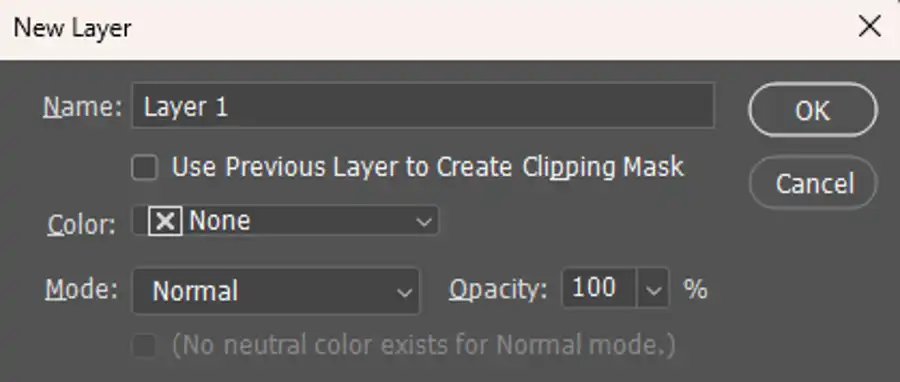
To start, launch Photoshop and click on "Create new" in the File menu. Use the standard flyer size, select "Letter" from the document presets, and enter the preset details according to your needs. Type Shift+Ctrl+N/Shift+Cmd+N to automatically create a new layer, which will be the background of your flyer.
Step 2: Choose a background
Now it's time to choose the color of your background. Go to the Color Picker window and select a color that suits your design. Once you've made your choice, click "OK." To add more details to your design, use the Pen Tool (P) from the Tools Panel. The Pen Tool allows you to add straight and curvy lines to your design, giving it more depth and complexity.
Step 3: Execute your design
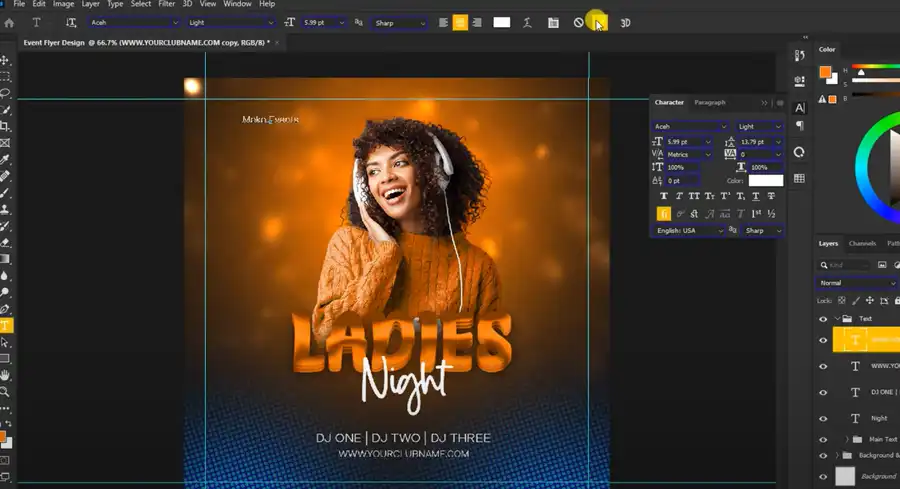
Next, grab the Ellipse Tool (U) and draw a circle or experiment with shapes to suit your design. Once you've created a shape, you can use it to create a clipping mask. To do this, go up to the "Layer" menu in the Menu Bar and choose "Create Clipping Mask." A clipping mask allows you to make changes to the layer below the mask, without affecting the layer above it.
Once you've created your basic design, it's time to decorate the space that looks empty and adjust the color scheme. A gradient, for example, can add variety to your background. You can also use the color wheel in Photoshop to sample colors from images in your design.

Step 4: Add your text

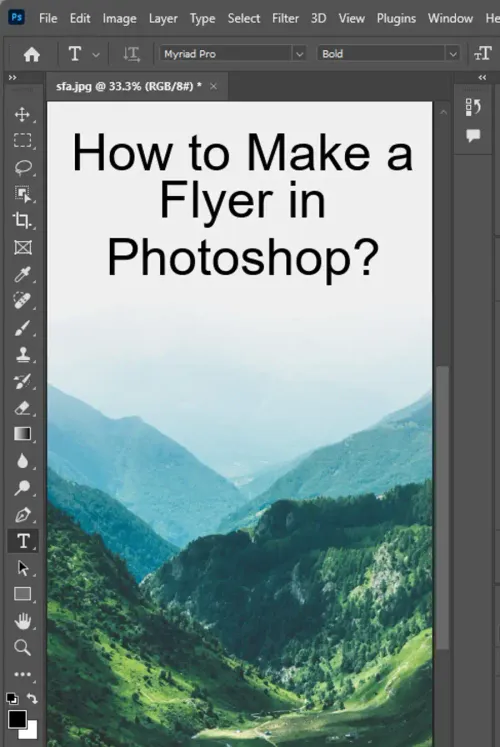
Now it's time to add text to your flyer. Select the Type Tool (T) from the Tools Panel and click on the area where you want to add text. Keep in mind that flyers are meant to be read quickly, so keep your text short and to the point. Include contact information, prices, or relevant icons like your company's logo.
To make your flyer designs more appealing, use professional fonts, textures, and overlays. There are many free and paid options available online that you can use to add more depth and complexity to your design. Once you're satisfied with your design, save the flyer by going to the "File" tab at the top and clicking on "Save." Alternatively, you can use the shortcut Ctrl+S/Cmd+S to save your work.
In addition to creating flyers, you can also use Photoshop to design other marketing tools such as YouTube banners. With its powerful design capabilities and user-friendly interface, Photoshop is a valuable tool for any marketer or designer.
To speed up your workflow, use Photoshop keyboard shortcuts like Ctrl+Alt+G/Cmd+Opt+G to create a clipping mask quickly. This can save you a lot of time when designing multiple flyers for a campaign or event.
In conclusion, creating a flyer in Photoshop is easy and accessible to anyone with even limited knowledge of the software. With its powerful design capabilities and user-friendly interface, Photoshop makes it possible for anyone to create a visually appealing flyer that resonates with their audience.
Questions you might be asking
How do I make an event flyer in Photoshop?
Making an event flyer in Photoshop can be done by following these simple steps:
- Open a new document in Photoshop with the desired dimensions.
- Choose a background color or image for your flyer.
- Add text for the event's title, date, location, and any other important information.
- Add images that are relevant to the event.
- Proofread your flyer for any errors and save it in a suitable format.
What is the size of a flyer page in Photoshop?
The size of a flyer page in Photoshop can vary depending on your needs. A standard size for flyers is 8.5 inches by 11 inches, but you can also choose other dimensions like 4 inches by 6 inches or 5 inches by 7 inches. It is important to choose the size that best suits the purpose of your flyer.
How do you make a flyer step by step?
Making a flyer step by step involves the following steps:
- Choose the appropriate size in Photoshop for your flyer.
- Select a background color or image and add it to your flyer.
- Choose appropriate fonts for the text sections of your flyer and add them.
- Add details about the event, such as the event's title, date, location, and any other information that may be relevant.
- Add images that are ideal for the goals of your event.
- Review your flyer for any errors, then save it in a suitable format.
What is the pixel size of a flyer in Photoshop?
The pixel size of a flyer in Photoshop may differ depending on the size of the flyer. For a standard letter-size flyer, the pixel size is usually 2550 pixels by 3300 pixels. However, it is always important to choose the dimensions based on the desired outcome for your flyer.