In this article, we will be discussing how to use paper texture in Photoshop to create stunning visuals. Whether you want to add an old-fashioned feel to an image, or create an embossed white paper effect, or a rustic look, using paper texture as an overlay can do wonders. Here's how to do it:

How to Prepare the Document
Before we start working on applying paper texture to an image in Photoshop, we need to ensure that the document (image) is ready for the same. Open the image you want to work on and go to Image > Canvas Size. Increase the canvas size by 10-20% to make room for the paper texture overlay. Next, go to Edit > Preferences > Performance and allocate more RAM to Photoshop, if possible.
How to Create a Photo Overlay
Step 1: Download Paper Texture Templates
To get started, you can download a paper texture overlay template from Envato Elements or Envato Market. You can choose from a wide variety of templates available on these platforms and download them as JPG or PSD files in RGB color mode.
Step 2: Place the Overlay onto Your Image
After you have downloaded the template, go to File > Place, and select the file you downloaded. This will place the paper texture overlay onto your image. Control-O or Alt-Control-I can also be used to open a new file and then drag and drop the paper texture onto the image.
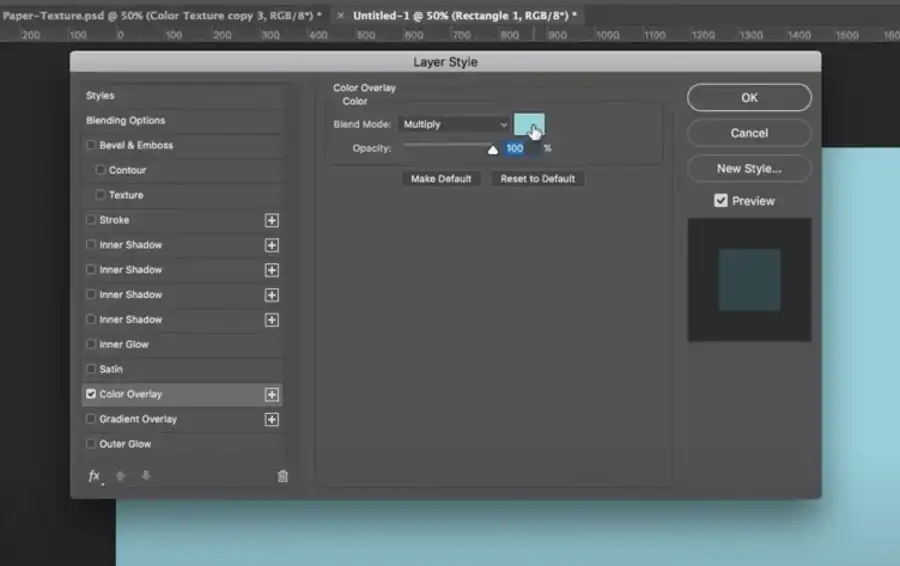
Step 3: Blend the Paper Texture Overlay

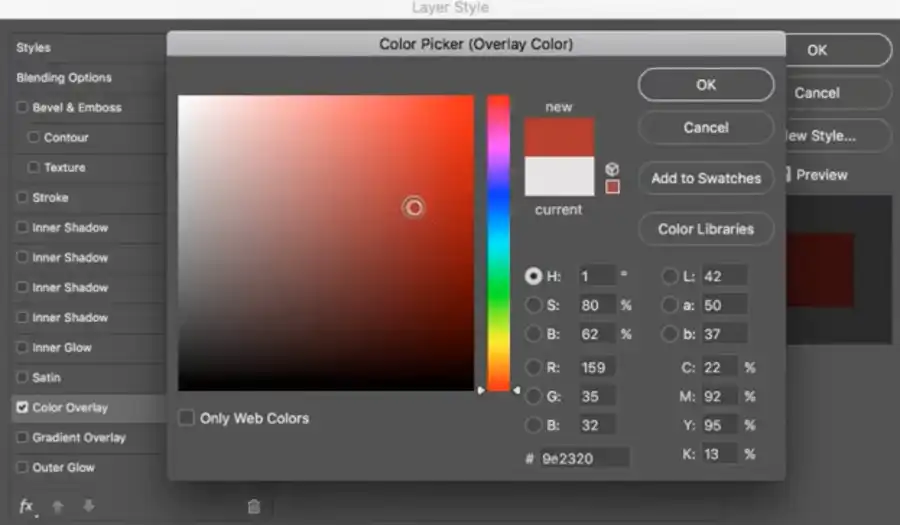
Change the blending mode of the paper texture layer to Multiply, Overlay, Soft Light or any other blend mode that works best for your image. If the overlay looks too dark or too light, adjust the opacity of the layer. You can also experiment with different layer masks and brushes to remove any unwanted parts of the overlay.
Step 4: Finishing Touches
To enhance the effects of the paper texture, you can convert the layer to black and white by using a Hue/Saturation Adjustment Layer. You can add auto-contrast by selecting a small portion of the paper texture and using Control-J to duplicate the layer. Go to Filter > Sharpen > Unsharp Mask, and adjust the Radius, Amount and Threshold as per your preference.
Questions you might be asking
How do you add textures in Photoshop?
Adding textures to your designs in Photoshop is easy and straightforward. The most popular way is to use the "Layer Style" option. With a layer selected, click on the "Layer Style" icon at the bottom of the Layers panel and choose "Texture". You can then pick from the different textures available or import one yourself.
How do I add old paper texture in Photoshop?
Adding an old paper texture in Photoshop can help add character and charm to your design. To add an old paper texture, first, download a paper texture image from a free stock photography website or create one yourself. Open the texture in Photoshop and choose "Edit" from the main menu, then "Define Pattern". Next, create a new layer in your design and choose "Layer Style" from the bottom of the Layers panel. Select "Pattern Overlay" and choose your new paper texture from the patterns list. You can then adjust the blending and opacity to get the desired effect.
How do you add texture to paper?
Adding texture to paper in Photoshop can give your design a more tactile and realistic feel. To add texture to paper, create a new layer above your paper layer and fill it with a solid color. Choose "Filter" from the main menu, then "Noise" and select "Add Noise". Adjust the settings to your preferences and click "OK". Next, choose "Filter" again, then "Blur" and select "Gaussian Blur". Adjust the settings to blend the noise into the paper layer and click "OK". Finally, set the blending mode of the texture layer to "Overlay" or "Soft Light" to achieve the desired effect.
How do you add wood texture to an object in Photoshop?
Adding a wood texture to an object in Photoshop can help give your designs a rustic and natural feel. First, open the image of the object you want to apply the wood texture to in Photoshop. Next, import or create a wood texture image and open it in Photoshop. With the wood texture selected, choose "Select" from the main menu and then "All". Choose "Edit", then "Copy", and switch back to the object image. Choose "Edit", then "Paste" to paste the wood texture onto the object layer. Finally, set the blending mode of the wood texture layer to "Overlay" or "Soft Light" and adjust the opacity until the effect is to your liking.