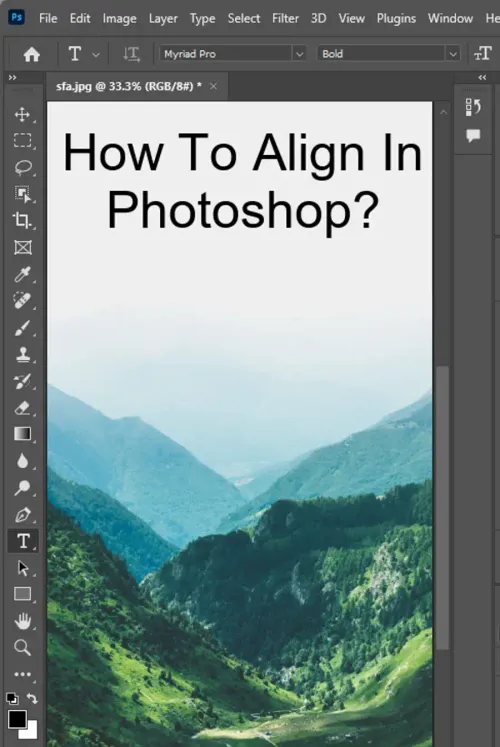
Adobe Photoshop is a powerful digital editing tool used by millions of professionals and hobbyists worldwide. One key element that adds professionalism to your creations is alignment. In this blog post, we will delve into the how-to's of aligning objects in Adobe Photoshop, offering a step-by-step guide that even beginners can follow.

What is alignment?
Before we jump into the details of how to align in Photoshop, it's important to understand what alignment is and why it's vital. Alignment refers to the arrangement of objects relative to each other in a design. It's a fundamental design principle that ensures a neat, organized look in your artwork, design, or photography edits. When items are properly aligned, the work looks orderly and harmonious, guiding the viewer's eye naturally through the piece.
Getting Started with Photoshop Alignment
First things first, you'll need to open Adobe Photoshop on your computer. If you haven't installed it yet, you can download it from the Adobe website and opt for a free trial or paid version.
Step 1: Open or Create a New Photoshop Document
Navigate to the "File" menu at the top left of your Photoshop window. From the dropdown menu, choose "New" to create a new document or "Open" to load an existing one. If you choose "New," set your desired width, height, and resolution, then click "Create."
Step 2: Insert or Create Objects for Alignment
If you have an existing design with several layers, skip to the next step. But if you're creating a new document, you need some layers to align.
To insert images, go to "File," then "Place Embedded" or "Place Linked" and select your desired image. This will automatically create a new layer with your image.
You can also create shapes using the "Shape Tool" or text using the "Text Tool," each of which will automatically create new layers.
Aligning Objects in Photoshop
With some layers in place, you're ready to start aligning.
Step 3: Select Layers for Alignment
In the "Layers" panel (usually on the right side of your screen), hold down the Ctrl (Command on Mac) key and click on each layer you want to align.
Step 4: Open the Align Options
With your layers selected, look at the top of your screen for the "Options" bar (if it's not visible, go to "Window," then "Options"). In this bar, you will find different alignment options, which vary depending on whether you've chosen a shape, text, or image layer.
Step 5: Choose an Alignment Option
Here are the primary alignment options:
- Align Top Edges: Aligns the top edges of the selected layers.
- Align Vertical Centers: Aligns the vertical centers of the selected layers.
- Align Bottom Edges: Aligns the bottom edges of the selected layers.
- Align Left Edges: Aligns the left edges of the selected layers.
- Align Horizontal Centers: Aligns the horizontal centers of the selected layers.
- Align Right Edges: Aligns the right edges of the selected layers.
Click the desired alignment option, and Photoshop will automatically align the selected layers accordingly.
Distributing Objects in Photoshop
Aside from alignment, Photoshop also allows you to distribute objects evenly, ensuring an equal amount of space between each one. Here's how:
Step 6: Select Layers for Distribution
Just like in Step 3, hold down the Ctrl (Command on Mac) key and click on each layer you want to distribute.
Step 7: Open the Distribute Options
Again, with your layers selected, refer to the "Options" bar at the top of your screen.
Step 8: Choose a Distribute Option
Here are the primary distribution options:
- Distribute Top Edges: Distributes layers evenly based on their top edges.
- Distribute Vertical Centers: Distributes layers evenly based on their vertical centers.
- Distribute Bottom Edges: Distributes layers evenly based on their bottom edges.
- Distribute Left Edges: Distributes layers evenly based on their left edges.
- Distribute Horizontal Centers: Distributes layers evenly based on their horizontal centers.
- Distribute Right Edges: Distributes layers evenly based on their right edges.
Click on your preferred option, and Photoshop will automatically distribute the selected layers.
Conclusion
Mastering alignment in Adobe Photoshop can significantly improve the aesthetic and professionalism of your designs. While it might seem overwhelming at first, with a bit of practice, it becomes second nature. Remember, a well-aligned design is pleasing to the eye and enhances viewer engagement. Happy designing!
Please note: The instructions provided in this blog post are based on Adobe Photoshop CC versions available up to September 2021. For later versions, functionalities may slightly differ. Always refer to the official Adobe Photoshop User Guide for the most accurate information.
Questions you might be asking
How do you align items in Photoshop?
To align items in Photoshop, select the layers you want to align in the Layers panel by holding Shift and clicking on each layer. Then go to the top menu and choose Layer > Align Layers to or use the shortcut Ctrl+Shift+A (Win) / Command+Shift+A (Mac). This will open the Align Layers dialog box where you can choose the type of alignment you want - top, middle, bottom, left, right, or center - depending on your needs.
How do I center align a layer in Photoshop?
To center align a layer in Photoshop, select the layer you want to align. Then go to the top menu and choose Layer > Align Layers to > Vertical Centers or use the shortcut Ctrl+Shift+V (Win) / Command+Shift+V (Mac) to center the layer vertically. To center the layer horizontally, choose Layer > Align Layers to > Horizontal Centers or use the shortcut Ctrl+Shift+H (Win) / Command+Shift+H (Mac).
How do I align text evenly in Photoshop?
To align text evenly in Photoshop, select the text layers you want to align in the Layers panel by holding Shift and clicking on each layer. Then go to the top menu and choose Layer > Align Layers to > Distribute Vertical Centers or Distribute Horizontal Centers, depending on your needs. Alternatively, you can use the shortcut Ctrl+Shift+E (Win) / Command+Shift+E (Mac) to open the Align Layers options and choose the appropriate alignment option.
What is the shortcut for align in Photoshop?
The shortcut for aligning layers in Photoshop is Ctrl+Shift+A (Win) / Command+Shift+A (Mac). To center align a layer vertically, use Ctrl+Shift+V (Win) / Command+Shift+V (Mac). To center align a layer horizontally, use Ctrl+Shift+H (Win) / Command+Shift+H (Mac). Finally, the shortcut for aligning and distributing text layers is Ctrl+Shift+E (Win) / Command+Shift+E (Mac). Remember to select the layers you want to align before using these shortcuts.