Adobe Photoshop is a powerful tool utilized by graphic designers, artists, photographers, and countless creative professionals across the globe. However, the software's extensive features and large file sizes can occasionally cause issues related to storage space, particularly when it comes to the Scratch Disk. In this article, we will explore what a Scratch Disk is and provide step-by-step instructions on how to clear your Photoshop Scratch Disk.

Understanding the Photoshop Scratch Disk
The term 'Scratch Disk' might seem perplexing if you're new to Photoshop. Simply put, a Scratch Disk is a virtual storage space or drive that Photoshop uses for temporary storage when your computer doesn't have enough RAM to perform a task.
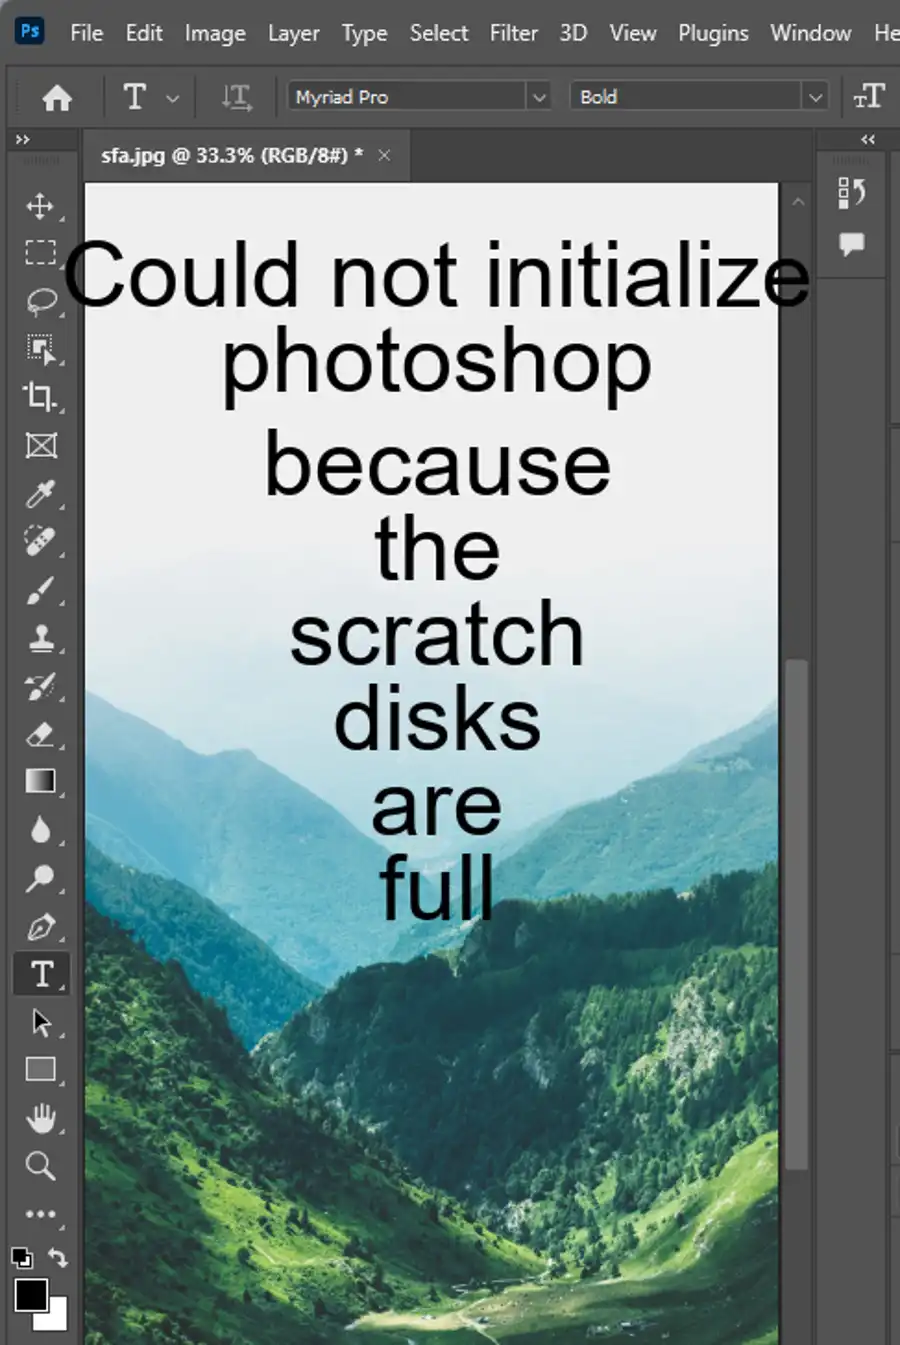
When working on large, complex files, Photoshop may use more memory than what's available in your RAM. This is when it turns to the Scratch Disk, leveraging the free space on your hard drive to maintain smooth performance. The trouble arises when this space becomes filled with temporary files, slowing down the software and occasionally causing error messages that can hinder your workflow.
How to Clear Your Photoshop Scratch Disk
Clearing your Photoshop Scratch Disk is not a complicated process and it can help to significantly improve the performance of your software. Here's how to do it:
1. Delete Temporary Files
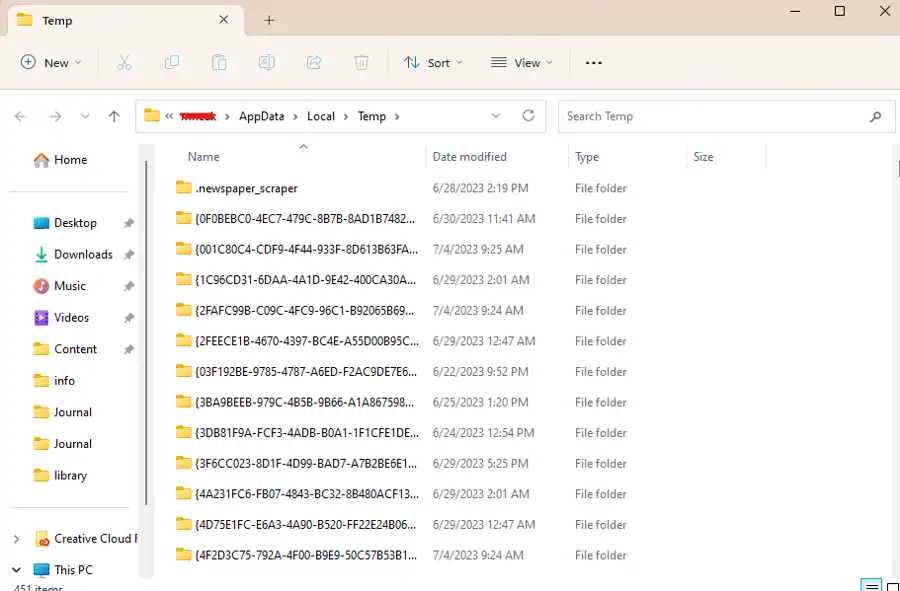
Photoshop auto-saves your work in the form of temporary files. Over time, these files can accumulate, taking up a significant chunk of your scratch disk space. You can manually delete these temporary files to free up space.
On Windows:
- Open the Start menu and type
%temp%in the search bar, then press Enter. This will open the Temp folder, where all temporary files are stored. - Look for any files that begin with 'Photoshop' ('PST' or 'PSA'), select them, and then delete.
On MacOS:
- Open Finder and press
Command + Shift + Gtogether. A dialogue box will appear. - Type
/tmpin the text field and press Enter. This will open the temporary files directory. - Look for any files that begin with 'Photoshop' ('PST' or 'PSA'), select them, and then delete.
2. Clear Photoshop's Cache
Photoshop uses cache to quickly access recently used files, but these files can pile up over time and take up a lot of your scratch disk space.
To clear Photoshop's cache:
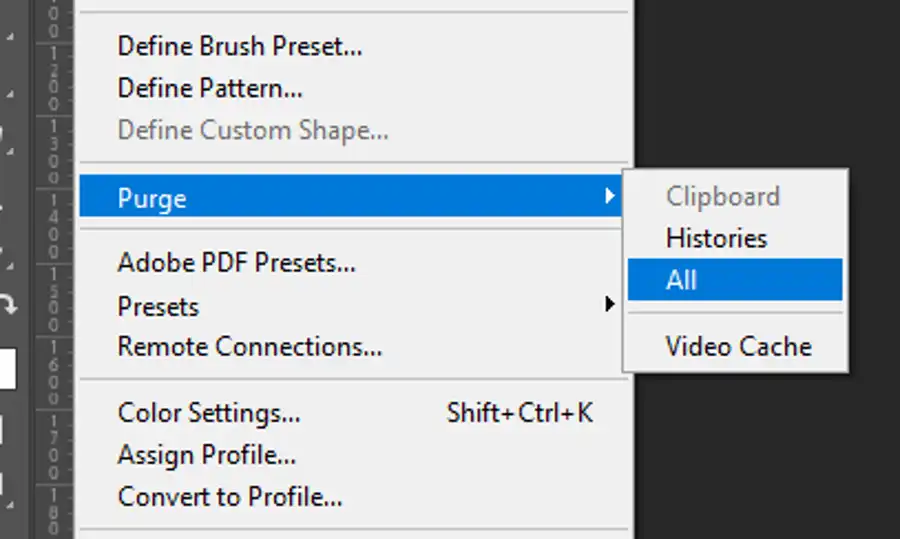
- Open Photoshop and go to the 'Edit' menu.
- Click on 'Purge,' and then 'All.' This will delete all of the cache files.
- A prompt will ask you if you are sure you want to delete the cache. Confirm by clicking 'OK.'
Please note, this action cannot be undone, so make sure you have saved any work before proceeding.
3. Increase Your Scratch Disk Capacity
If you're still encountering issues, you might want to consider allocating more storage space to your scratch disk or adding another one.
To do this:
- Open Photoshop and go to the 'Edit' menu (on Windows) or 'Photoshop' menu (on MacOS).
- Click on 'Preferences,' and then 'Scratch Disks.'
- Here, you can check or uncheck the drives that you want to use as scratch disks or adjust the order they are used in.
Conclusion
Dealing with a full scratch disk can be frustrating, especially when it interrupts your workflow. However, by regularly clearing out temporary files and Photoshop's cache, and properly managing your scratch disk settings, you can avoid this issue and keep Photoshop running smoothly. Remember, an efficient workspace is a productive one!

Questions you might be asking
How do I free up my scratch disk?
You can free up your scratch disk by deleting unnecessary files and applications from your computer's hard drive. You can also move some of your files to an external hard drive to free up space on your computer's internal hard drive.
What to do when Photoshop scratch disk is full?
When your Photoshop scratch disk is full, you will need to clear out some space on your hard drive to allow Photoshop to function properly. You can clear out some space by deleting unnecessary files and applications or by moving them to an external hard drive.
How do I clear my scratch disk if Photoshop won't open?
If you are unable to open Photoshop to clear your scratch disk, you can manually delete the Photoshop scratch disk files from your hard drive. To do this, you will need to locate the scratch disk files, which are typically named "Photoshop Temp" or "Photoshop Scratch Disk," and delete them manually.
How to clear cache in Photoshop?
To clear cache in Photoshop, go to the Edit menu and select "Purge." This will clear the cache and any temporary files that may be taking up space on your computer. You can also periodically clear your cache by going to Photoshop's preferences and selecting "Performance" and then "Purge Cache."