While green screen is an incredibly useful tool, it can also be tricky to use and you're likely to encounter spilling issues if you're not careful. This is when some of the green from the background bleeds onto the subject in the foreground, resulting in an unnatural-looking effect.
Luckily, there are a few simple ways to remove green screen spill in After Effects. In this article, we'll show you how to do it step by step while also talking about potential issues you're likely to encounter along the way and their fixes.

Also read: After Effects Alternatives
What is Green Screen

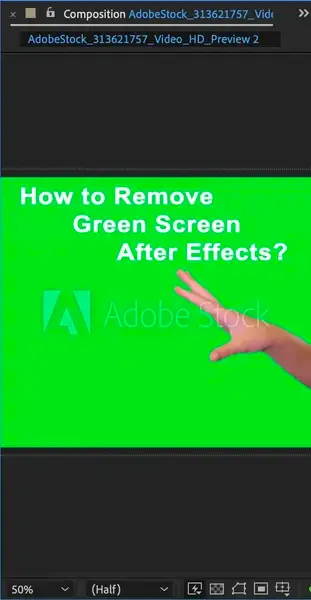
Green screen (also called chroma key) is a process used in video editing to superimpose one footage over another. It's commonly used in film and video production to change the background. For example, you could record yourself in front of a green screen in your loft, and make it appear as if you're sitting in your office.
Especially filmmakers use it to create special effects like making it appear as though an actor is flying or standing in front of a green screen that will later be replaced with another background view.
Green screen is also known as the chroma key. Chroma key is a color-based technique for compositing two images together. The chroma key color (usually green or blue but sometimes other colors) is removed from the first image, revealing the second image behind it.
Also read: How to make split screen video?
Why use green screen for video?
There are many reasons why you might want to use a green screen in your composition. For example, if you're shooting a video in front of a green screen or even a green-painted wall, you can use chroma keying to replace the wall with another image.
Or if you're shooting a video with someone wearing a green shirt, you can use the chroma key function to remove the green shirt and replace it with another color t-shirt (or not at all!). Green screen can also be used to add special effects. Such as an actor running in front of a green screen and later using a chroma key to make him look as if he's running from missiles shooting at him!
Also read: Add text in After Effects
How Do I Get Rid of Green Screen Spill in After Effects?
Green screen spill is when some of the green from the background bleeds onto the subject in the foreground, resulting in an unnatural-looking effect. It usually occurs when both your background and your subject have the same color. Such as a green background screen and a person wearing a similar green t-shirt.
If you apply chroma key in such a scenario, you'll remove both background and the person's body, getting just a floating head as a result (TIP: Don't do it unless that's the effect you want to have!)
Luckily, there are a few simple ways to remove green screen spill in After Effects.
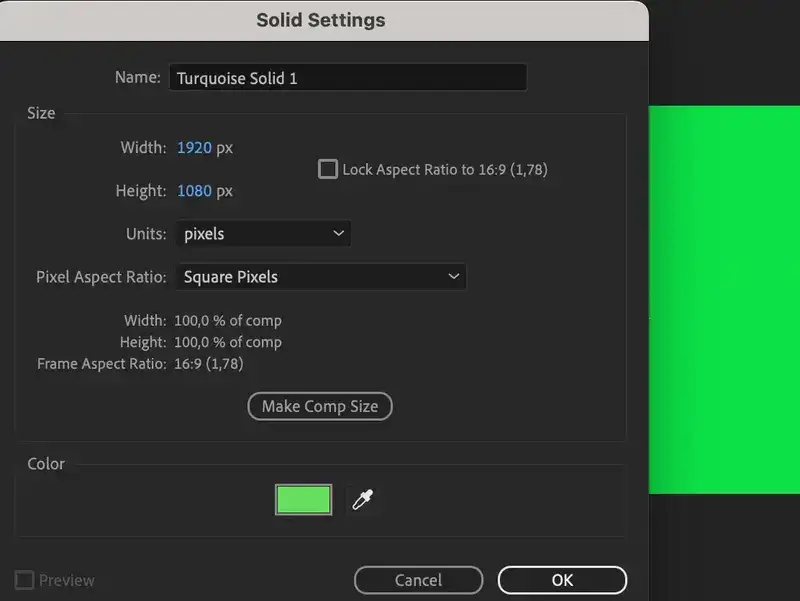
Step 1: The first thing to do is create a new layer on top of your green screen footage. To do this, go to Layer > New > Solid.
Also read: 8GB RAM for After Effects

Step 2: Next up, select a color that is similar to the color of your green screen. For example, if your green screen is light green, you would want to select a light color like white or yellow. If your green screen is dark green, you would want to select a dark color like black or brown. Once you've selected a color, click OK.
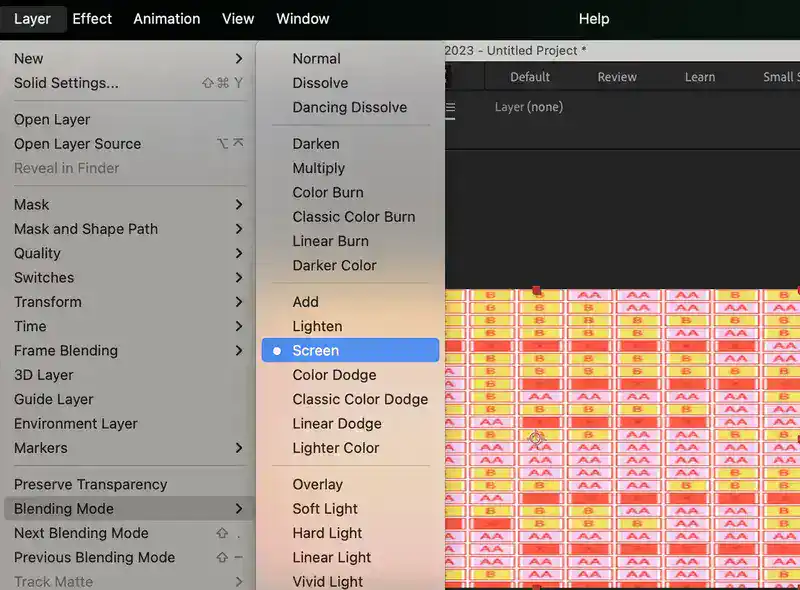
Step 3: Now that you have a new layer on top of your footage, you need to set the layer mode to Screen. To do this, go to Layer > Mode > Screen.
Step 4: Now you should see that the color you selected in the previous step is being used to remove the green screen from your footage. However, there may still be some green spill remaining.
Step 5: To remove any remaining green spill, you can use the eyedropper tool to select the green color and then delete it. To do this, go to Select > Color Range.
Step 6: In the Color Range window, click on the eyedropper tool and then click on the green color in your image. Make sure that the fuzziness is set to 100 and then click OK.
Step 7: You should now see that the green color has been selected in your image. To delete it, go to Edit > Fill and select White from the drop-down menu. Now all of the green color should be gone!
Step 8: If there are still some areas of green remaining, you can repeat these steps until all of the green has been removed.
How Do I Remove Background in After Effects Without Green Screen?
If you don't have access to a green screen, don't worry! There are still a few ways that you can remove the background from your footage.
One way is to use the rotoscope tool. Although it exists in multiple programs, in After Effects the rotoscope tool is an AI-powered selection tool and it allows you to draw a mask around the subject of your footage, which can then be used to remove the background. It works great for removing background in AE when keying is too complicated or not possible at all.
To use the rotoscope tool;
Step 1: Go to your workspace and create a new solid. New > Solid.
Step 2: Next, select a color that is exactly the same or very similar color of your subject. For example, if your subject is wearing a black shirt, you would want to select a dark color like dark gray or black. If your subject is wearing a white shirt, you would want to select a white or cream color.
Step 3: Once you've selected a color, click OK. You can play around with color selection until you get it right and you have as little spill & color bleed as possible.
Step 4: Now that you have a new layer on top of your footage, you need to set the layer mode to Screen. To do this, go to Layer > Mode > Screen.
Step 5: At this point, you should see that the color you selected in step 2 is being used to remove the background from your footage. However, there may still be some of the background remaining if you didn't get the color selection exactly right or your background has mixed colors in it.
To remove any remaining background, also called green screen bleed, use the steps outlined in the previous chapter.
If there are still some areas of the background remaining, you can repeat these steps until all of the backgrounds has been removed.
Tips for Editing Your Chroma Key
Here are a few tips for editing your chroma key:
- Make sure that there is enough contrast between the background and your subject. This will make your life much easier when applying green screen and result in no color spill.
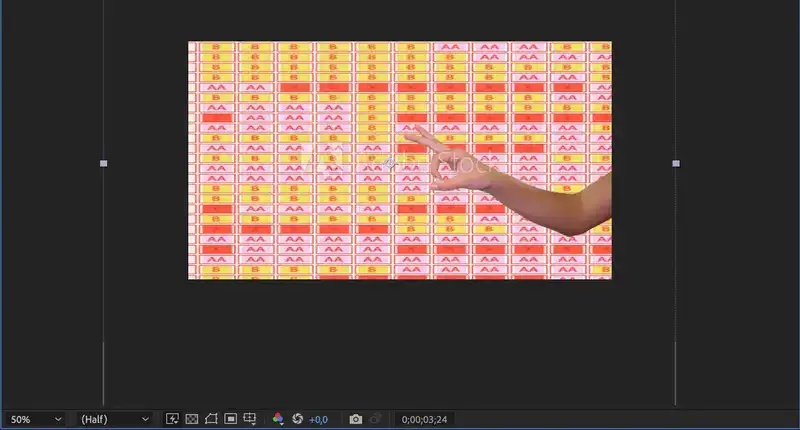
- Avoid using green screen with complex patterns or textures. This can make it difficult to key out colors later on during post processing.
- If possible, use a green screen that is evenly lit. This will make it easier to key out colors later on. It could be problematic if one part of your green screen has shades to do bad lighting.
- Avoid using green screen with reflective surfaces. This can cause unwanted reflections in your footage.
- If you're shooting outdoors, try to avoid using green screen during windy conditions. This can cause the green screen to move around like a flag and create an unwanted effect in your footage.
Conclusion
Green screen is a powerful tool that allows you to superimpose one image over another. While it's incredibly useful, it can also be tricky to use. One of the most common problems is green screen spill. This is when some of the green from the background bleeds onto the subject in the foreground, resulting in an unnatural-looking effect.
Luckily, there are a few simple ways to remove green screen spill in After Effects. In this article, we showed you how to do it step by step.