As a designer, you don't need to rely on other apps to edit your images. While the visual treatment is important, so is the written content. Adding underlines to text in your images can give the text an additional impact and really make it stand out. If you use Adobe Photoshop to edit your images, then there is an easy way to accomplish this.

In this tutorial, we will teach you how to underline text in Photoshop. The instructions are simple to follow, and we've also included a section on how to remove underlines from text.
Related: How to add light in Photoshop?
What You'll Learn in This Underline Text Photoshop Tutorial
- How to underline text in Photoshop
- How to remove underline from text in Photoshop
What You'll Need
- A functional copy of Adobe Photoshop installed on your computer
- A text layer in the image you want to edit
How to underline in Photoshop
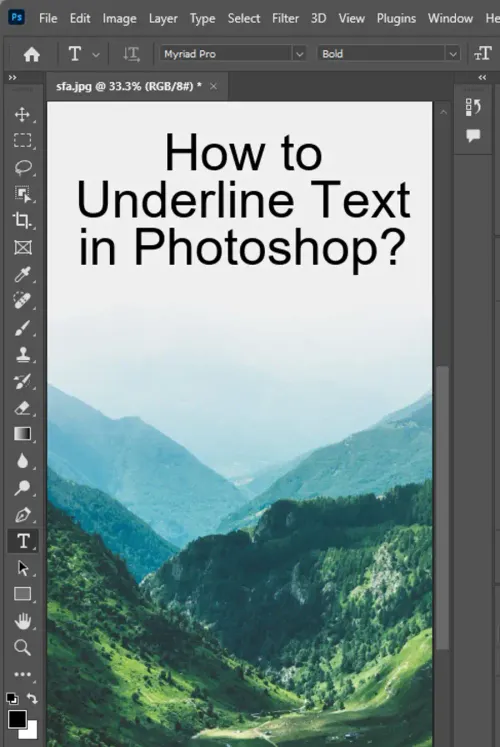
Step 1: Open your image in Photoshop
To get started, open the image in Photoshop that you want to add an underline to.
Step 2: Select the text layer
Select the text layer in your image that you want to underline.
Step 3: Click on the Text tool button in the Photoshop toolbox
With the text layer selected, click on the Text tool (T) button in the Photoshop toolbox.
Step 4: Click where you want to add the underline
Click where you want to add the underlined text.
Step 5: Press Ctrl + A (or Command + A on Mac) to select the entire text layer
Press Ctrl + A (or Command + A on Mac) to select the entire text layer.
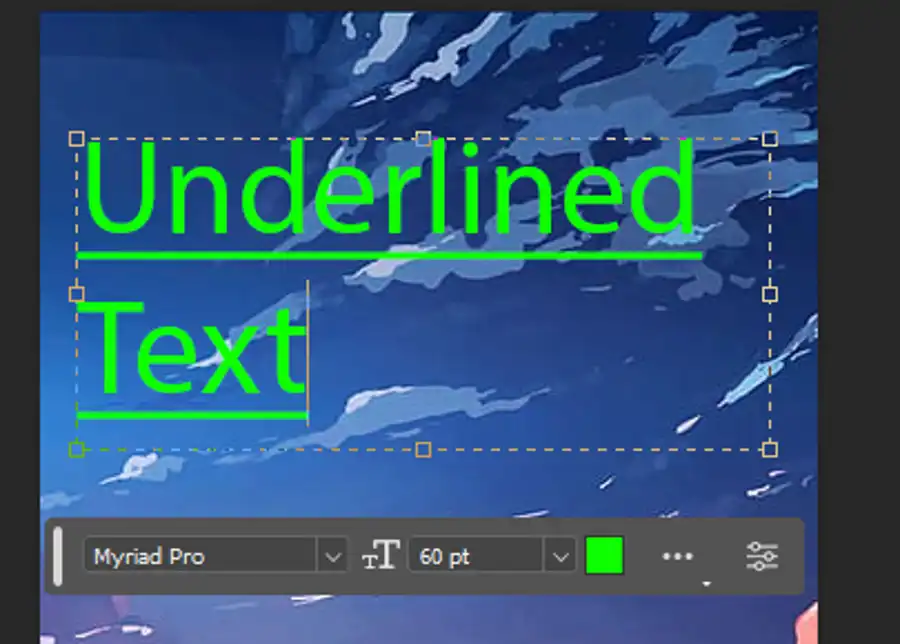
Step 6: Click on the underline button in the Character window
In the Character panel, click on the Underline option. This will add an underline below the text.
Now that you know how to add an underline to text in Photoshop let's move on to removing an underline.
How to remove underline?
Step 1: Install Photoshop in your laptop or computer
Before we go any further, make sure you have Photoshop installed in your laptop or computer.
Step 2: Move on to the Character panel
In Photoshop, move on to the Character panel.
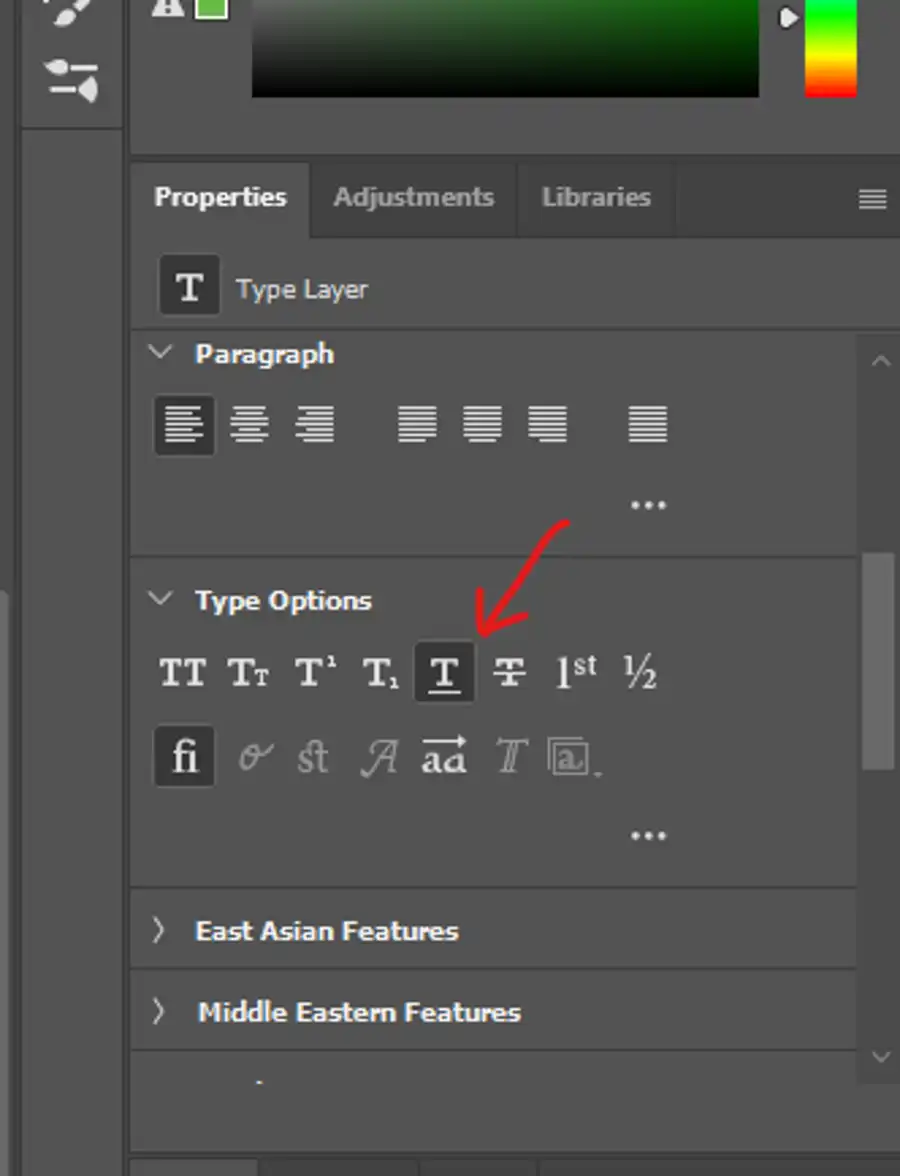
Step 3: Search for “Type” that is represented by the icon of capital T
In the Character panel, search for "Type", represented by the icon of a capital T.
Step 4: Search for the underline button
Search for the Underline button in the Character panel.
Step 5: Start writing the text you want to underline
Start writing the text you want to underline in a new text layer.
Step 6: Create layers on the text to make it separate from the image
To create a new text layer, you can press F7 or click on the Layers panel, and then click on the New Layer button. This will allow you to add text separately from the image.
To remove underlines from text in Photoshop, open the Character panel again and select the underlined text. Then, click on the same icon used in the previous steps. If the underline option is turned off, and the text still looks underlined, use the shortcut Control-H to turn off the underline.
Questions you might be asking
Can you underline words in Photoshop?
Yes, you can underline words in Photoshop.
How to underline text?
To underline text in Photoshop, you need to select the text layer in the layers panel. Then, click on the 'T' icon in the toolbar and choose the horizontal text tool. Click and drag to create a text box and type the text you want to underline. Once you have your text in place, select the text layer and click on the 'fx' button at the bottom of the layers panel. Choose 'Stroke' from the drop-down menu and adjust the settings as needed. Under the 'Stroke' options, you will find the 'Position' drop-down menu. Select 'Outside' to place the underline below the text.
How do you underline in Photoshop 2023?
The process for underlining text in Photoshop 2023 is the same as in previous versions. Select the text layer, choose the horizontal text tool, and type your text. Then, add a stroke to the text layer and adjust the settings to place the underline below the text.
How do I add a line to text in Photoshop?
To add a line to text in Photoshop, select the text layer and click on the 'fx' button at the bottom of the layers panel. Choose 'Stroke' from the drop-down menu and adjust the settings to create a line below the text. Under the 'Size' and 'Position' options, you can adjust the width and placement of the line to your liking. Additionally, you can use the 'Color' and 'Opacity' options to customize the appearance of the line.