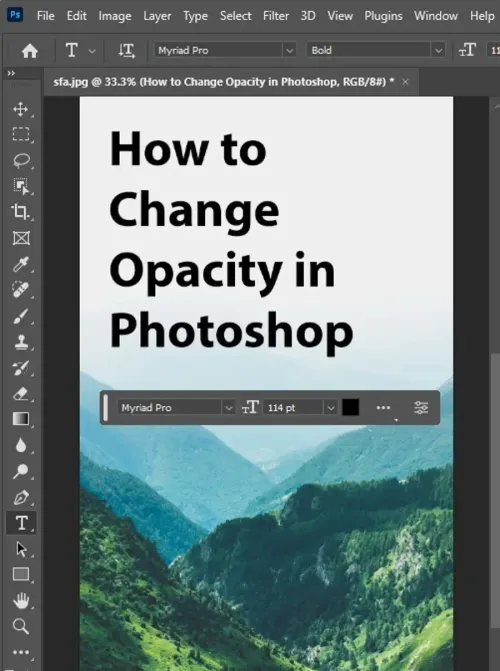
Adobe Photoshop, the powerhouse of photo editing, offers an impressive array of tools to help you enhance your images and make your designs truly shine. One often overlooked but crucial aspect of editing and design is the use of opacity. Understanding how to change opacity in Photoshop can drastically improve your projects, adding depth and realism, creating dynamic effects, or simply improving the balance of your composition.
In this blog, we'll delve into the world of opacity within Photoshop, explaining not only how to change it but also understanding when and why you might want to use this feature.

What is Opacity?
Before diving into the process, it's important to understand the concept of opacity. Opacity refers to the level of transparency or see-through quality of a layer in Photoshop. An opacity level of 100% means that a layer is completely opaque, while a setting of 0% renders the layer entirely transparent.
Changing Layer Opacity
One of the most common applications of opacity in Photoshop is altering the opacity of an entire layer. This feature allows you to adjust how prominently a layer appears in your composition. Here's how you do it:
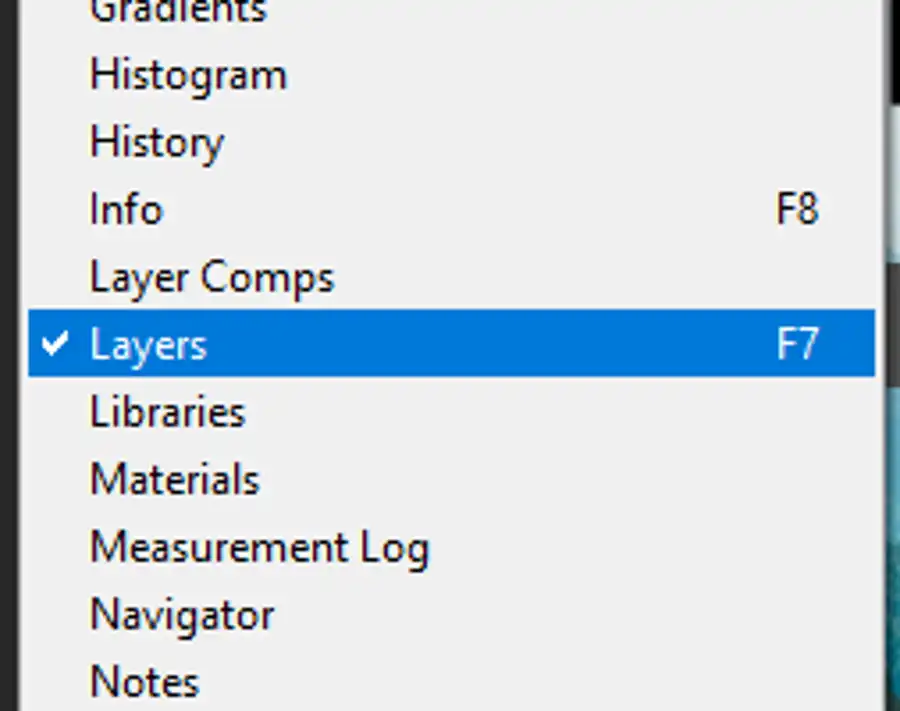
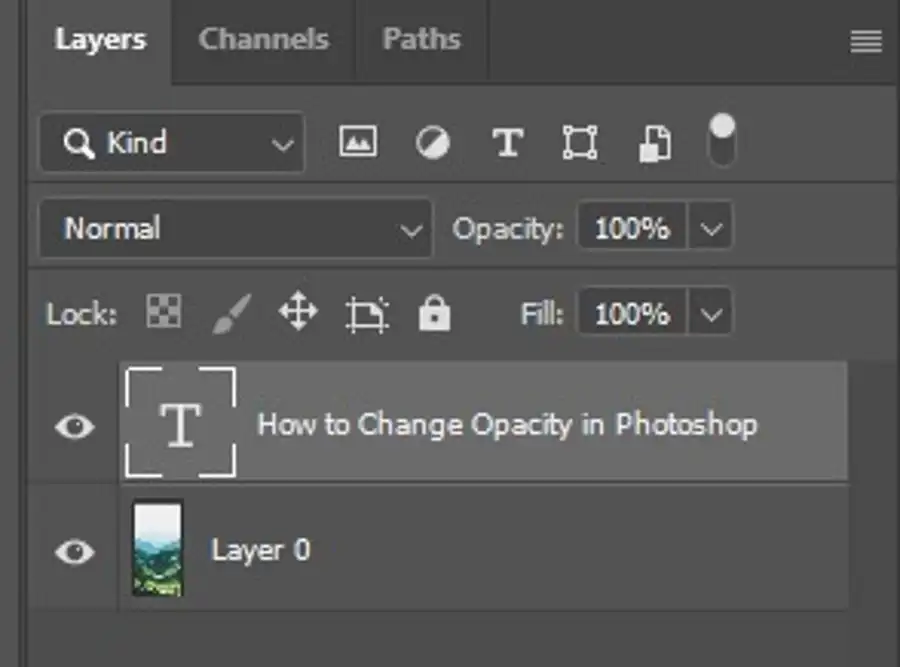
- Select the Layer: Open the Layers panel (if it's not visible, you can find it under
Window > Layers), and select the layer you want to change. - Adjust Opacity: Look for the Opacity slider at the top of the Layers panel. Dragging this slider will change the opacity of your selected layer, with the layer becoming more transparent the lower you set the value.
Changing Fill Opacity
Besides the standard opacity setting, Photoshop offers another related option: Fill Opacity. While it may seem similar, Fill Opacity doesn't affect certain layer effects like drop shadows or stroke. This tool can be found right under the Opacity slider in the Layers panel. Changing Fill Opacity follows the same procedure as changing Layer Opacity.
Changing Brush Opacity
You can also change the opacity of a brush, which comes in handy when you're trying to create smooth transitions or subtle effects. Here's how:
- Select the Brush Tool: Click on the Brush tool from the Photoshop toolbar, or simply press
B. - Adjust Brush Opacity: At the top of the screen, you will see an Opacity slider. Slide to the left for a more transparent brush or to the right for a more opaque brush.
Blending Modes and Opacity
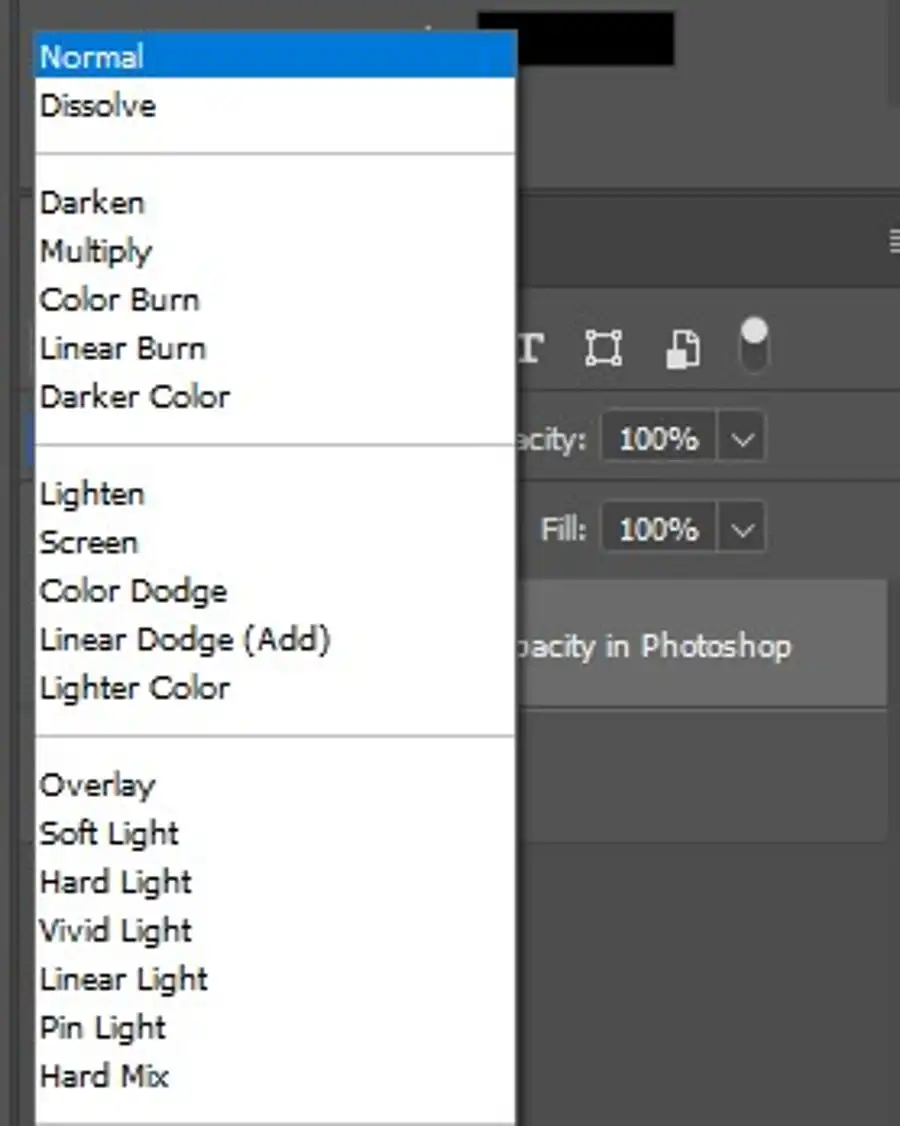
Blending modes determine how a layer interacts with the layers beneath it. When used in conjunction with opacity adjustments, blending modes can create complex and visually interesting effects. After setting a blending mode (found in the dropdown next to the Opacity sliders in the Layers panel), try adjusting the layer's opacity to see how it modifies the effect.
Keyboard Shortcuts for Opacity
If you're working with opacity frequently, it can be helpful to use keyboard shortcuts:
- To quickly adjust layer opacity, with the layer selected, simply hit a number key (1 for 10%, 2 for 20%, and so on up to 0 for 100%).
- For more precise control, hold
Shiftand hit a number key to adjust opacity in increments of 1% (e.g.,Shift + 1 + 2for 12%). - For brush opacity, with the brush tool selected, use the same shortcuts.
Conclusion
Understanding and manipulating opacity in Photoshop can add depth and subtlety to your projects, opening up a whole new world of design possibilities. By adjusting the opacity of layers, fill, layer styles, and brushes, you can create beautiful blends, soft transitions, and striking effects. Happy designing!
Questions you might be asking
How do I change the opacity level in Photoshop?
To change the opacity level in Photoshop, you can use the Opacity slider in the Layers panel. First, select the layer you want to change the opacity of, then use the slider to adjust the opacity level. You can also change the opacity level by typing in a specific percentage in the Opacity box next to the slider.
What is the shortcut to change opacity in Photoshop?
The shortcut to change the opacity level in Photoshop is by selecting the layer and pressing the number keys 0 through 9 on your keyboard. This changes the opacity from 0% to 90%. If you need finer control, you can press the number keys twice quickly, such as "55" for 55% opacity.
How do I change the opacity of part of an image?
To change the opacity of part of an image, you can use layer masks. First, create a layer mask by clicking the "Add Layer Mask" button in the Layers panel. Then, use a brush tool to paint over the area of the layer you want to adjust the opacity of. To decrease the opacity, you can reduce the layer mask's density or paint with a brush that has a lower opacity setting.
How do I change the opacity in Photoshop Mobile?
To change the opacity in Photoshop Mobile, select the layer you want to adjust, then tap the layer icon. This will bring up the layer options, including the opacity slider. You can use the slider to adjust the opacity level or enter a specific percentage in the Opacity box. Alternatively, you can use touch gestures to adjust the opacity by tapping and holding on the layer and then using a two-finger swipe up or down.