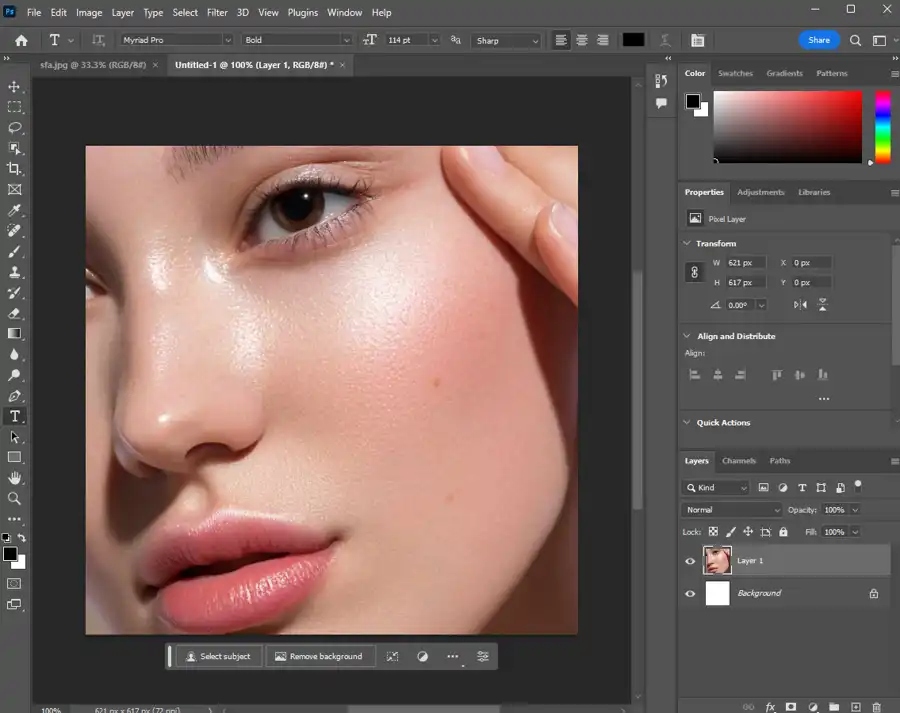
When it comes to photo editing, changing the skin tone color of an image is a common task. However, getting it right can be a challenge without the right tools and knowledge. In this article, we will provide you with tips and guidelines on how to adjust and match skin tone color across photos using Photoshop features, as well as how to change the race/color of people in photos.


Matching Skin Tone Color Across Photos

When selecting photos for a project, it’s important to consider color continuity. Your images should look cohesive and blend well together. In order to achieve this, you’ll need to be mindful of color casts and color contamination.
A color cast is an overall color shift in an image that affects the overall appearance. To fix a color cast, use the Color Balance sliders in Photoshop. The Camera Raw Filter is also useful when it comes to color correction and can be used to remove unwanted color casts from your images.

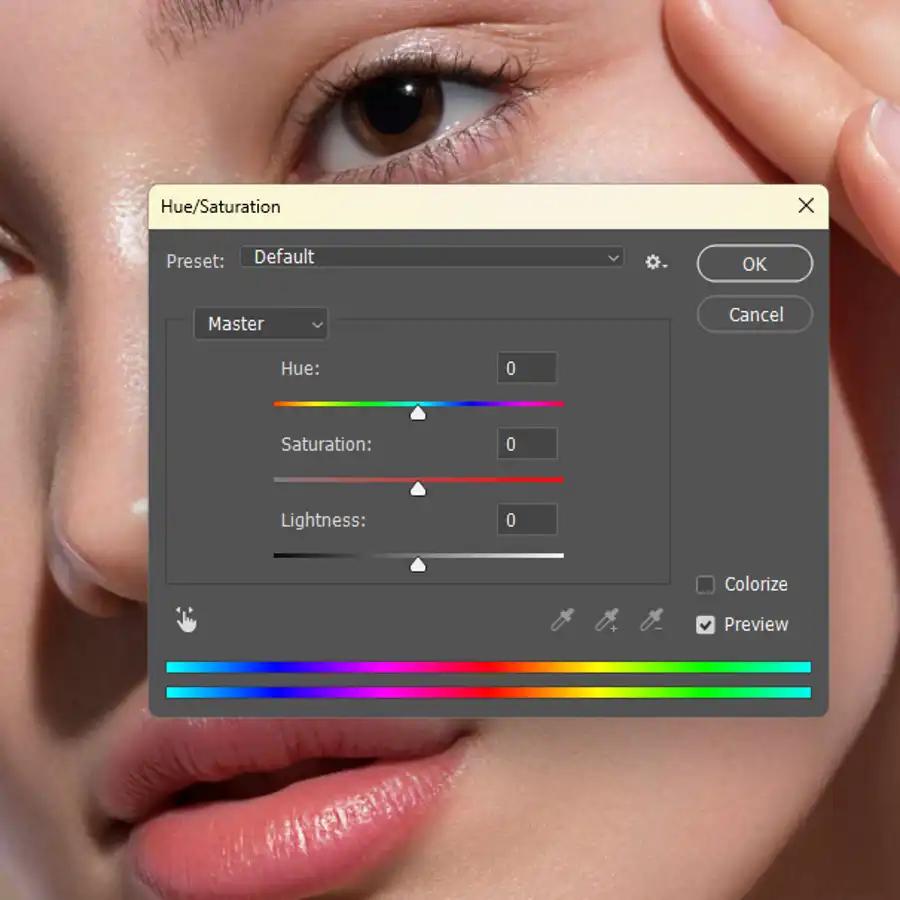
Color contamination occurs when a color from the background of an image reflects onto the skin of the subject. Correcting color contamination can be done by selectively adjusting the color balance of the areas affected using the Hue/Saturation adjustment tools.
Replicating a skin tone across multiple photos is also a useful technique. Using adjustment layers, you can apply a specific color correction to one photo and then simply copy and paste that adjustment onto other photos. This is a great time-saver when working on a project with many photos.
Using the Hue/Saturation Adjustment Tools

The Hue/Saturation adjustment tools can be used to adjust the color temperature in your photo, or to change the mood of your image. One way to do this is to use the Colorize tool.
If you’re looking to create a specific mood or feel in your image, such as a vintage style or a dark mood, the Colorize tool can help you achieve this. Additionally, the Colorize tool can be used to create a warm or cool tone in your image by adjusting the Hue and Saturation sliders.

Getting the Light Just Right During Photoshoots
When shooting portraits, getting the light just right is key to achieving a natural look. Balancing bright light and deep shadows can be difficult, but is essential for a successful photo. Shooting in natural lighting can help create a flattering and natural look. In addition, using reflectors and diffusers can be helpful in controlling the light and shadows in your shot.
Changing the Race/Color of People in Images
When it comes to changing the race or color of people in images, it can be complicated and time-consuming. However, by using Adjustment Layers and Layer Masks in Photoshop, it is possible to execute this process.
- One method is to use curves to correct unnatural skin color in digital images. Using the CMYK mode can also be beneficial when it comes to color adjustment.
- Make sure to consider the level of detail required when making these adjustments. The more detailed the object, the more complicated the process will be.

When it comes to flesh tones, understand the general direction for flesh tone adjustment in terms of color composition. The Eastman Kodak Q-60 Color Input Target is a useful tool for calibrating colors, as it provides a standard reference for the range of skin tones found in a typical portrait.
Additionally, it’s helpful to have a general idea of skin color variations depending on ethnicity, type, and level of illumination, nearby reflective surfaces, and even time of day. This can aid in creating a more natural and realistic look when changing the race/color of people in images.
Tools Used in Changing Skin Tone Color and Race/Color in Images
When it comes to changing skin tone color and race/color in images, the following tools are helpful in achieving these adjustments:
- Photoshop: Adobe Photoshop is the industry standard for photo editing and manipulation.
- Color Range: The Color Range command in Photoshop can be used to select colors based on a predetermined range.
- Layer Mask: Layer Masks are used to selectively display or hide portions of an image.
- Adjustment Layers: Adjustment Layers are used to apply non-destructive adjustments to an image.
- Filter > Liquify (naturally used as a Smart Filter): The Liquify tool allows for the manipulation of an image in a variety of ways.
- Color Sampler tool: The Color Sampler tool is used to sample colors in an image.
- The Info panel: The Info panel is used to display information about an image, including color values.
- Image > Adjustments > Curves: This tool is used to make tone and color adjustments to an image.

Conclusion
Changing the skin tone color and race/color of people in images can be a challenging task, but with the right tools and knowledge, it is achievable. By understanding color casts and color contamination, using the Hue/Saturation adjustment tools, and getting the light just right during photoshoots, you can achieve a natural and cohesive look in your photos. Additionally, using Adjustment Layers, Layer Masks, and tools such as the Color Range tool and the Color Sampler tool can make the process of changing skin tone color and race/color in images more efficient and effective.
Questions you might be asking
How do I change the skin color of a photo in Photoshop?
To change the skin color of a photo in Photoshop, first select the 'Hue/Saturation Adjustment Layer' from the adjustment layer menu. Next, select the 'Reds' color range from the drop-down menu and adjust the hue, saturation, and lightness sliders to achieve the desired skin tone. Repeat this process for other skin color ranges such as Yellows and Magentas.
What is the easiest way to change skin color in Photoshop?
The easiest way to change skin color in Photoshop is by using the 'Camera Raw Filter'. First, open your photo in Photoshop and go to 'Filter' > 'Camera Raw Filter'. Next, click on the 'HSL / Grayscale' tab and select the 'Saturation' slider for the color range you want to adjust. Finally, adjust the slider until you achieve the desired skin tone.
How can I change my skin color?
To change your skin color, you can either apply makeup or use photo editing software like Photoshop. In Photoshop, there are several ways to change skin color including using the 'Hue/Saturation Adjustment Layer' or the 'Camera Raw Filter'. However, it's important to remember that altering one's natural skin color can be unethical and potentially harmful. It's important to embrace and celebrate diversity.
How do I lighten my skin in Photoshop?
To lighten your skin in Photoshop, first select the 'Curves Adjustment Layer' from the adjustment layer menu. Next, click on the 'RGB' dropdown menu and select the 'Red' channel. Pull the curve upwards in the middle to lighten the skin tones. Repeat this process for the 'Green' and 'Blue' channels if necessary. You can also use the 'Brightness/Contrast Adjustment Layer' to further adjust the overall exposure.

