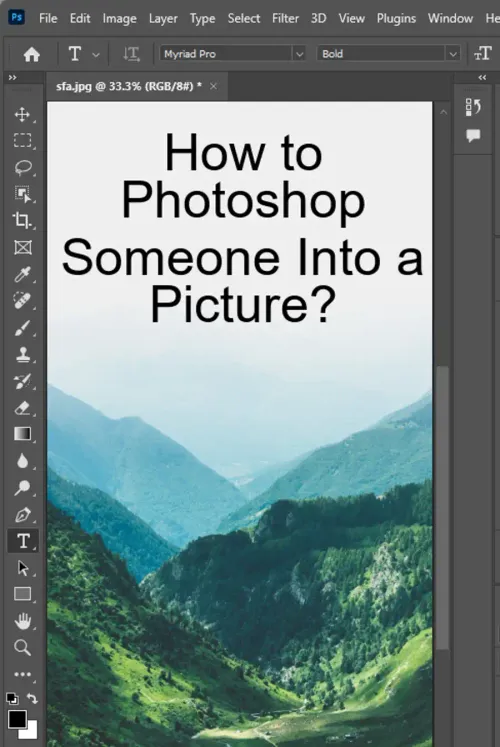
In today's digital age, manipulating images has become a popular practice that many professionals and amateurs alike enjoy. With Adobe Creative Cloud's Photoshop, putting a person into a picture has become a much simpler task. Here is a beginner's guide to photoshopping someone into a picture using Photoshop.

Step 1: Selecting and Preparing Your Images
The first step is to choose the images you'll be working with - the picture you want to add a person to (the destination image), and the picture of the person you're adding (the source image). For the best results, try to choose images that have similar lighting, perspective, and quality.
Open both images in Photoshop by going to "File" > "Open", then navigating to the pictures on your computer.
Step 2: Making a Selection

On the source image, you need to select the person you're going to add to the other photo:
- From the Toolbar, select the Quick Selection Tool or the Object Selection Tool. Both are excellent for selecting objects with complex boundaries.
- Click and drag over the person to select them. If you select too much, hold down the Alt key (Windows) or Option key (Mac) and drag over the area you want to deselect.
- Refine your selection by going to "Select" > "Select and Mask". Use the tools and sliders in the Select and Mask workspace to perfect your selection, then click "OK".
Step 3: Copying and Pasting the Selection
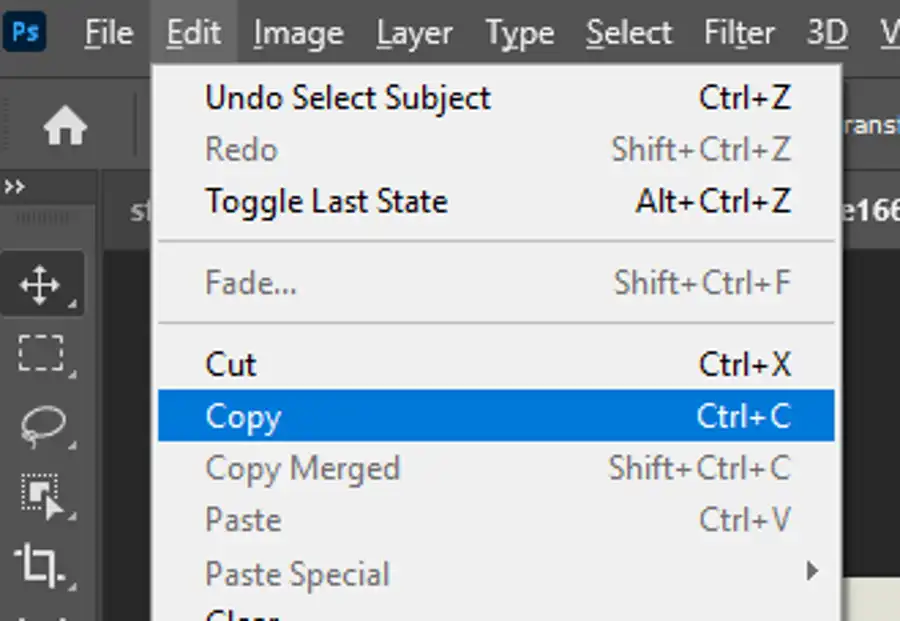
Once you're happy with your selection, you need to copy it to your clipboard:
- Go to "Edit" > "Copy" to copy the selection.
- Switch to the destination image by clicking on its tab at the top of your workspace.
- Go to "Edit" > "Paste" to paste the selection onto the image. It will appear on a new layer, which you can see in the Layers panel.
Step 4: Positioning and Scaling the Selection
Now you need to position and scale the person so they fit into the new image:
- With the new layer selected, go to "Edit" > "Free Transform".
- Click and drag inside the bounding box to move the person, and drag the corners to scale them. Hold down the Shift key while dragging the corners to maintain the aspect ratio.
- Press Enter or Return when you're happy with the positioning and size.
Step 5: Matching the Color and Lighting
To make the person look like they were originally in the photo, you need to match the color and lighting of the two images:
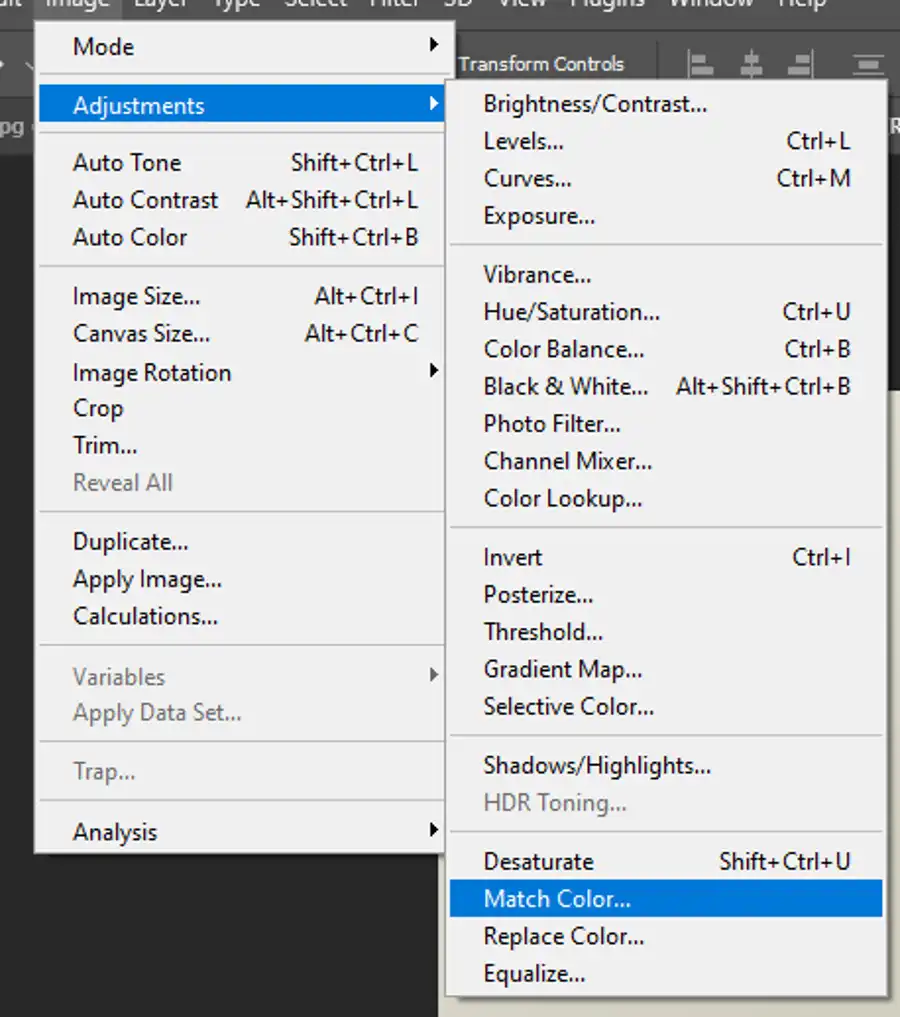
- With the new layer selected, go to "Image" > "Adjustments" > "Match Color".
- In the "Source" field, select the destination image. Photoshop will automatically adjust the color of the person to match the new image.
- Use the sliders in the Match Color dialog box to fine-tune the results, then click "OK".
Step 6: Refining the Edges
Finally, you need to refine the edges of the person to ensure they blend seamlessly into the new image:
- With the new layer selected, go to "Select" > "Select and Mask".
- Use the tools and sliders in the Select and Mask workspace to soften the edges, add feathering, and reduce any harsh lines or inconsistencies.
- Click "OK" when you're happy with the results.