Audio is the soundtrack to our lives. Whether you listen to music at home, watch movies, or record podcasts, audio plays a huge role in creating great experiences. Unfortunately, audio files aren’t always perfect, and as a video editor, it's your responsibility to make sure that they are unless you have a sound engineer on your team. Audio clips
can contain errors such as clicks, pops, crackles, hisses, hums, wind noises, and other distortions. These issues can cause problems when you edit audio in Premiere Pro.

To fix all these issues, you may need to perform basic audio cleanups. This guide shows you how to remove unwanted noise from audio clips using Premiere Pro.
Also read: How to create an audio spectrum in After Effects?
Option 1: Clean up audio in Premiere Pro
Although it's a video editing software, Adobe Premiere Pro has plenty of audio editing tools and effects in its arsenal that let's you accomplish complex editing tasks such as equalizing, compressing, reverb, adjustments and much more. Let's take a look at some of the ones you can use to clean up your audio.
1. Use the Audio Effects Panel
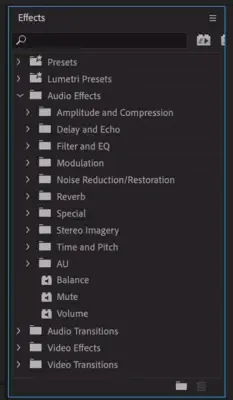
There are several effects you can apply to audio clips. Some of the most used audio editors in PP are Noise Reduction, DeNoise, Equalize, Compressor, Limiter, Echo, Reverb, Pitch Shift, and Volume Adjustment.
Related: How to separate audio in Premiere Pro?
2. Apply Auto Gain Control
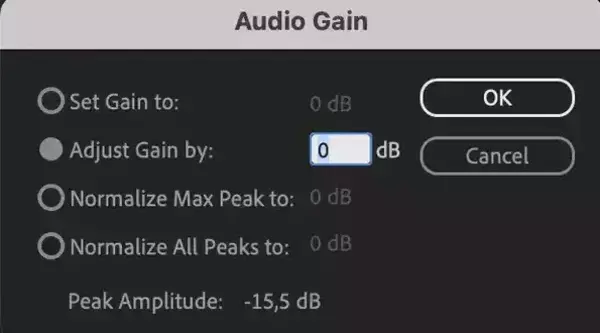
Auto Gain control automatically adjusts the volume level of audio clips based on the overall loudness of the clip. To access this feature, open the Clip Editor window and select the Automate tab. It could be used when your the subject in video gets too loud, such as a passing by train.
3. Add Silence to Clips
Silence is added to clips when you trim them. To remove silence, click the Trim Silence button in the Edit menu. You could silence when there are unwanted noises in your footage, such as mouth clicks during a podcast or to get rid of filler words such as "uhh umm" noises.
Also read: How to fix out-of-sync in Premiere Pro?
4. Delete Unwanted Channels
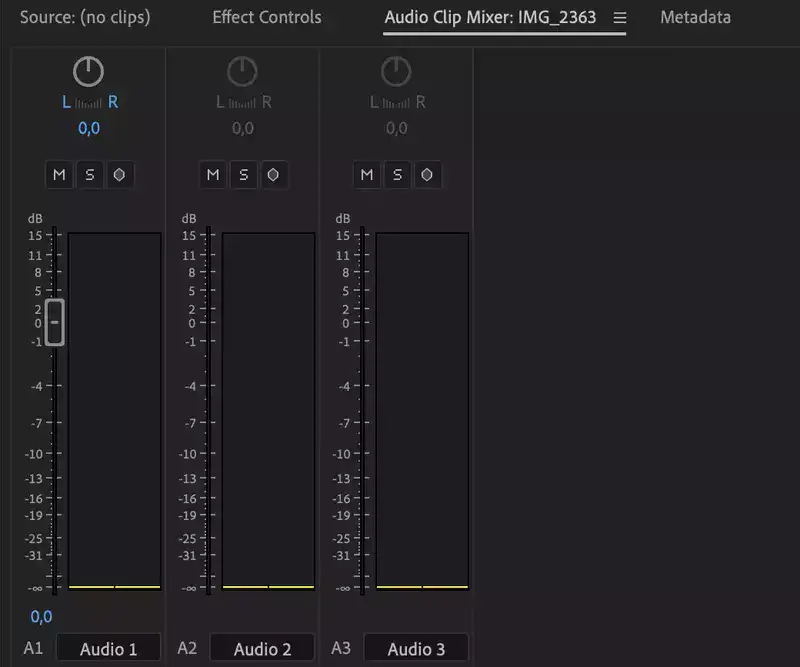
In the Channel Mixer window, you can delete unwanted audio tracks. Simply drag the track icon next to the channel name to the trash bin.
5. Remove Background Music
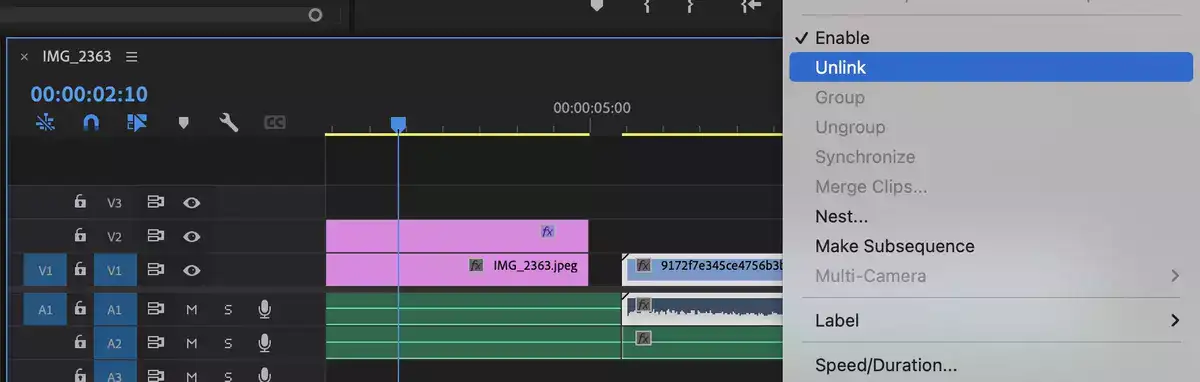
You could remove background music from Premiere Pro if it's on a separate channel. To do that, simply select the clip, right-click on it and press "Unlink". This option removes the link between the audio track and video clip. Now you can safely click on the background music and press "DEL" button on your keyboard to remove it.
If your background music comes together mixed with other audio in a single track, it's near impossible to cleanly separate it from other sounds. If that's the case, try our next option.
Option 2: Send it to Audition
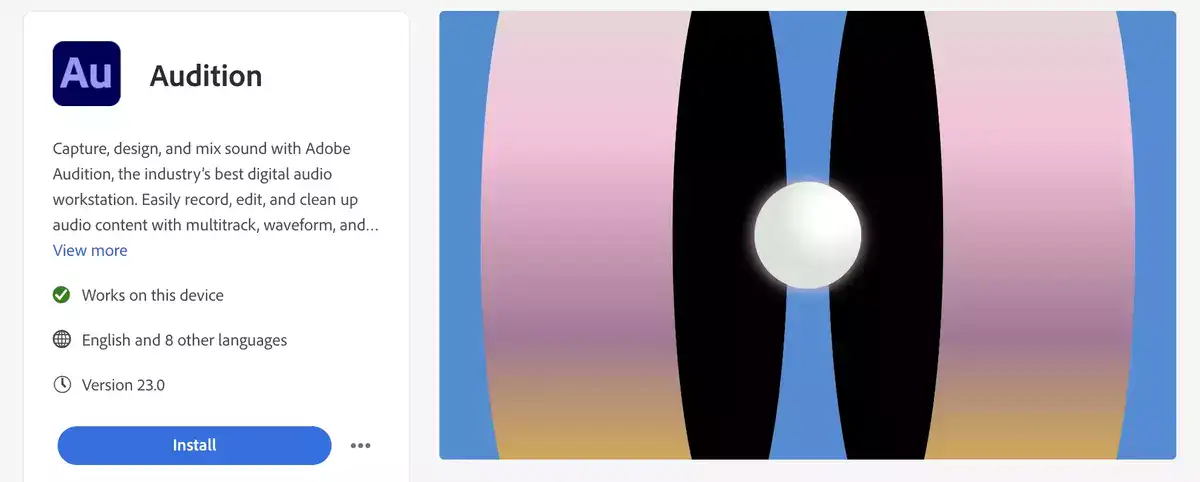
Audition is a part of the Adobe Premiere Pro Creative Clouds app suite. It is an audio editing software that goes beyond anything Premiere Pro can provide.
Adobe Audition can easily analyze and get rid of unwanted background noise while providing other essential sound effects such as audio levels, capture noise, sound panels, noise rejection, ambient noises, audio types, audio mixing, vocal enhancer and much more.