If you have ever watched a movie, you have probably noticed the rolling closing credits at the end. These are the names of the people who worked on the movie. While most movies have simple credits that just scroll up the screen, some have more complicated credits with different fonts and colors. You may be wondering how to create rolling credits in Premiere Pro. In this article, we will explain different ways how to create rolling credits in Premiere Pro step by step.

Also read: How to create lower thirds in Premiere Pro?
What is rolling credits?
Rolling credits are a list of the people who worked on a movie. They usually appear at the end of the movie and scroll up the screen. The credits may include the names of the actors, director, producer, writer, and other crew members.
Use Credits Packages in the Essential Graphics Panel
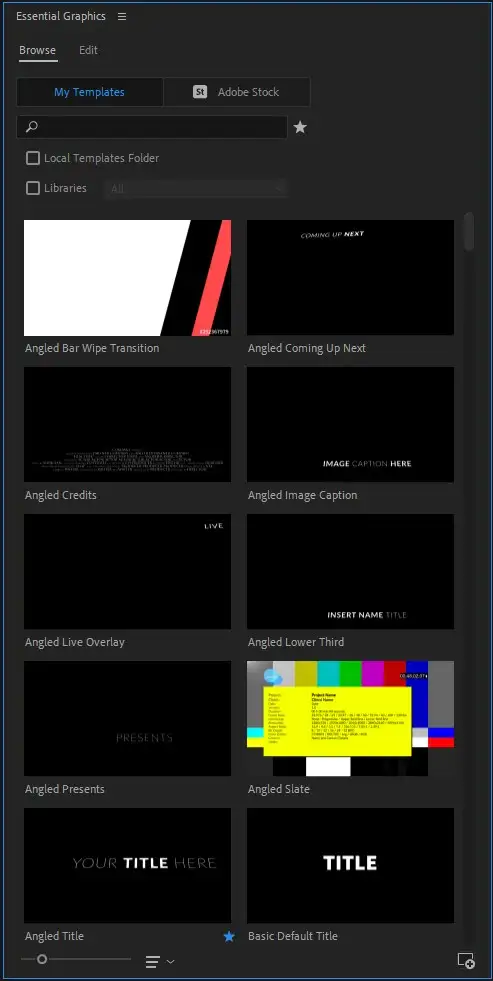
One way to create rolling credits in Premiere Pro is to use Credits Templates in the Essential Graphics Panel. These templates are pre-made and can be customized to your liking. Have we mentioned that they're also free?
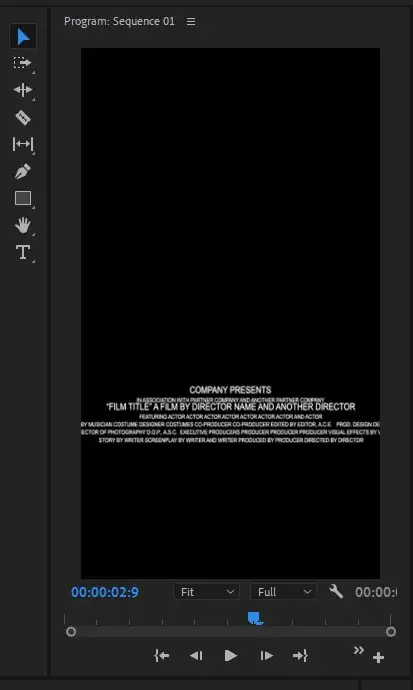
To use a rolling credits template premade, simply drag it from the Essential Graphics Panel onto your timeline. Then, double-click on the template to open it up in the Editor window. From here, you can change the text, font, color, and size of your credits. When you are finished, close out of the Editor window and your changes will be saved automatically.
Also read: How to move text in Premiere Pro?
Animate an image
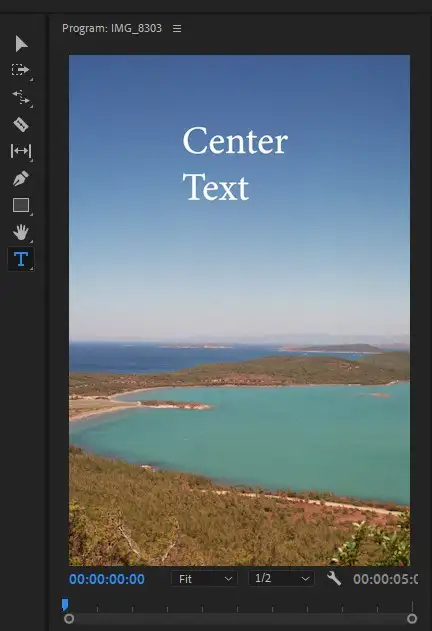
Another way to create rolling credits is to animate an image. This is a good option if you want to create custom graphics for your credits or if you want to add an image behind your text.
You could create your image in a photo editor like photoshop, and animate it in Premiere Pro simply by scrolling from top to bottom. As a result, getting an effect similar to Premiere Pro's premade scrolling credits templates.
To animate an image, first create a new composition and add your image to the timeline.
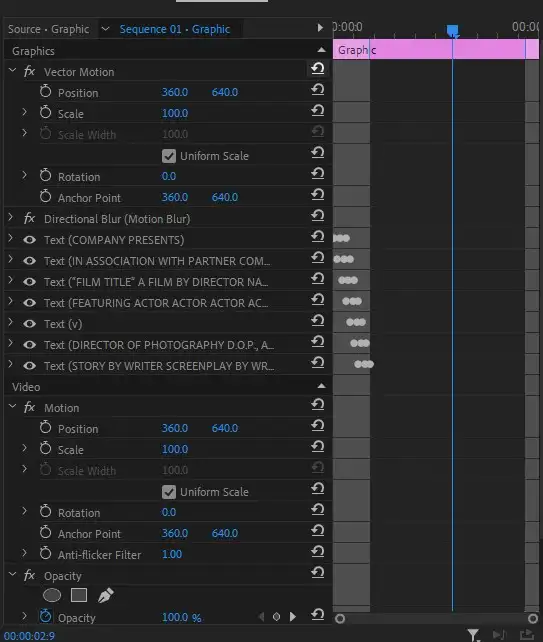
Next, click on the image. It'll open your Effect Control panel where you can place keyframes and add your scrolling effect.
This will open up the Position Animation settings window. In this window, you can set how long you want your image to stay onscreen and where you want it to move to. When you are finished, play your timeline and your image will start animating. To add text to your credit sequence, simply create a new text layer and position it over your image. Then, use the Position Animation settings to animate your text layer as well.