Lower thirds are important because they provide information about the video without interrupting the flow of the story. They also give viewers a sense of where they are watching or who it is talking in the video. Lower thirds can be created in several ways. In this tutorial, we'll learn how to create them in Premiere Pro.

Also read: Motion Graphics in Premiere Pro
Import a lower third
You don't have to create your own lower thirds every time you start a new project. You can download some of the free and premium ones available online or create your own once and then reuse them again in the future.
1. Create a New Project
Open the project folder containing the footage you wish to edit.
2. Import Footage
Import the footage you wish to use in the project.
3. Import the lower third
Select the sequence containing the footage you want the lower third to be added to, and drag & drop your lower third in the libraries panel of Premiere Pro. Alternatively, you can also import them as motion graphics templates.
Related: How to remove effects in Premiere Pro?

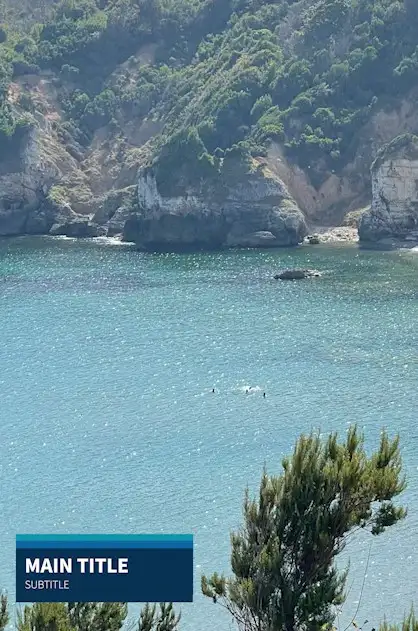
4. Place the Lower Third
Place the lower third over the selected area of the video.
5. Adjust the Positioning
Adjust the position of the lower third so that it fits within the frame of the video.
Create a basic lower third
The lower third is essentially text information on the lower left of your screen, informing viewers about what's going on in the video. That means your lower thirds don't always have to be complicated with many transition effects, graphics, and colors. Sometimes a simple line of text will do the job.
Also read: How to change font size in Premiere Pro?
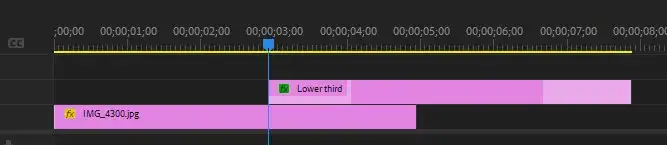
Step 1: Bring your timeline head to where you want the basic lower third to start.
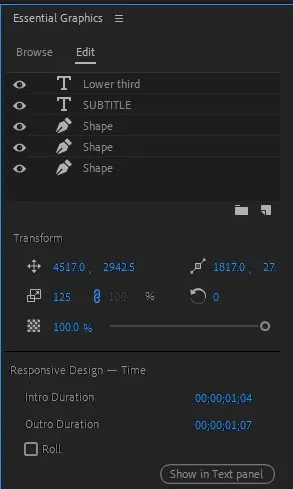
Step 2: Click on CTRL+T (Windows) to select Type Tool. It'll create a new layer of text and also open the Text Panel on your dashboard.
Step 3: Create a new solid layer and give it a style if you want to go beyond basic text and add your lower thirds animations, color, and other style elements.
Use Essential Graphics Lower Thirds
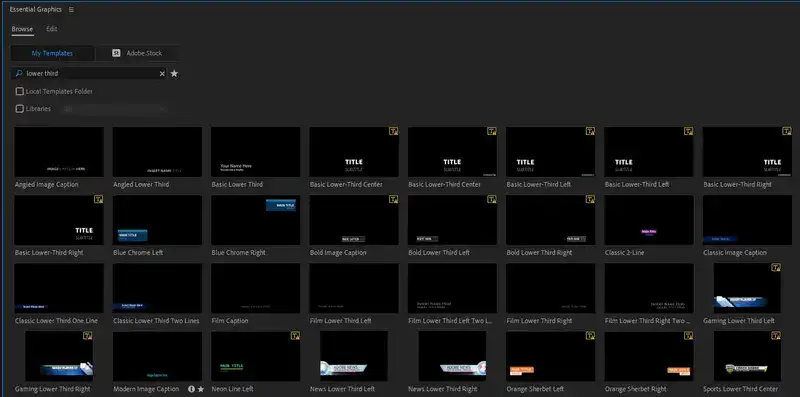
Adobe Premiere Pro's Essential Graphics panel offers a plethora of lower thirds templates that you can use for free and also some premium ones that you have to purchase from Adobe Stock which is perfect for your professional video projects.
Step 1: Go to the Captions & Graphics panel in Premiere Pro.
Step 2: Search for lower-thirds templates in the Essential Graphics panel.
Step 3: Premiere Pro has a few dozen free lower thirds included with unlimited downloads in your subscription. Pick anything you like and drag & drop it on your project.
FAQ
Let's answer some of your most asked questions.
Who uses lower thirds?
Lower thirds are used by professional videographers to give any kind of information about a video. Some of the use cases include news broadcasts, interviews, educational videos, corporate videos and much more.
Related: Adobe Premiere Pro 2023 Review
Does Premiere have lower thirds?
Premiere Pro's Essential Graphics has dozens of pre-made lower thirds. But you can also make your own easily and download motion graphics other people have made.
What size should a lower third be?
The ideal ratio for a lower third is 1/3rd of the screen height. This means that the text should occupy 33% of the space available on the page. If you want to use a lower third, then you need to ensure that the copy is relevant to the information displayed in the video.
How long should a lower third stay up?
It depends on the information displayed. If it's a basic name and occupation in an interview video, a lower third should be kept up for at least 3 seconds before it disappears. Make it longer accordingly based on the information given in the lower third.